5 - Structure and Grid
MODULE #5
STRUCTURE & GRID
I have been continuously aware that in painting, I am always dealing with… a relational structure. Which in turn makes permission “to be abstract” no problem at all.
- Robert Motherwell
Introduction
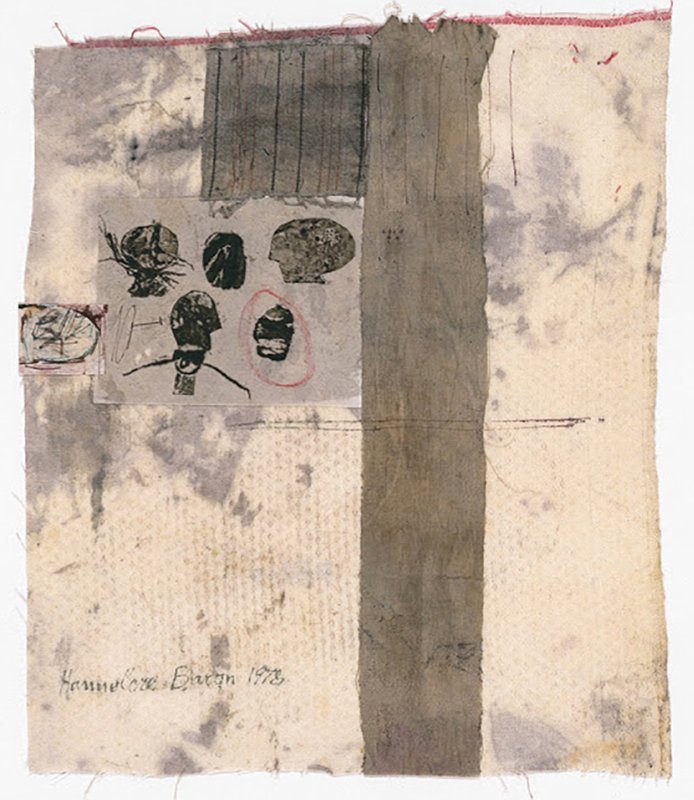
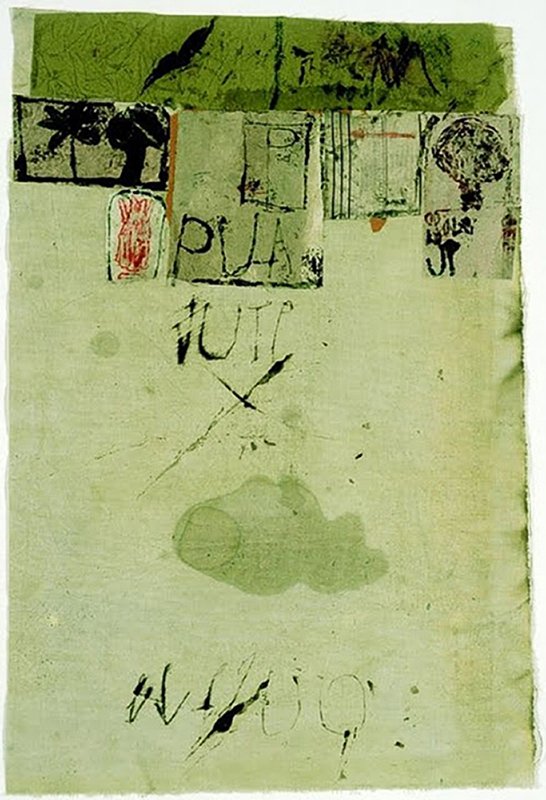
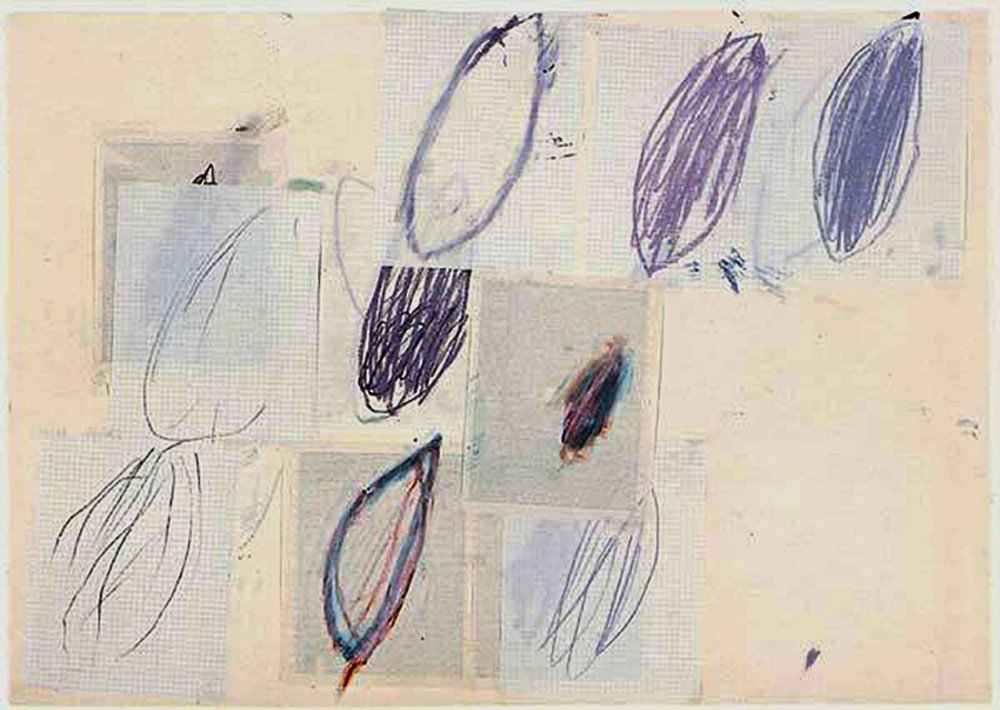
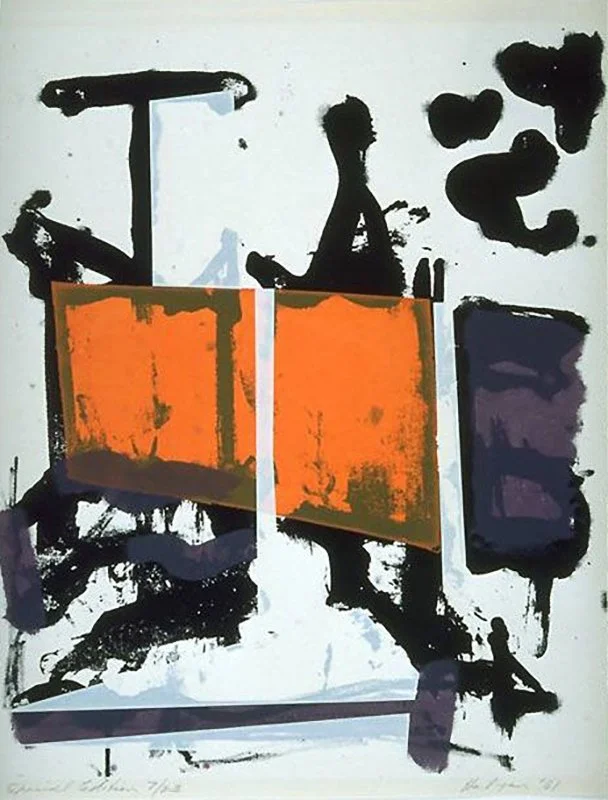
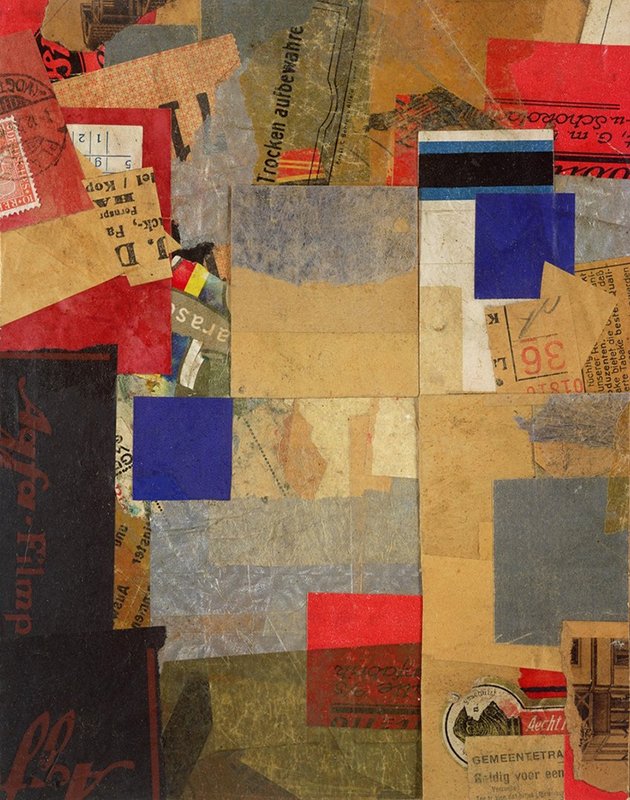
Structure of a painting supports visual viewing and clarity of expression in painting. It is a foundation much like a foundation of a house. There are many kinds of structures to organize and create a center of attention in a painting. The grid is one of them. A grid is based on horizontal and vertical and diagonal axis of the painting. Horizontal is often related to the horizon line of landscapes and vertical is often related to the standing human figure, trees, buildings, etc. We feel at home and solidly comfortable when a painting is built on the horizontal and vertical arises. As abstract artists, we want excitement balance and harmony in our images and stretching our own understanding and capacity to use structure provide these.
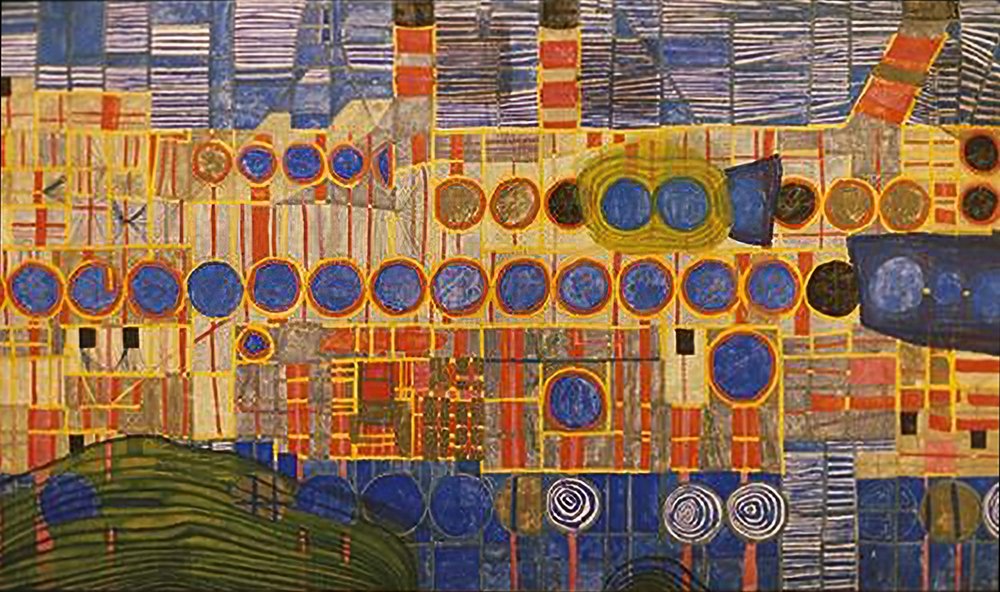
SLIDE SHOW
Please look at the slideshow on Structure of the Grid and notice the effects of the grid upon your interest and pull into the painting

MATERIALS FOR GRID AND STRUCTURE EXERCISES:
Glue Stick
Mixed media workbook 9” X 12” or 11” x 14”
Scissors
paper cutter, or stamp cutter approx. 2 ½” diameter
20-25 circles approx. 2 ½” diameter
20-25 strips of paper of various widths and lengths
Round paint brushes #2, #3, or #4
Graphite pencil non-water soluble
Blue painter’s tape 3/4'”
Black acrylic paint, thinned
Other tools and colors you choose for painting
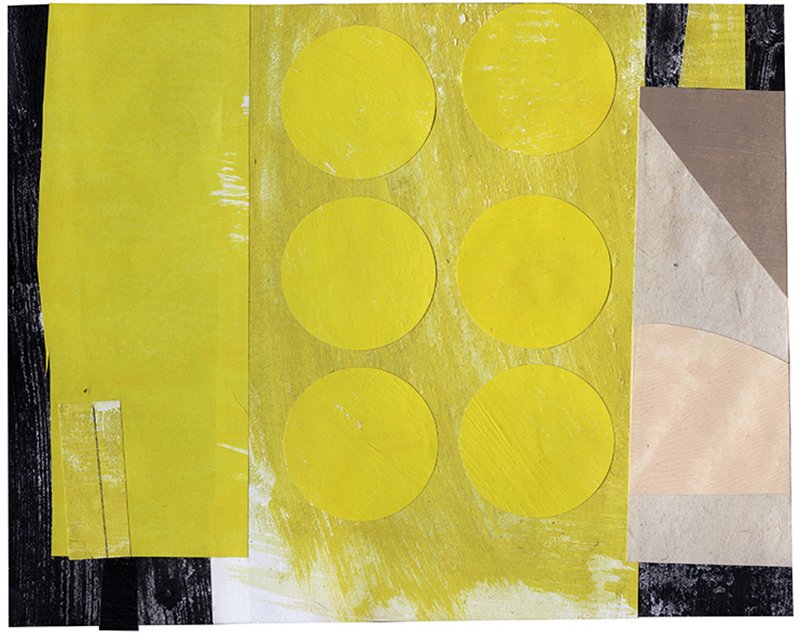
EXERCISES #1
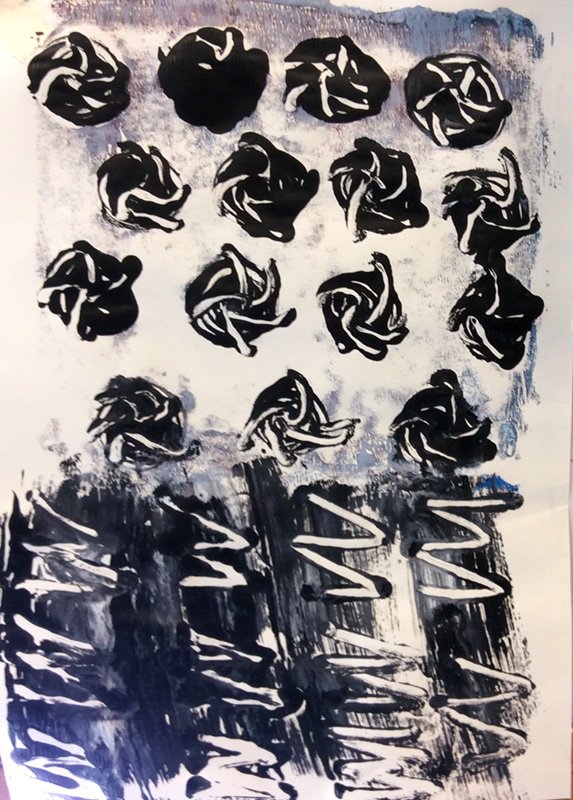
Using Circles to Push the Grid Structure
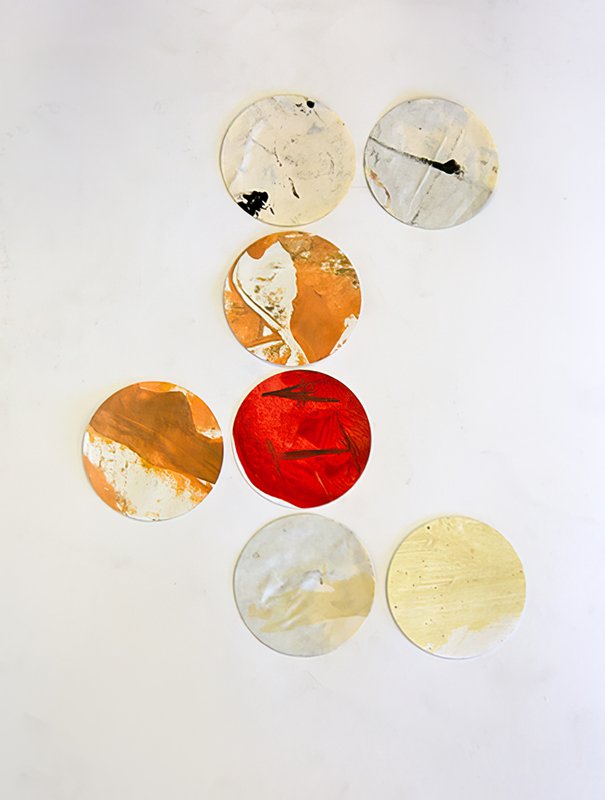
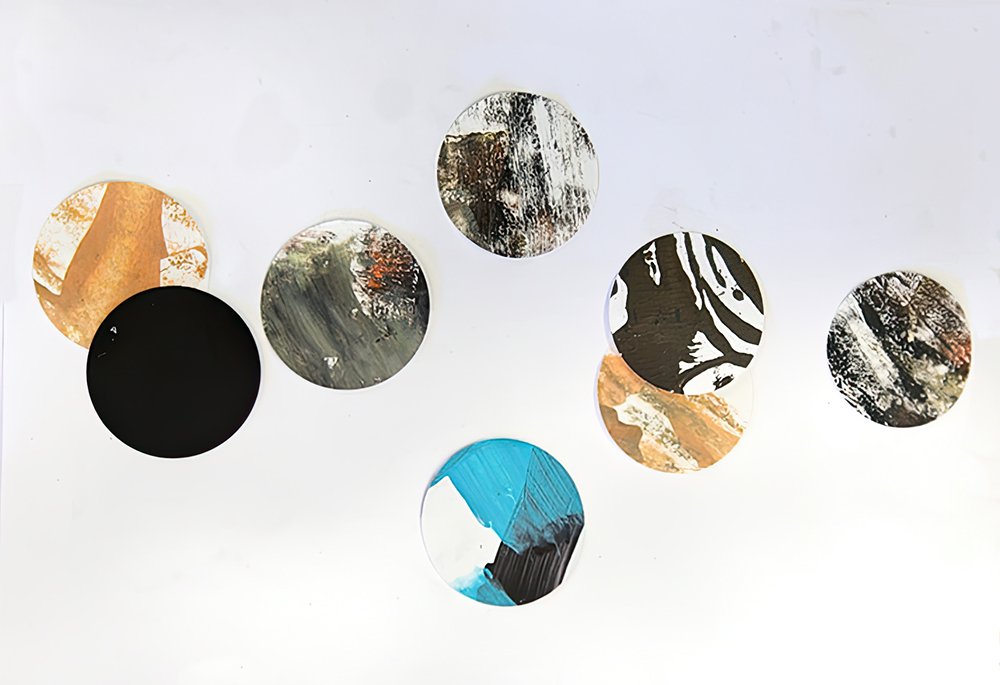
In these exercises we will look at the structure of the grid and see how we can create images and push the boundaries of the grid to make the painting dynamic.
Cut out circles or use a circle cutter and make about 20 to 25 circles approx. 2 1/2” in diameter. These may be cut out of newsprint, magazines, old paintings, photographs, etc.
Thinking that a grid is basically horizontal lines intersected by vertical lines at right angles, place as many circles as you wish on the paper in a grid-like fashion. You can overlap the circles, let them hang off the page, jog the lineup, even cut them up. The main idea is to create an image with the circles following some kind of a horizontal and vertical pattern. Do this quickly and intuitively by moving the circles around until the positioning “feels” right to you. Then glue them down. You may want to do more than one of these.
Review what you did; how the eye flows through the circles, where it gets bogged down. Do you feel you resonated with this exercise? Did you find a composition you created pleasing, boring, lively?
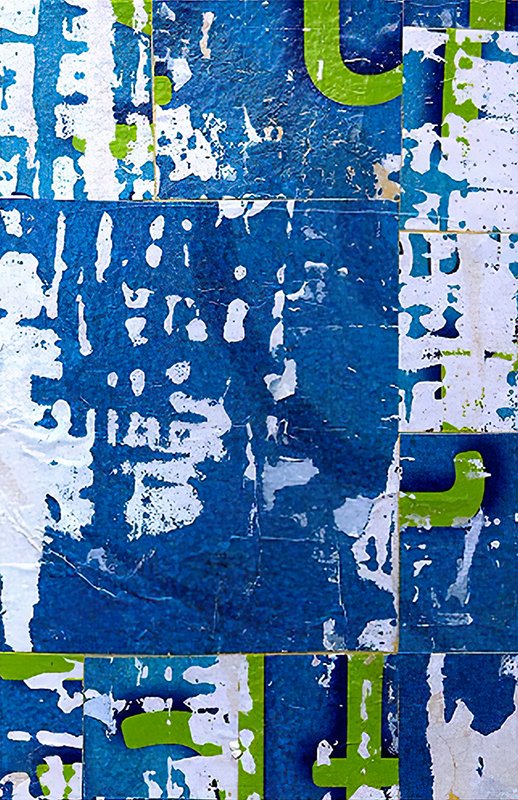
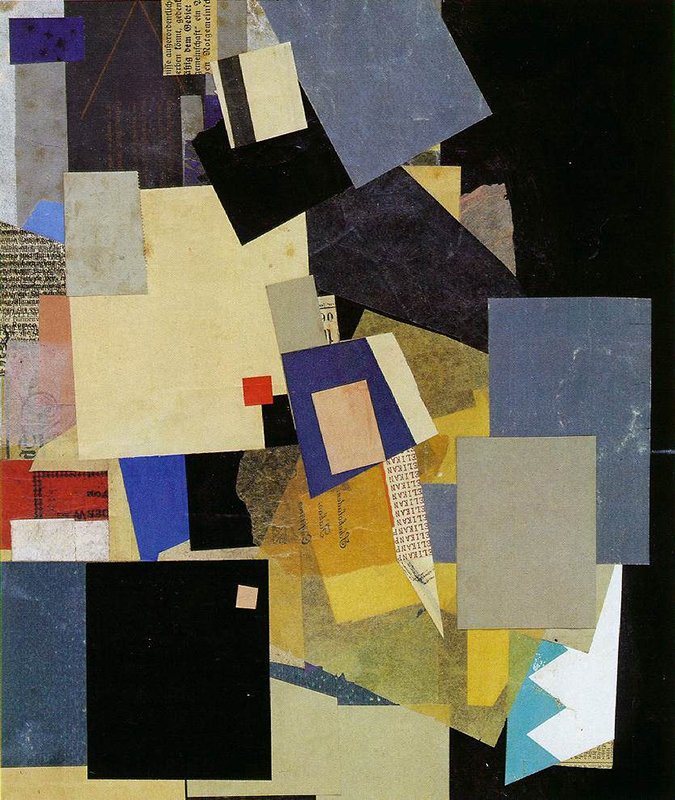
EXERCISE #2
Loosening the Vertical and Horizontal Grid Structure
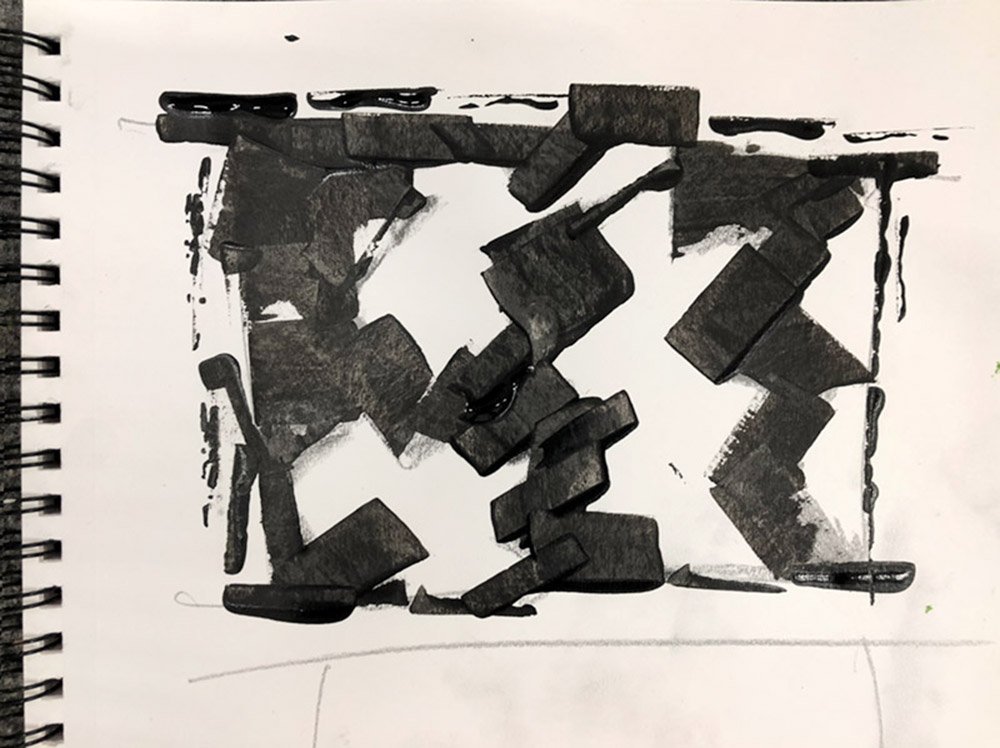
Cut 20 to 25 strips of paper of various sizes and lengths out of newspapers, magazines, old paintings, different papers, old photos, etc. Using as few or as many as you wish, begin to create a composition in your mixed media workbook. The grid is generally a strict vertical and horizontal structure but as you work, start to loosen this structure by placing the strips slightly at different angles, overlapping or leaving space as you wish. The strips can go off the page. Explore and experiment with the grid as you place the strips. Once you find a composition you like, glue them down. You may want to do several of these.
Review what you did: Were you able to break loose from the strict vertical and horizontal grid? Notice what angling the strips does for creating more energy in the image. Notice the eye flow and what you especially liked or did not like about your image and the exercise.
EXERCISE #3
Making paintings with a horizontal and vertical grid structures
MATERIALS
Acrylic paints - 2 colors and black and white
Drawing tools
Scrapers, paint brushes, shapers, palette knife
Sheets of heavy weight mixed media paper, 22" x 15"
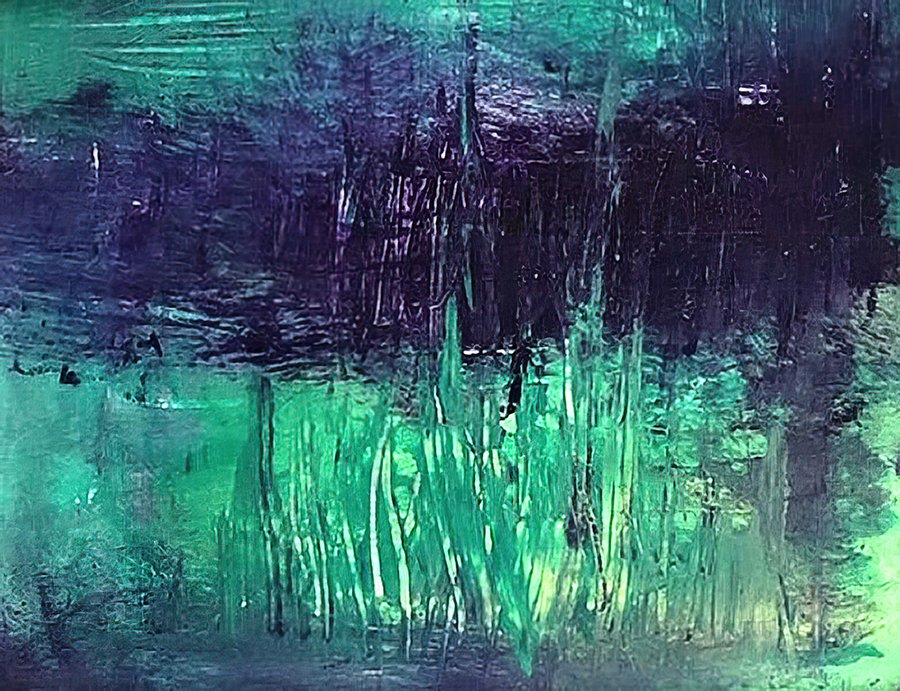
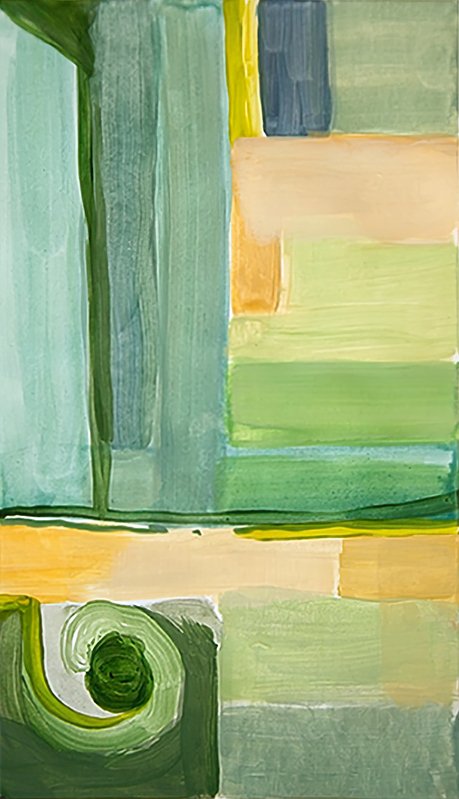
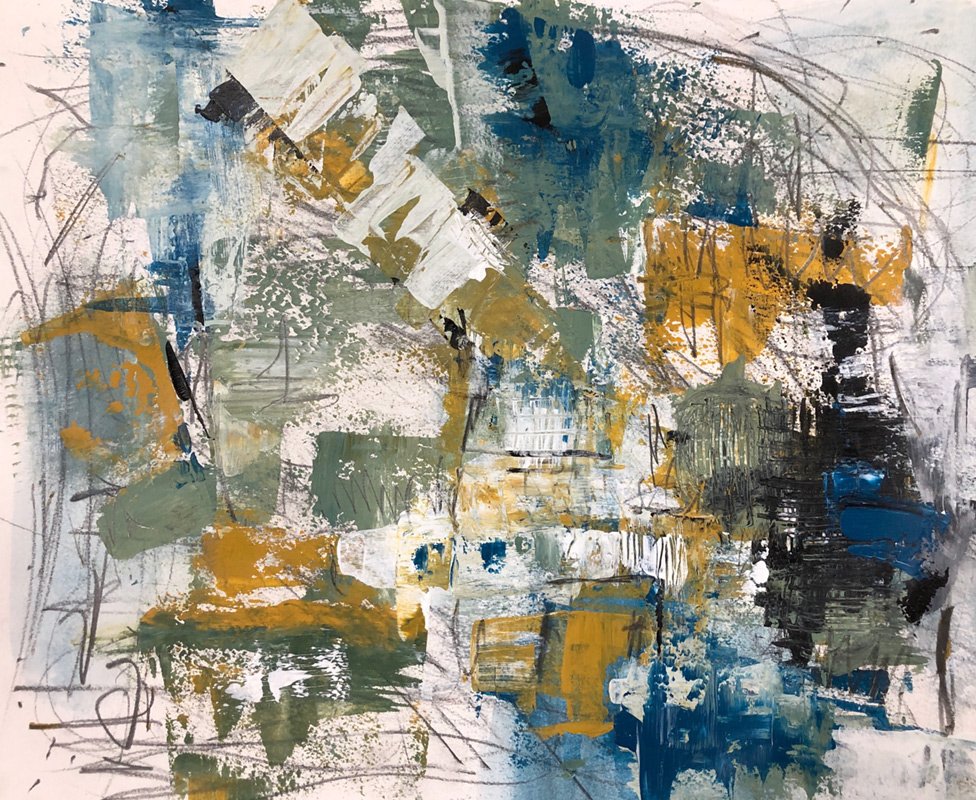
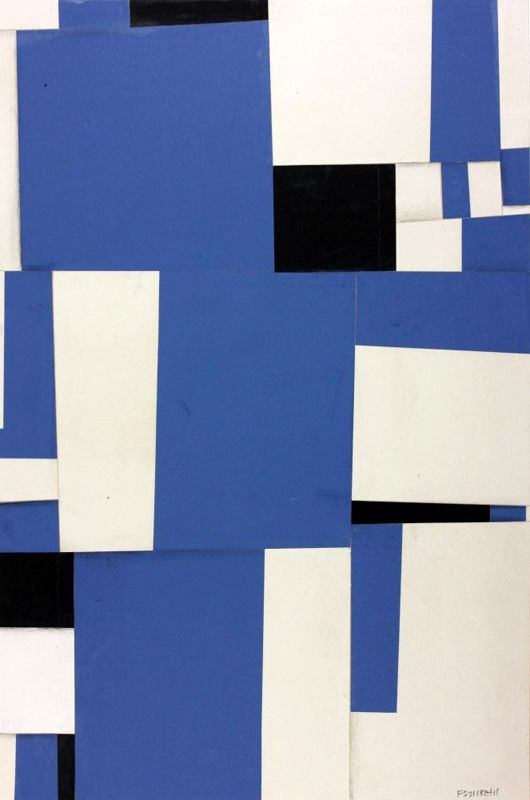
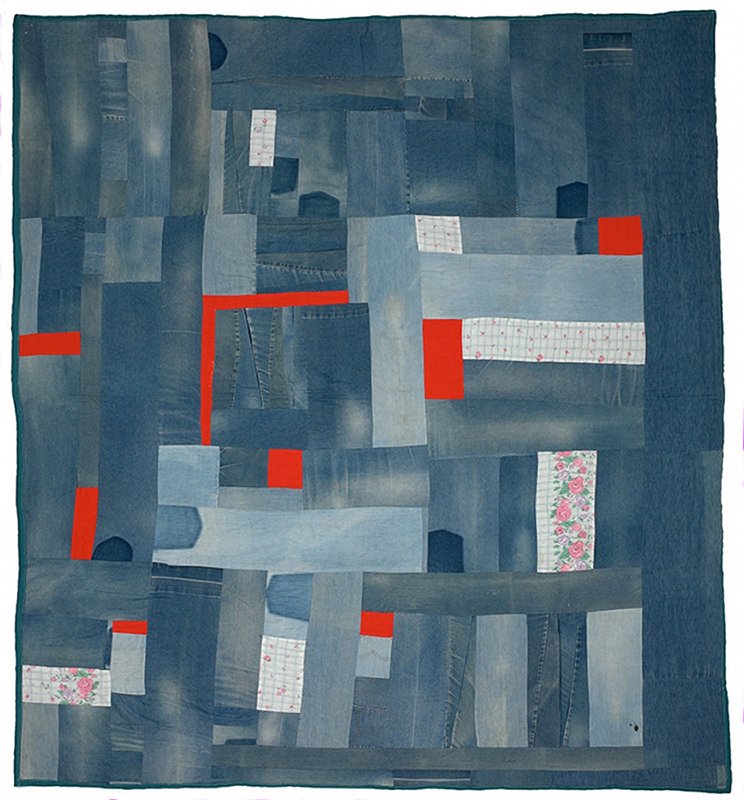
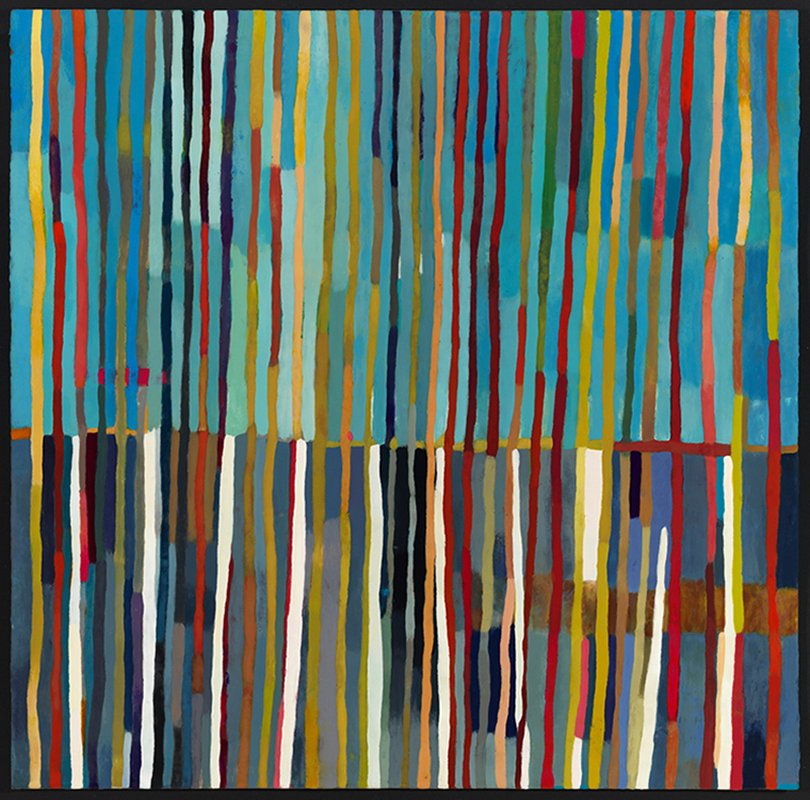
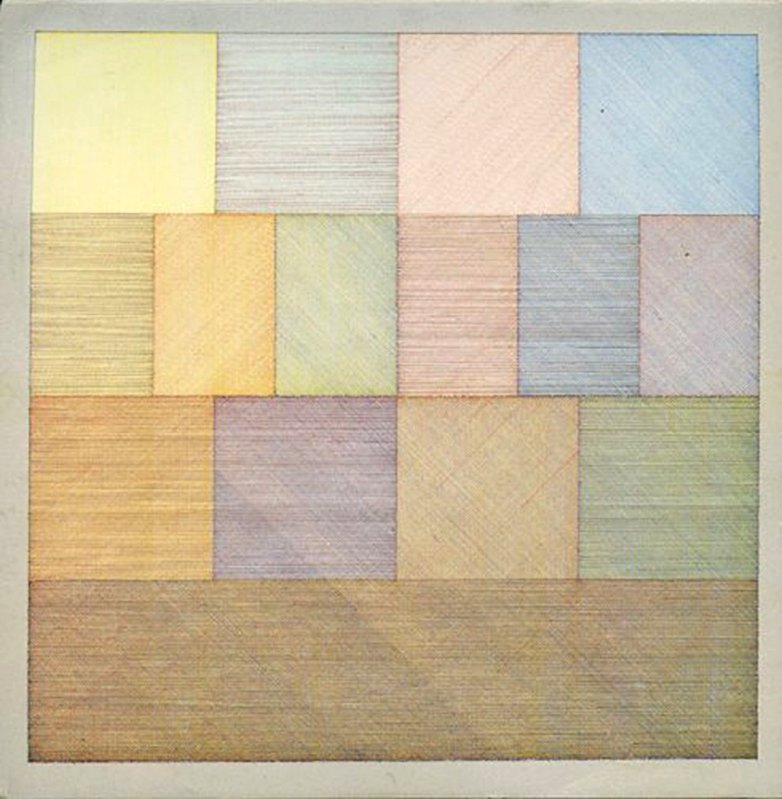
A. Vertical Grid painting
This painting is done using the vertical grid pattern. It is like making stripes of various sizes, shapes, textures and color going from side to side on the paper. And, it does not have to be a strict adherence to this. Some stripes can be shorter than others. They can be "tucked" inside another shape. The shapes can be curvelinear or geometric. They can be rough or smooth or any variation. The idea is to explore and have fun while making an engaging image. Start this painting with the paper horizontally.
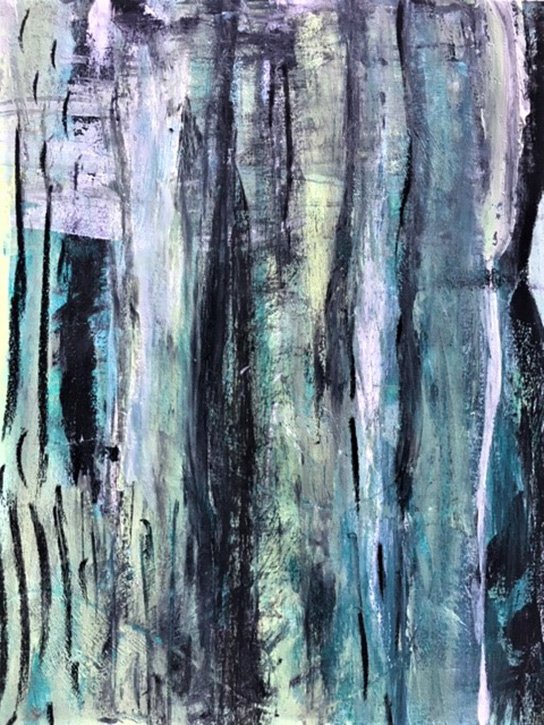
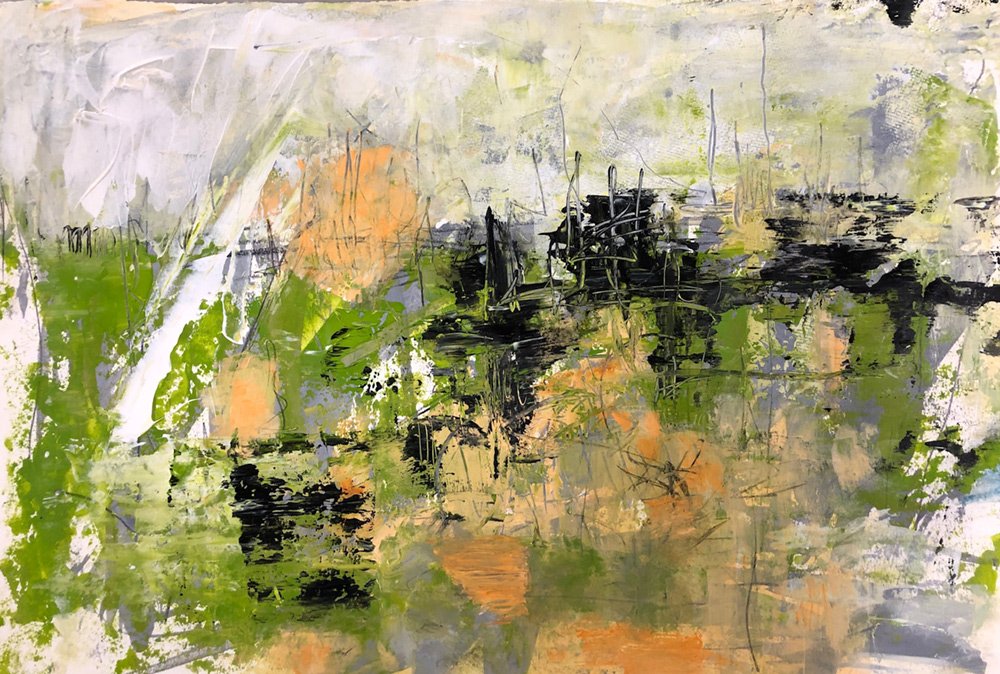
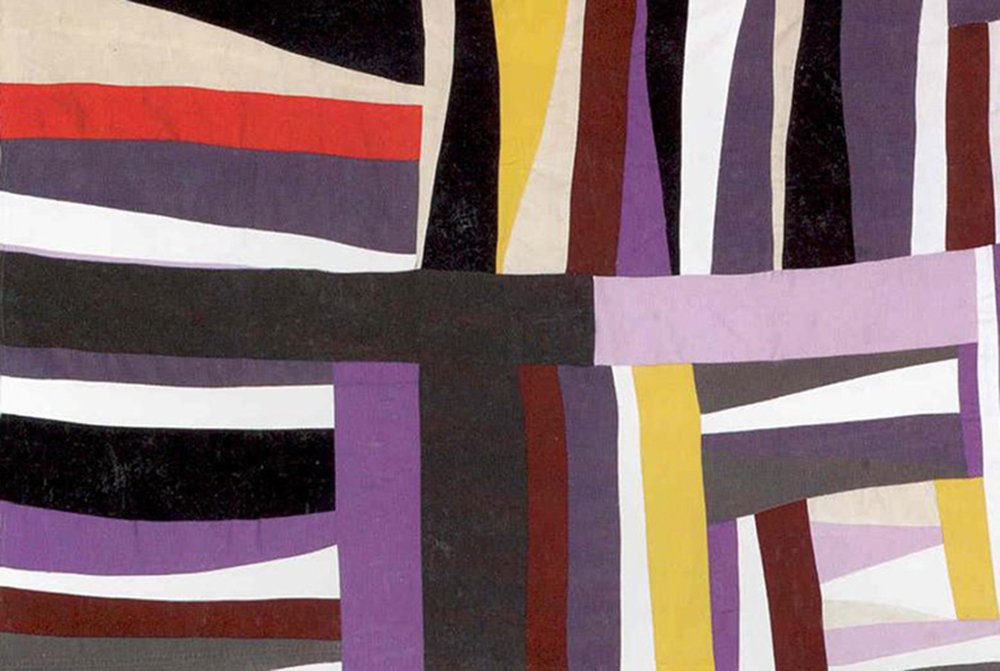
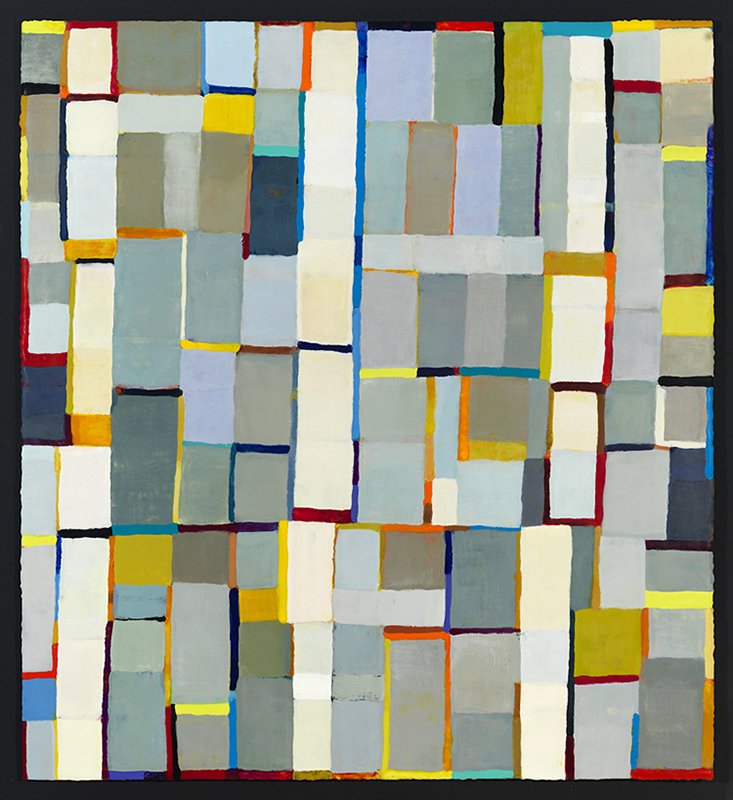
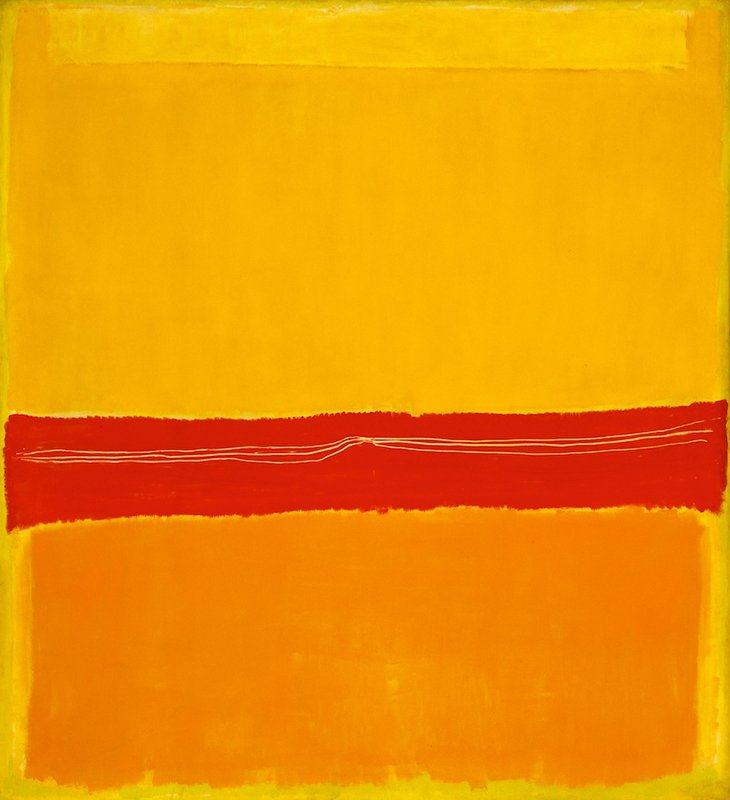
B. Horizontal Grid painting
This painting is done using the horizontal grid pattern. It is like making stripes of various sizes, shapes, textures and color going from the top of the page to the bottom of the page. And, it does not have to be a strict adherence to this. Some horizontal stripes can be shorter than others. They can be "tucked" inside another shape. The shapes can be curvelinear or geometric or free form. They can be rough or smooth or any variation. The idea is to explore and have fun while making an engaging image. Start this painting with the paper vertically.
BONUS
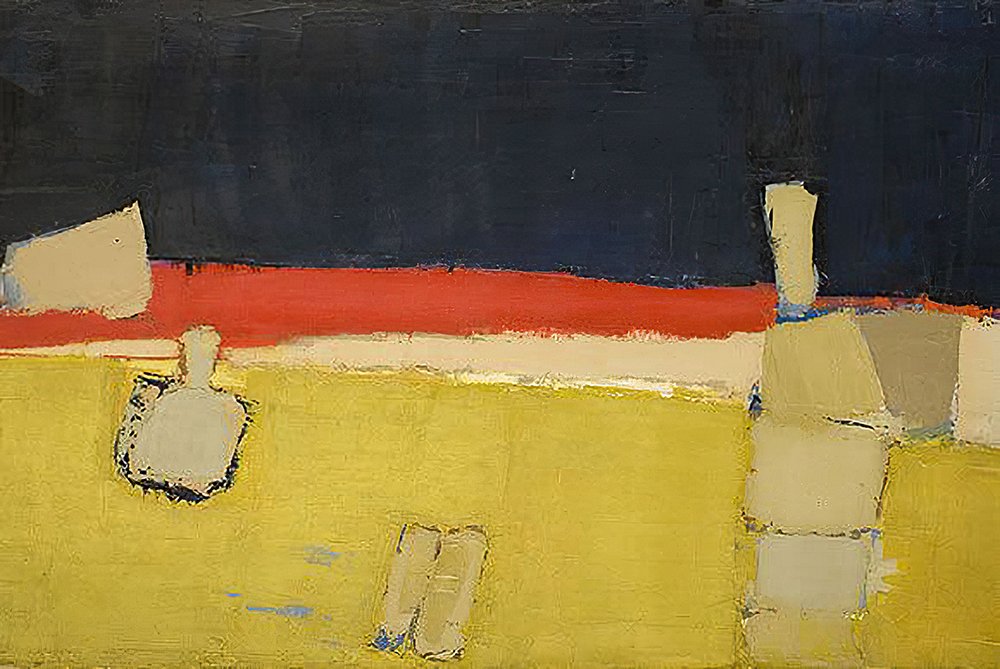
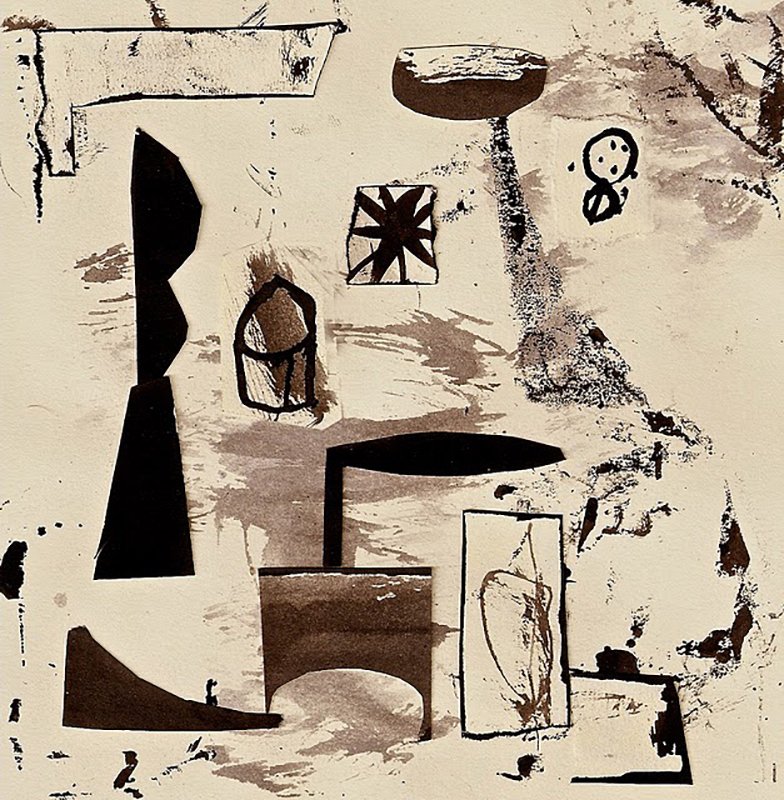
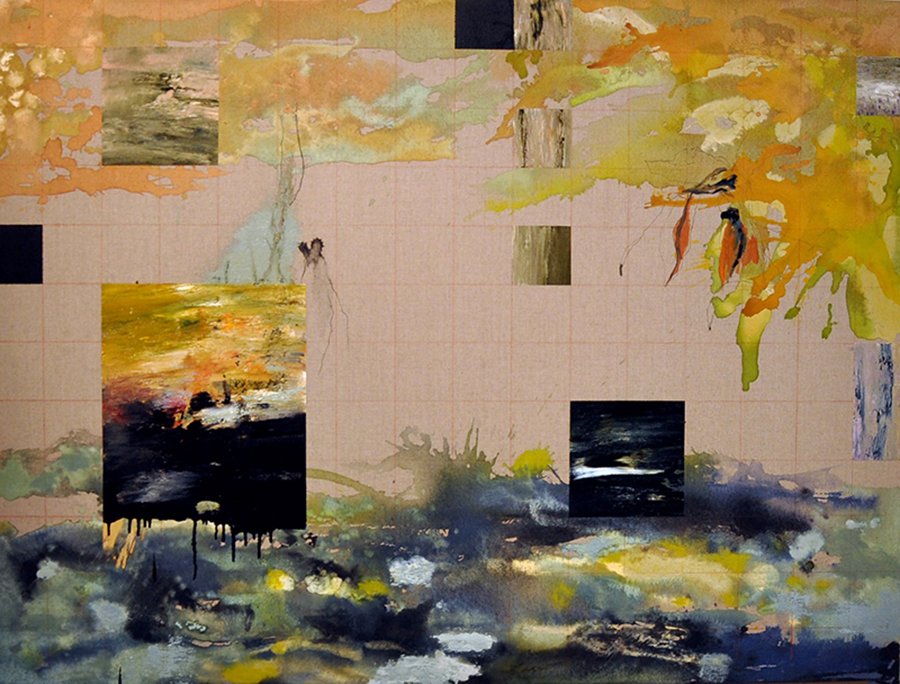
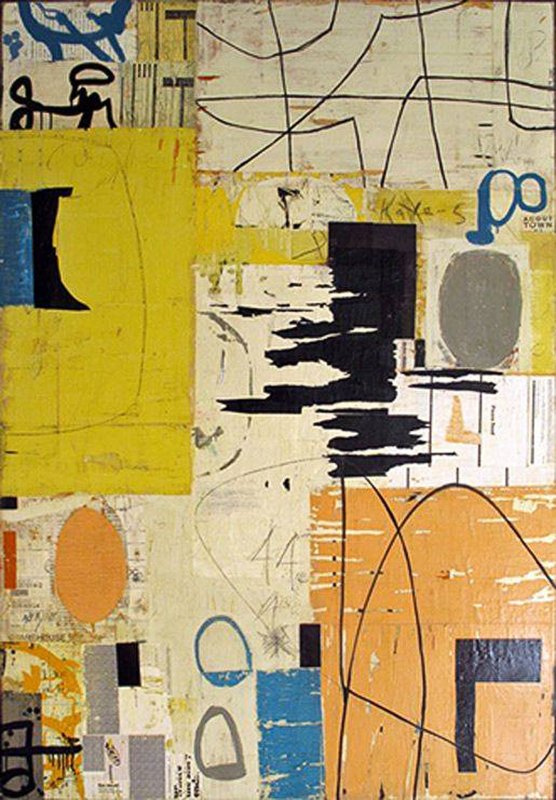
The Irregular Grid - Richard Diebenkorn
Richard Clifford Diebenkorn Jr. was born in April 1922 in Portland, Oregon. When he was two years old his father, who was a hotel supply sales executive, relocated the family to San Francisco. Even as a young child, Richard had a love of art.
He studied at Stanford University, California School of Fine Arts and University of New Mexico. He served in the military in 1943-1945. In 1945 Diebenkorn was dispatched to Hawaii, where he worked as a cartographer. Often travelling by air over endless miles of landscape, he developed an eye for compressing three-dimensional landscape into two-dimensional design. This experience was pivotal in Diebenkorn’s organization of space and composition.
Years later, he would recall, ‘One thing I know has influenced me a lot is looking at landscape from the air… Of course, the Earth’s skin itself had “presence” — I mean, it was all like a flat design — and everything was usually in the form of an irregular grid.’
It is Richard Diebenkorn’s distinctive and highly individualistic way of viewing space and the world around him, that we explore in this talk as he enlivened the way we use the grid structure in painting today.
Creating a Painting
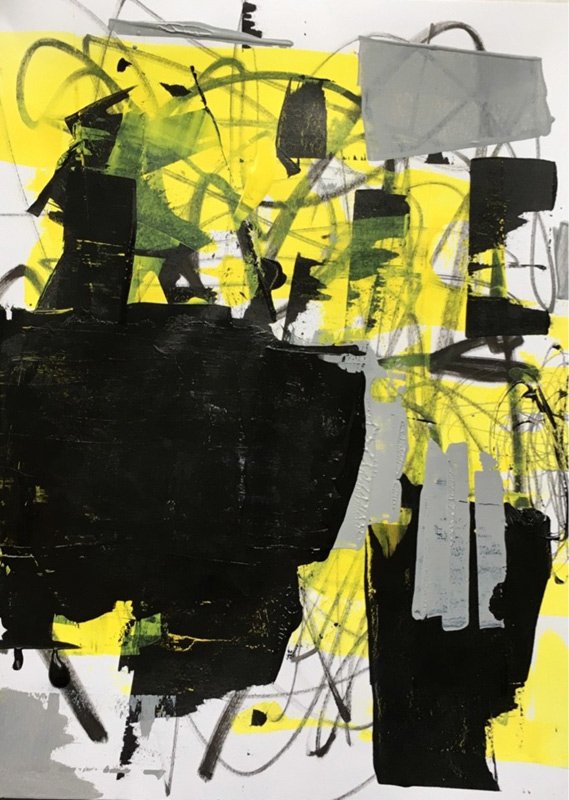
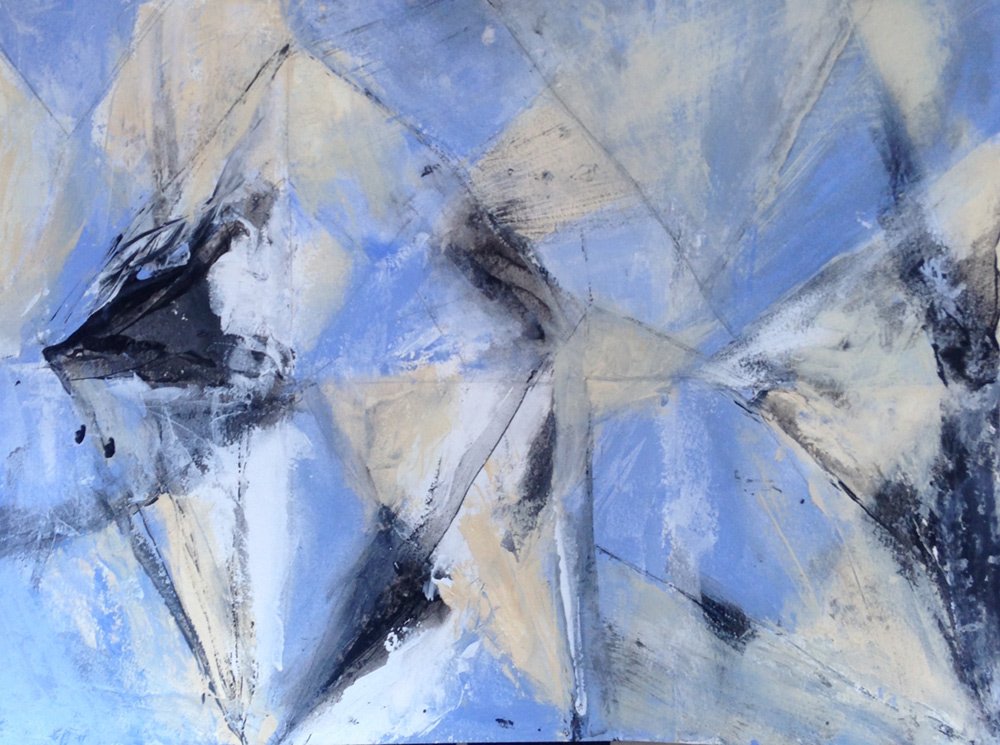
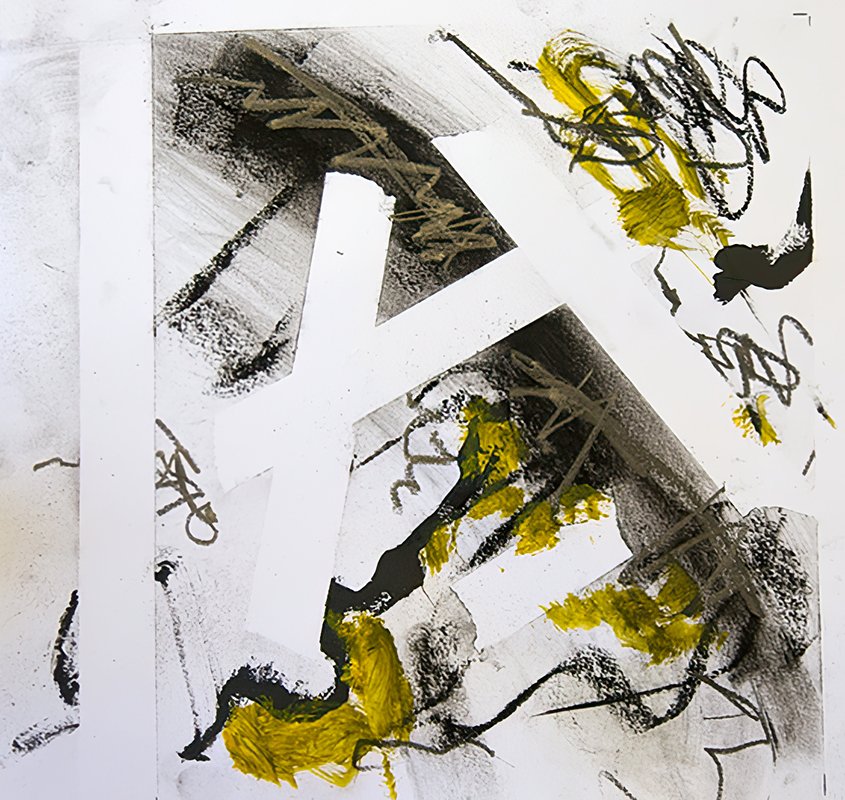
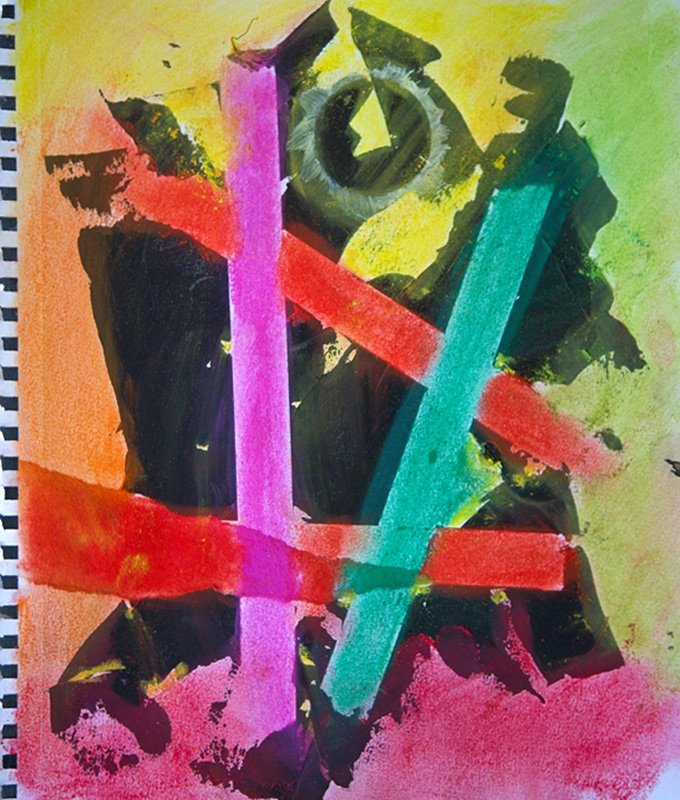
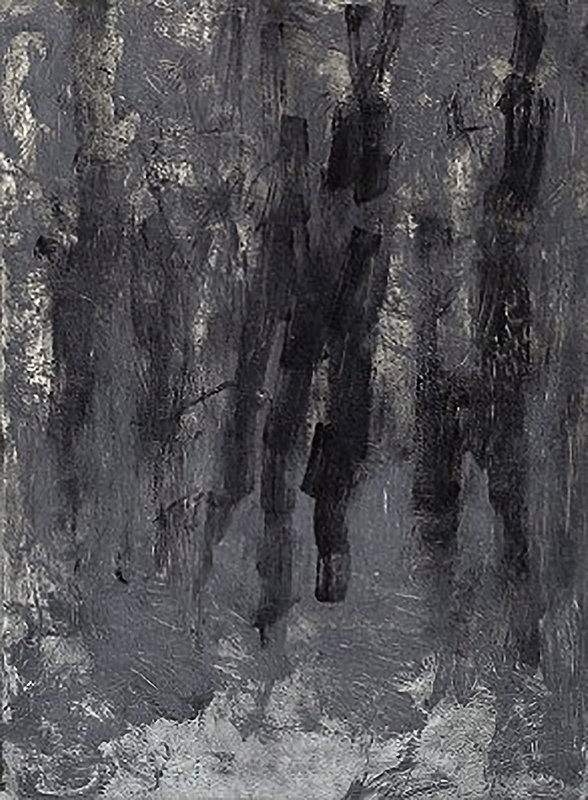
How to start a painting using a diagonal grid
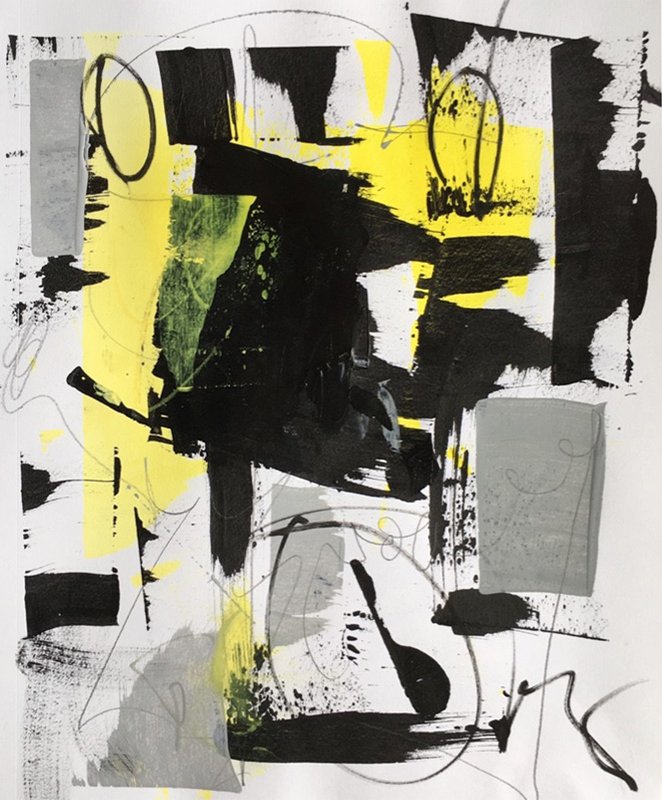
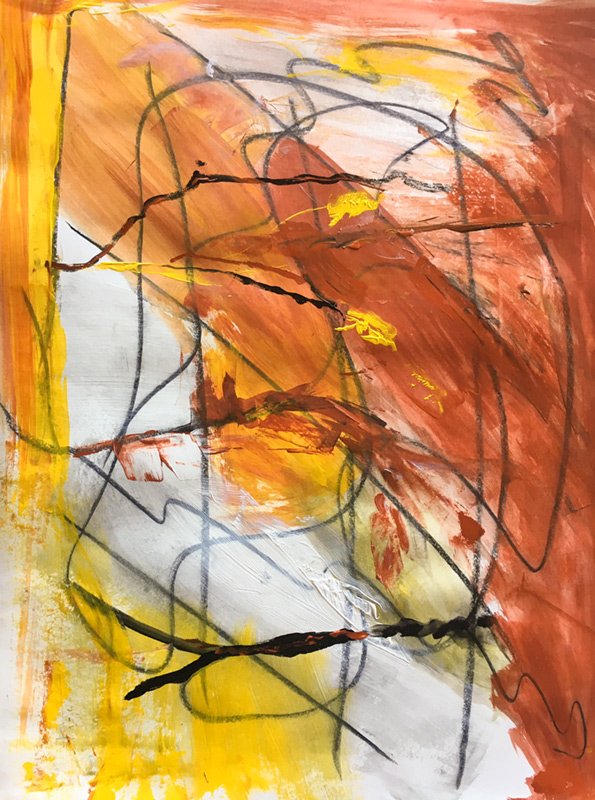
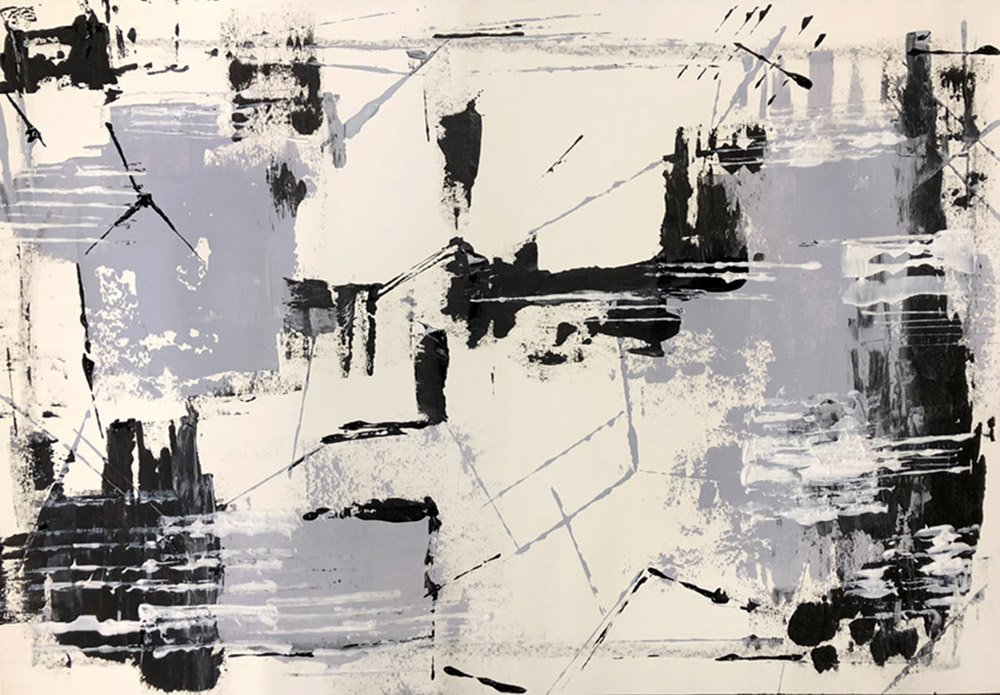
One way to start a painting is to pencil in a large distorted, diagonally placed "tic tac toe" shape on the paper or canvas. Making marks along these lines sets up a structure from the beginning. One can choose a focal point quickly with this method. The idea is to work intuitively using the guidelines very loosely, and if it happens to even abandon them all together once the painting is underway. Here, Suzanne demonstrates how she uses this method to start a painting.
TO DO
Using 2 colors, black and white, brushes, scrapers, shapers, drawing tools and a large heavy weight mixed media paper 22" x 15" create a painting beginning with the diagonal grid.
Creating a Painting
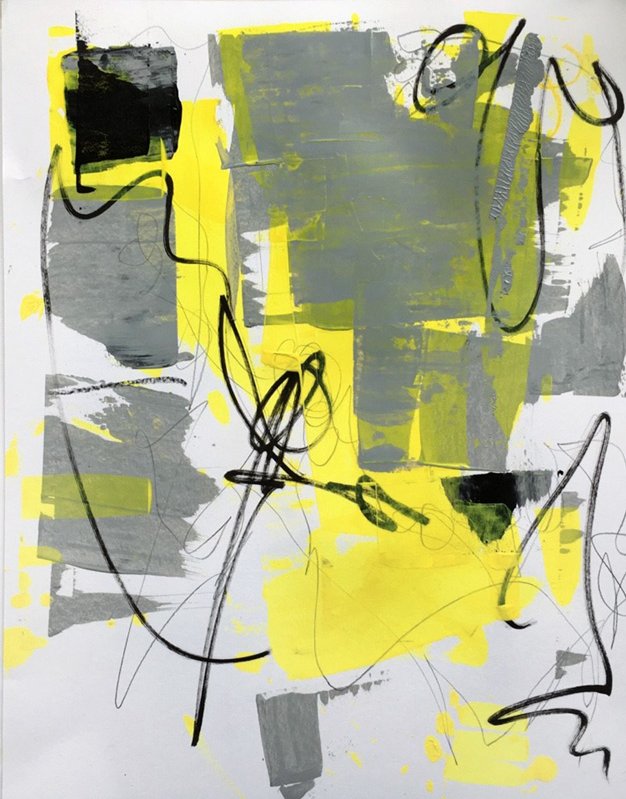
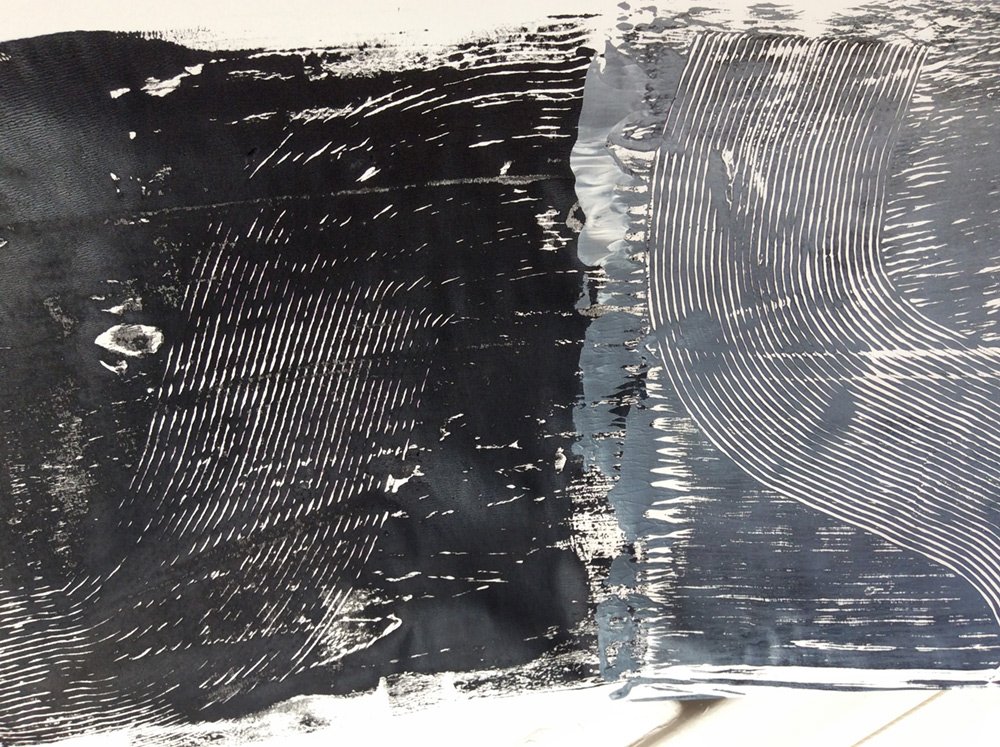
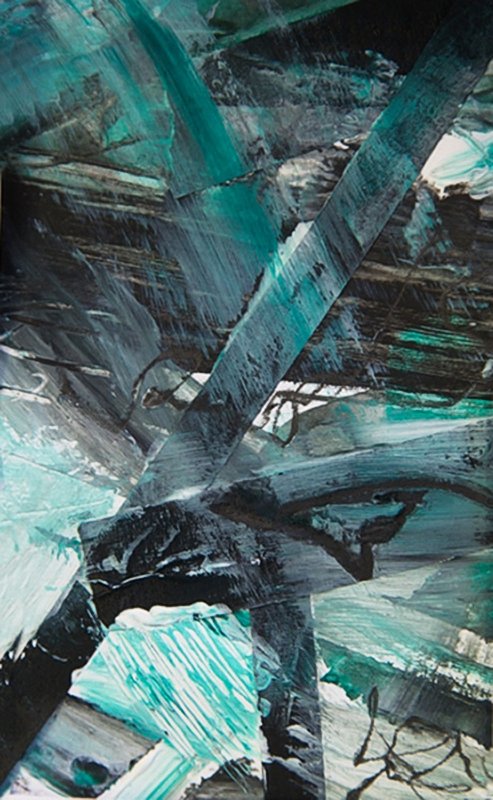
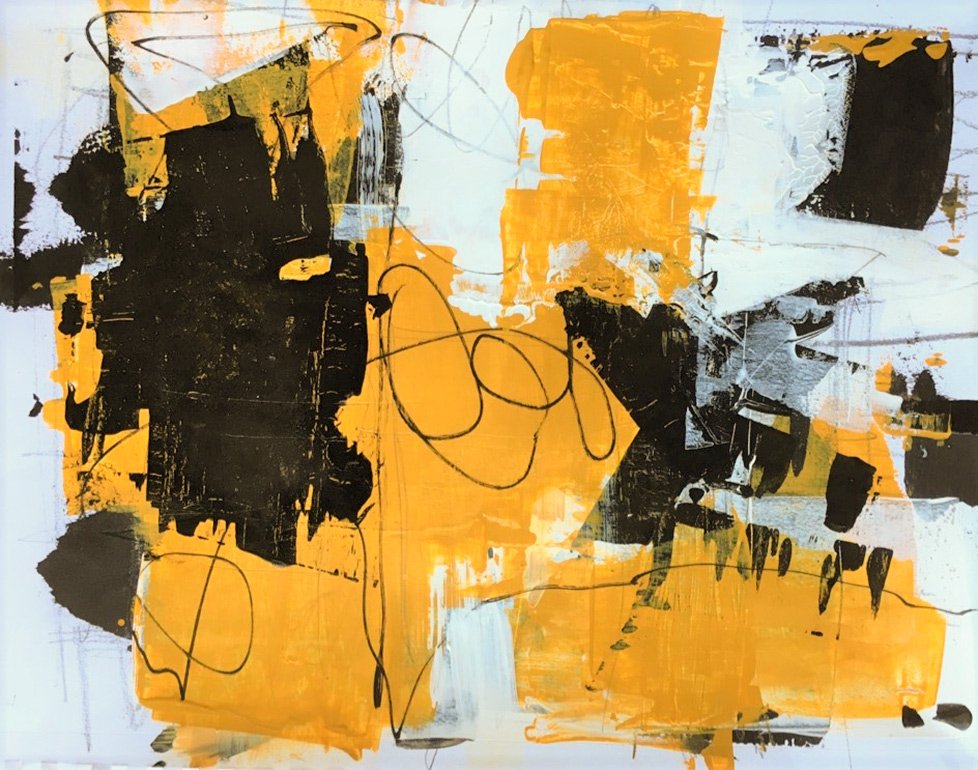
How to start a painting using an implied structure
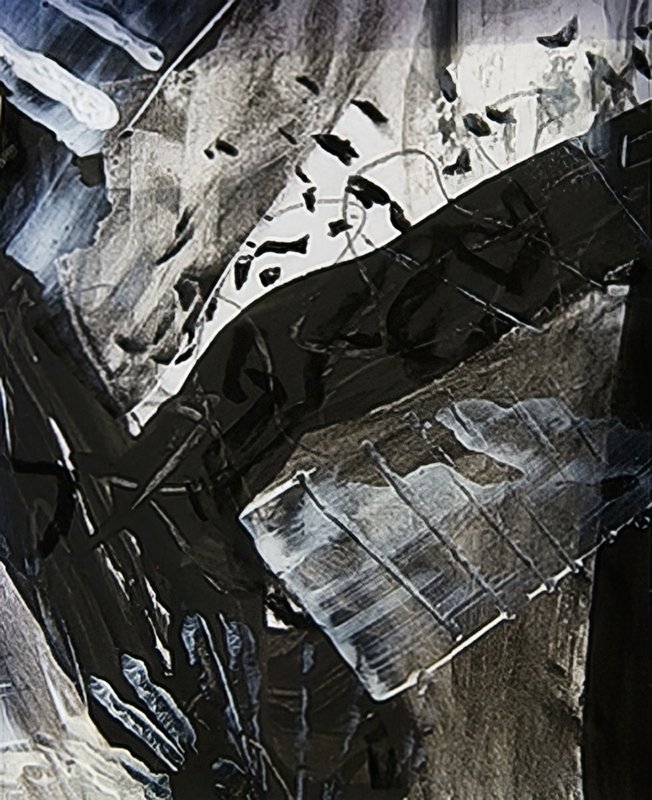
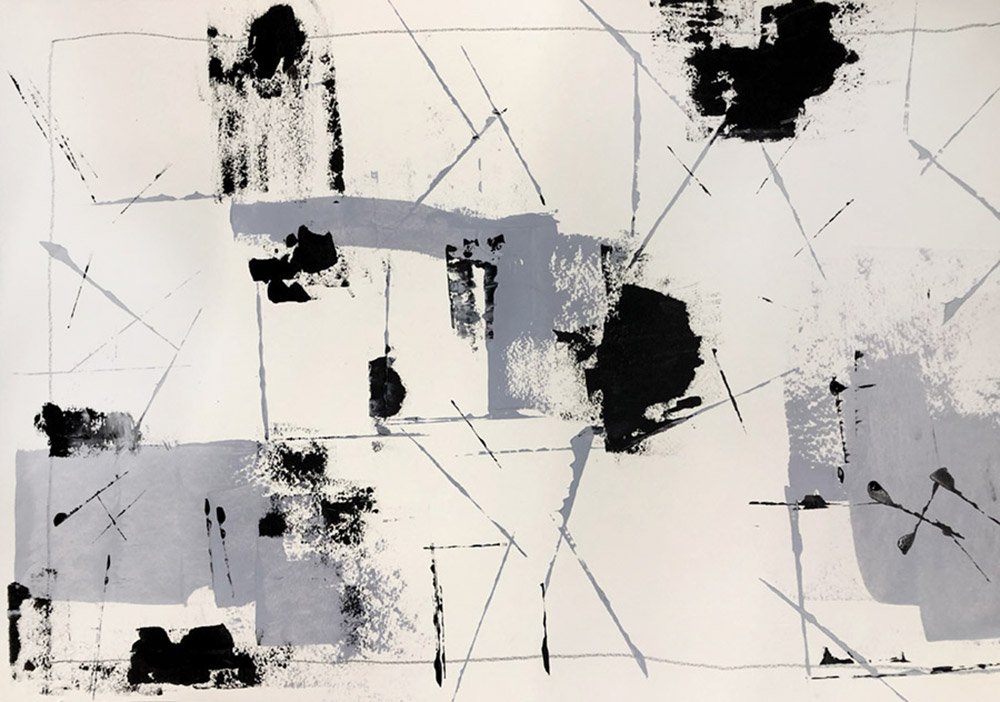
This is another method to give painting a structure. Place different lengths of blue 1" tape on the paper intuitively. Best to use about 5 or 7 pieces of tape. These can overlap one another, run off the paper and be at different angles to one another. The tape will act like a resist. Since the tape has the same width and all have straight and hard edges, the varying angles will set up a structure for the eye to flow throughout the painting and to give it unity.
Once the tape is on the paper, simply ignore them while painting. At various stages in the painting process, lift off one or more of the pieces of tape and incorporate the shape created into the painting. They can be bold or subtle.
Notice when you finish the painting there is enough of the shapes of the tape pieces remaining to continue to provide eye flow and what we call an implied structure.
TO DO
Using 2 colors, black and white, brushes, scrapers, shapers, drawing tools and a large heavy weight mixed media paper 22" x 15" create a painting by using an implied structure.
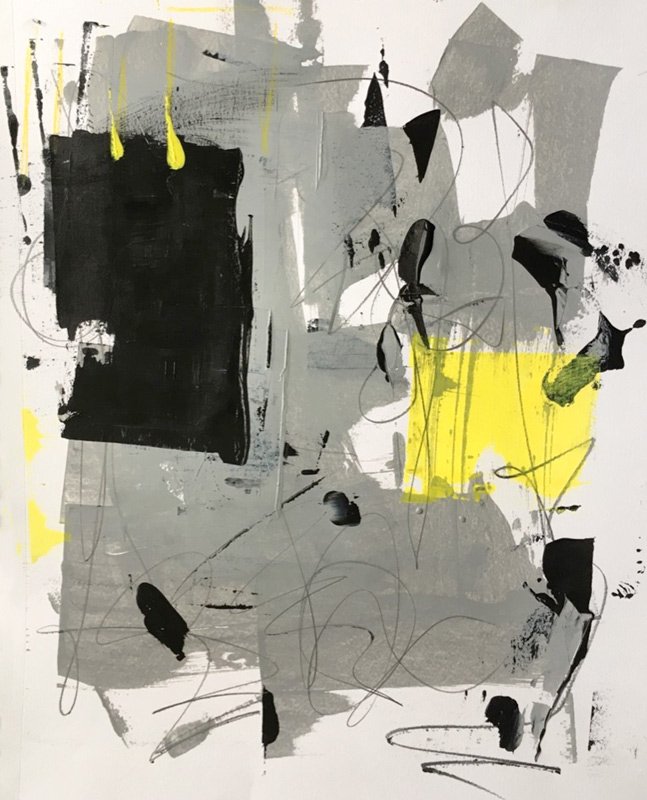
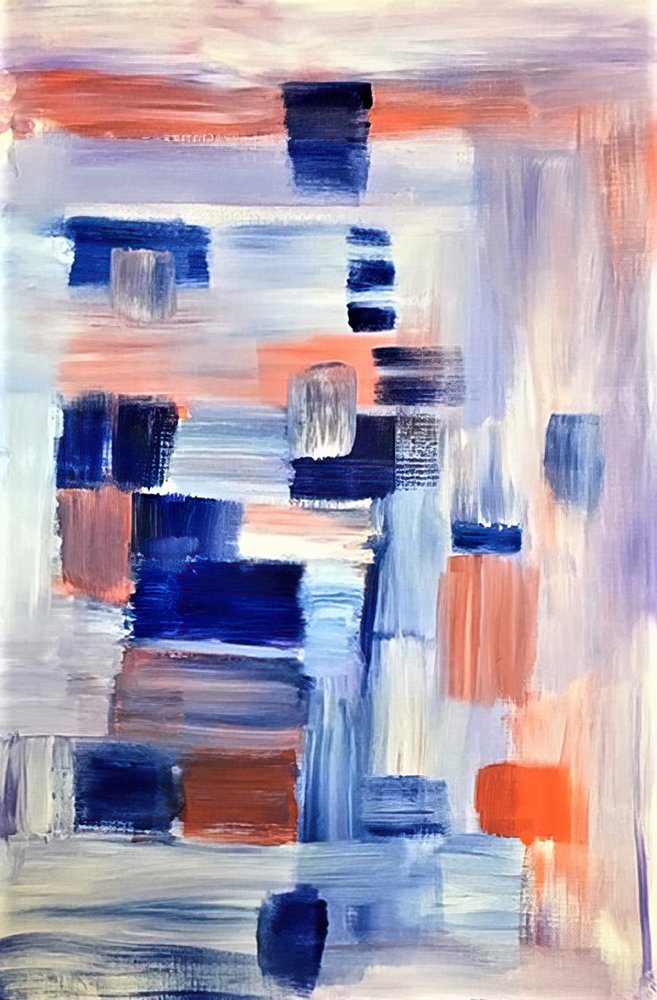
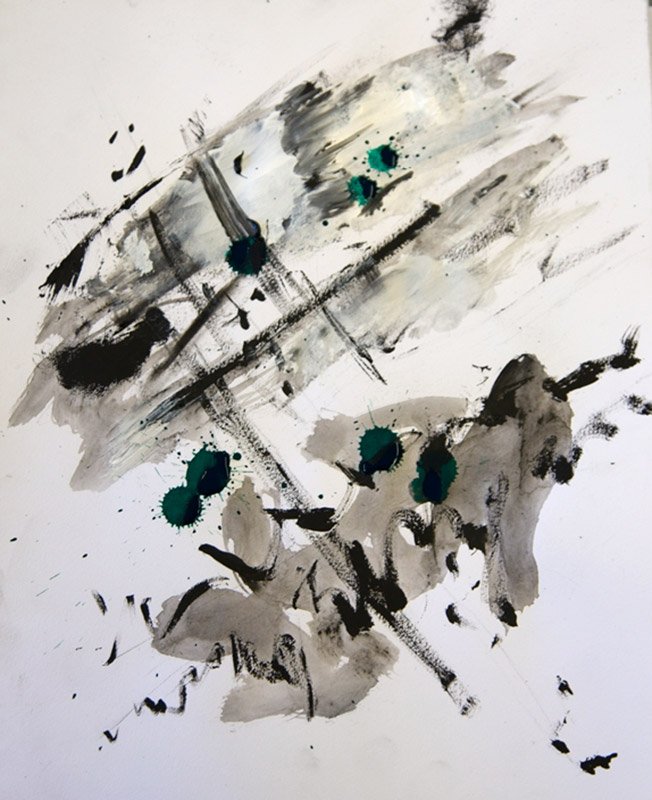
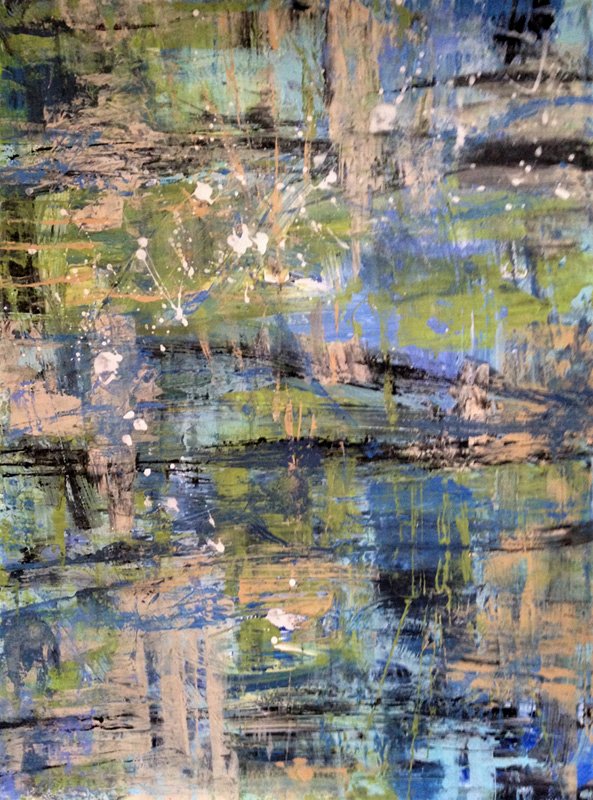
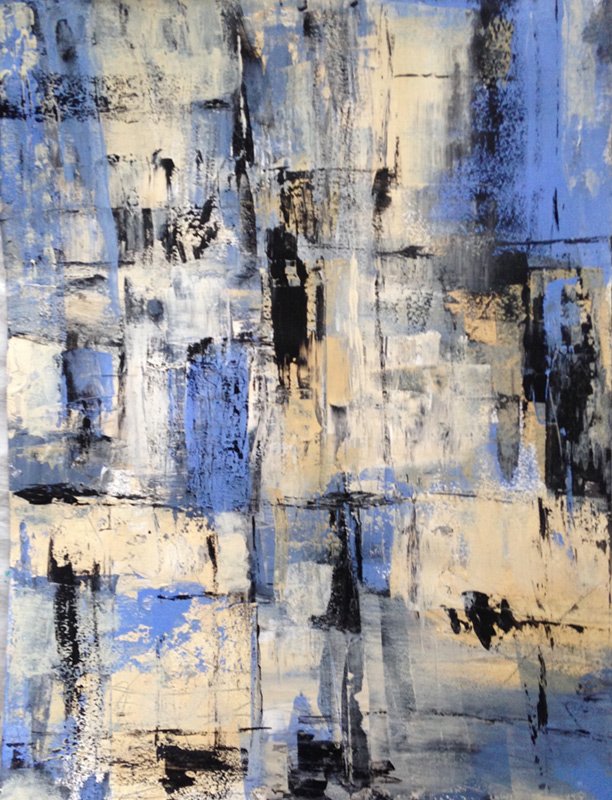
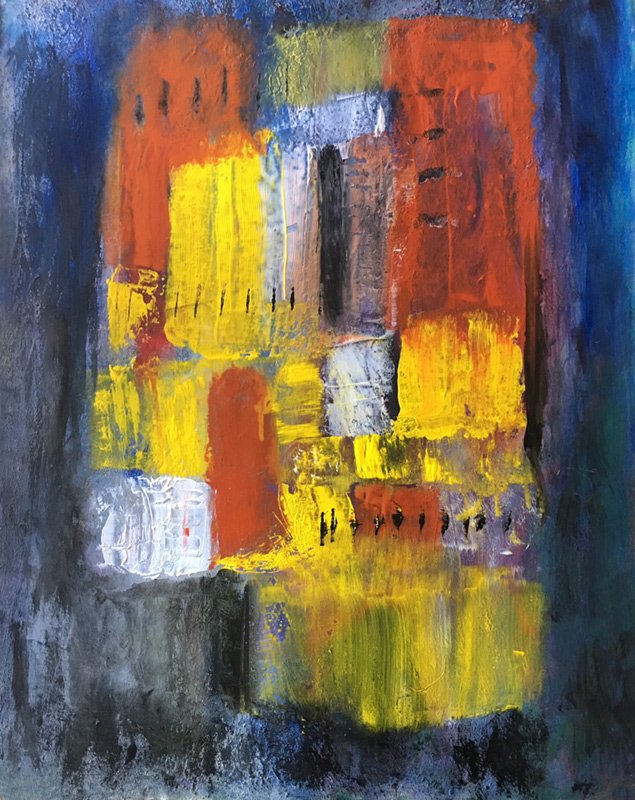
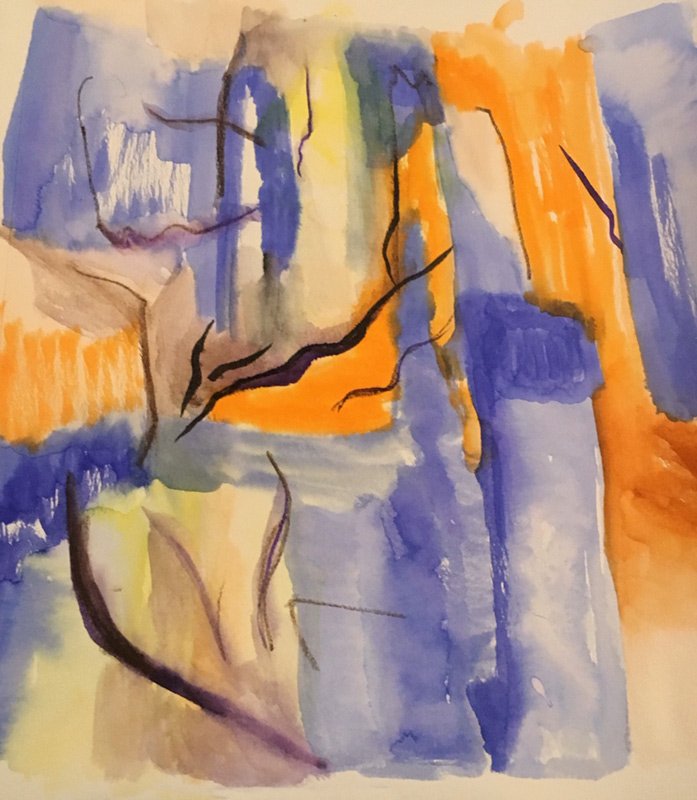
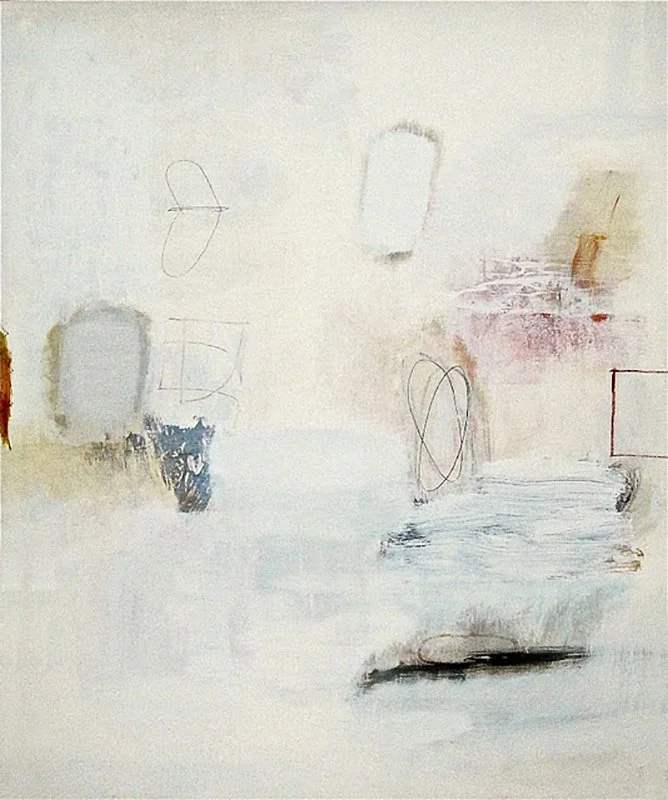
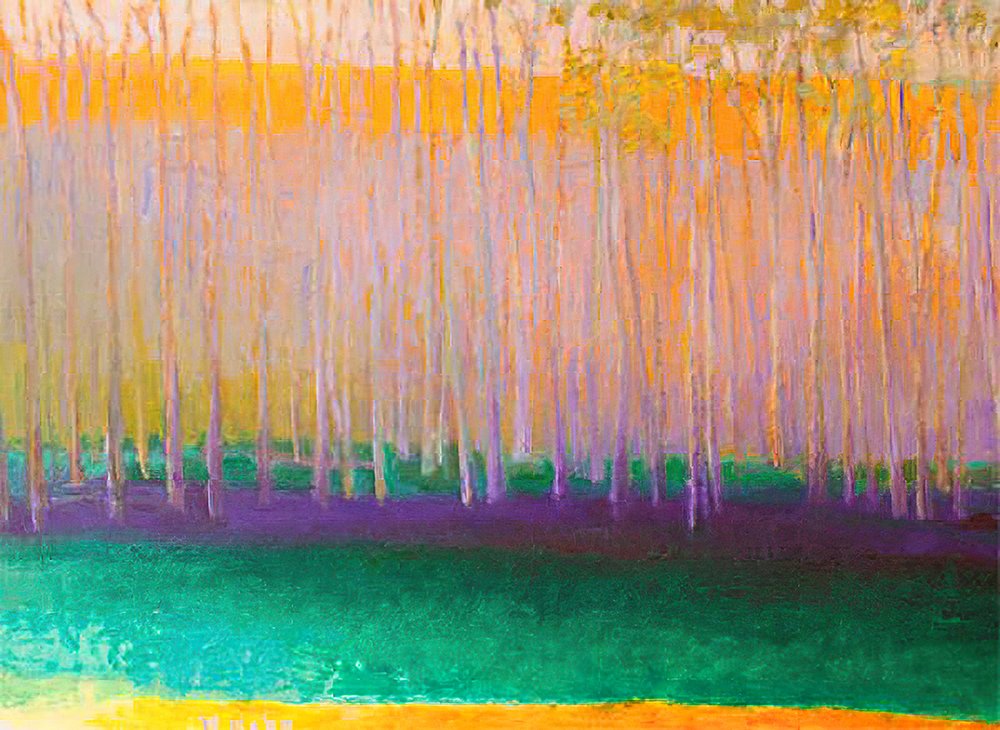
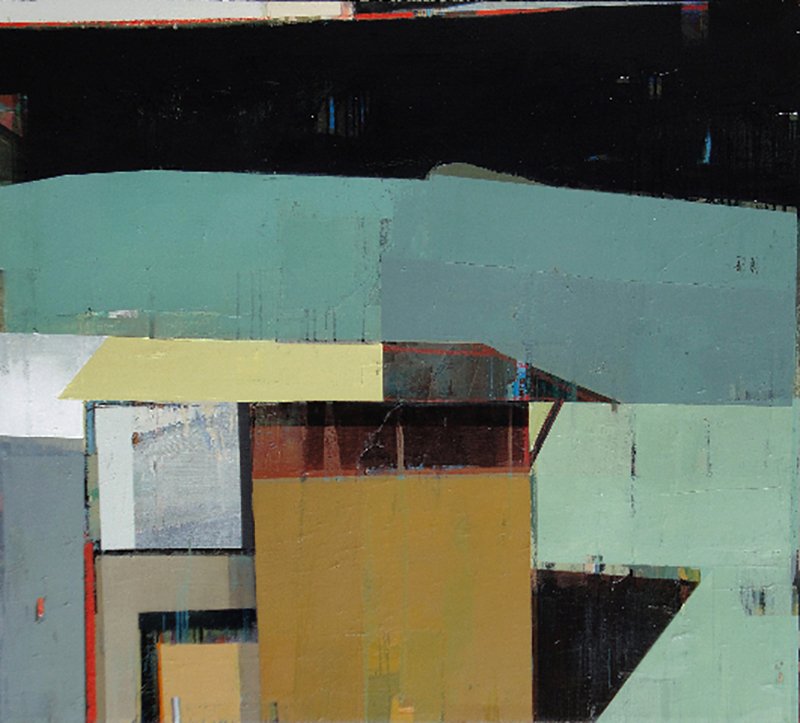
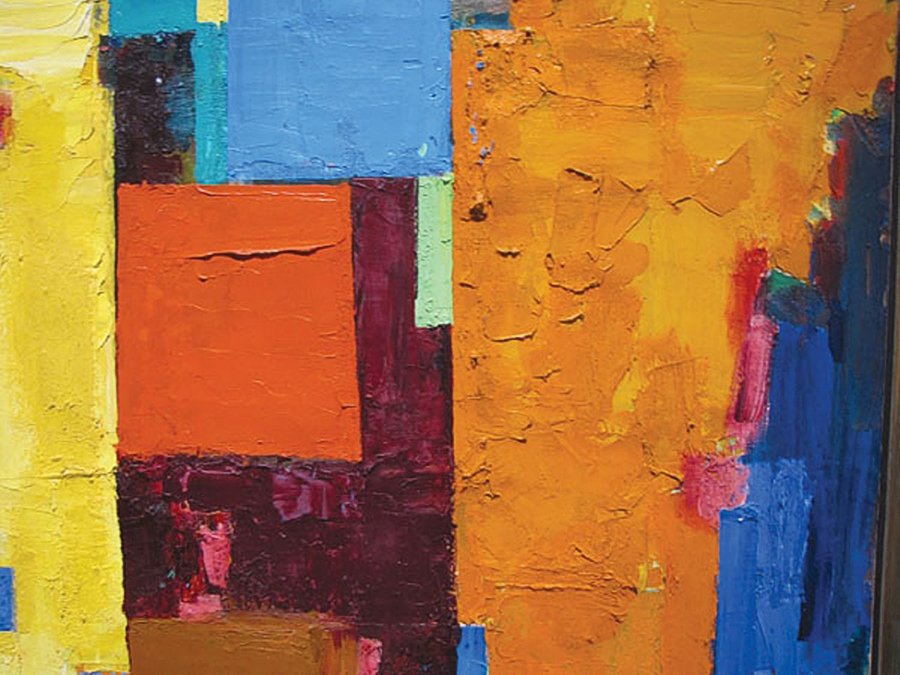
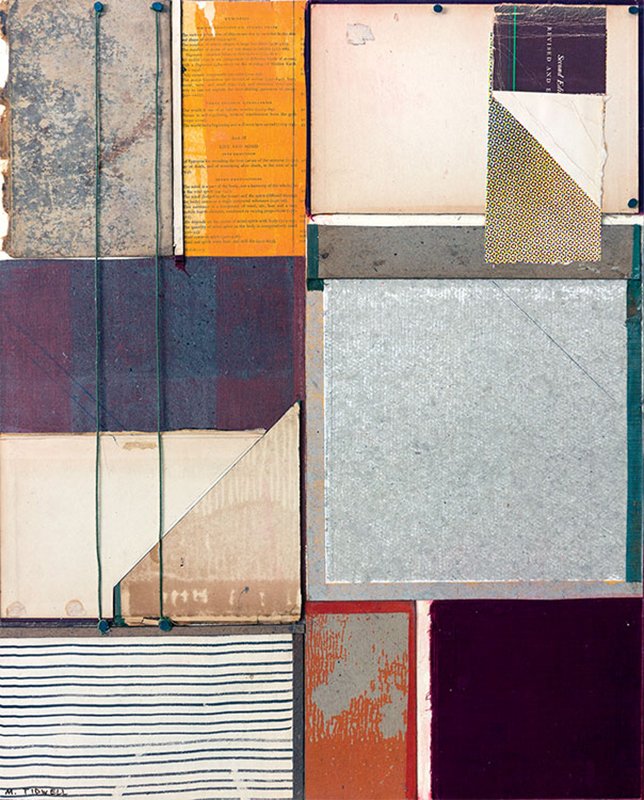
GALLERY
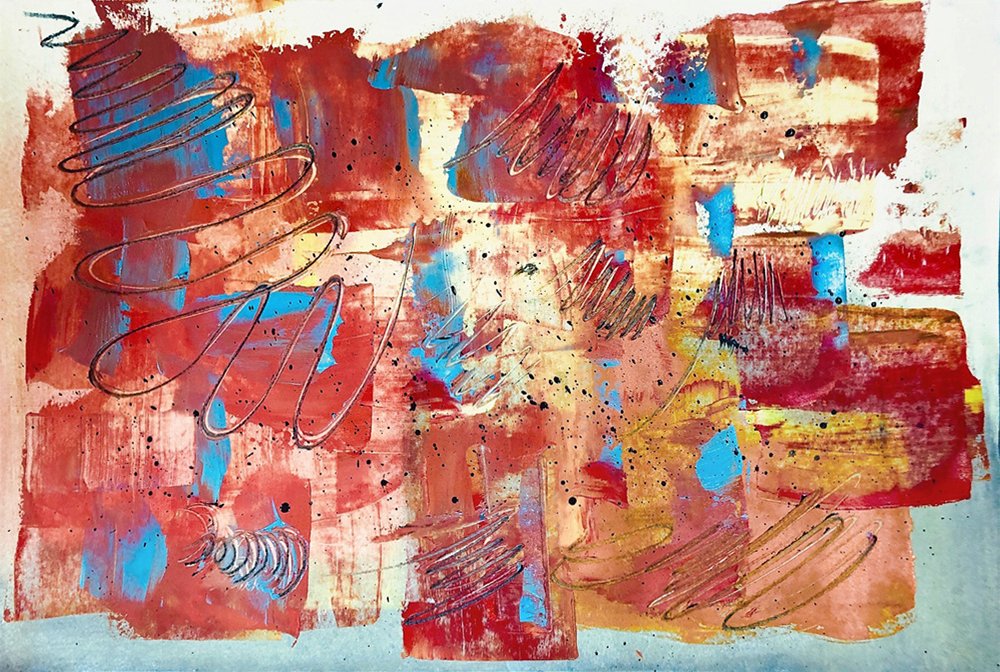
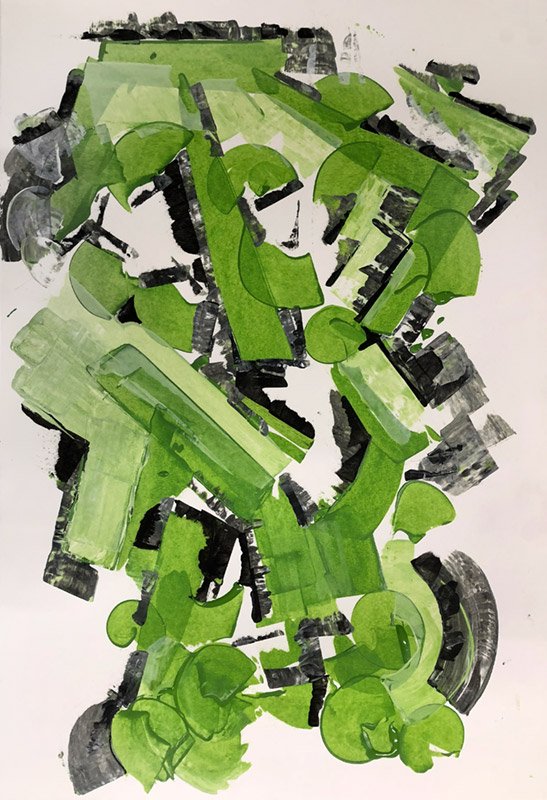
In this gallery of participants' work, you can see that there are so many different ways to create a painting using a structure. The grid structure is an important way to organize the space which humans find very comfortable. It is, however, not always easy to use the grid to make lively and expressive paintings. When we go a little bit away from the grid, the picture plane can be enlivened and exciting. Note the energy in these paintings and contemplate the effect that structure brings. Again, which images resonate with you and which kind of structure do you like?
In this Module we have just begun to explore the infinite possibilities of how to organize an image and how this structure impacts the viewer.