3 - Line & Marks
MODULE #3
LINE & MARKS
A line is a dot that went for a walk.
- Paul Klee
Introduction
Every time your brush hits the canvas or your pencil makes a line, you are making a mark. It is a fundamental element in making any type of art and it is how we begin to express emotion, movement, and other concepts we wish to convey in an artwork.
LINES are marks that span a distance between two points. Line is the identifiable path of a dot, point etc. (moving) through space and that always has more length than thickness.
A line has length, width, tone, and texture.
Because line defines a path, it has the importance of leading our eye around the image. It can divide space, lead us to an area of interest, create flow, emphasize an area and/or create overall organization.
Line is also used to define a form, describe a contour, and suggest direction.
Line communicates mood and meaning…..
MARKS describe the different lines, dots, marks, patterns, and textures we create in an artwork.
Lines/Marks can be used to represent something in the world or they can be intuitively made from our own curiosity, imagination, and explorations, namely the unseen world.
Lines/Marks can serve as symbols, represent edge, convey energy and express mood and a sense of time.
We each have marks and lines that we have been creating most of our lives and these are unique to our own visual vocabulary. In this course, we shall begin the studio practice of line by seeing how marks/lines are affected by different tools, and how we resonate with those marks, develop them and bring them into our paintings.
In this course, we will use traditional tools: pencil, charcoal, and paintbrush. Hopefully, you will get inspired to begin to explore non-traditional tools such as feathers, string, punctures, spatulas, stamps, etc.
Line and Marks Slide Show
Be sure and look at the Slide Show on Line and Marks and enjoy how other artists like yourself have their own unique ways of expressing.


MATERIALS FOR LINE AND MARKS EXERCISES:
Workbook 9 x 12” or 11 x 14” for Mixed Media
18" x 24" drawing or mixed media paper
Ebony graphite pencil
Water soluble and non-soluble graphite pencils, 9B
Black pastel or black charcoal
No 6 round brush
Black Acrylic paint
Gum Eraser
White acrylic paint
Resources:
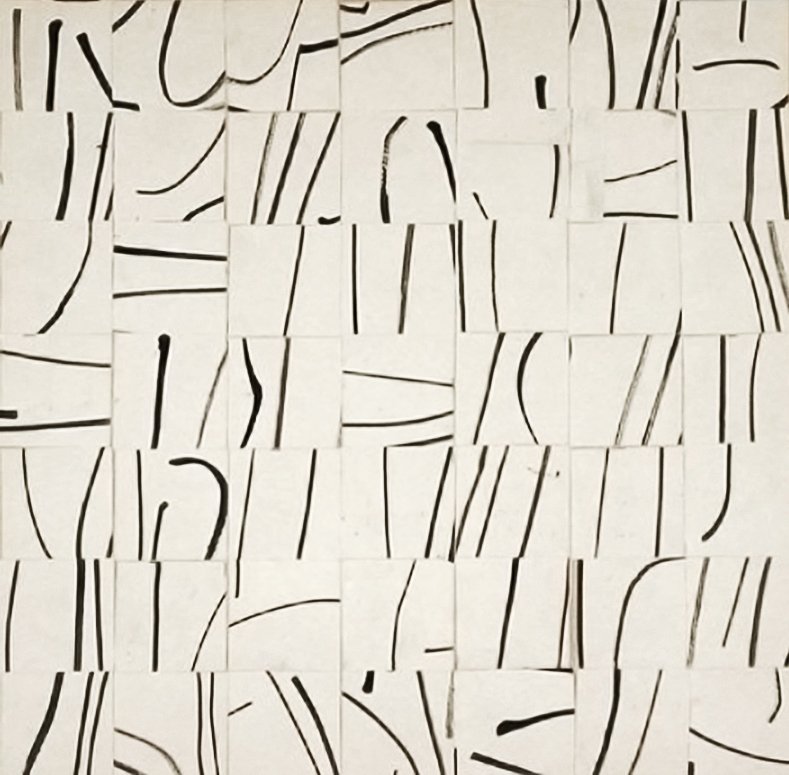
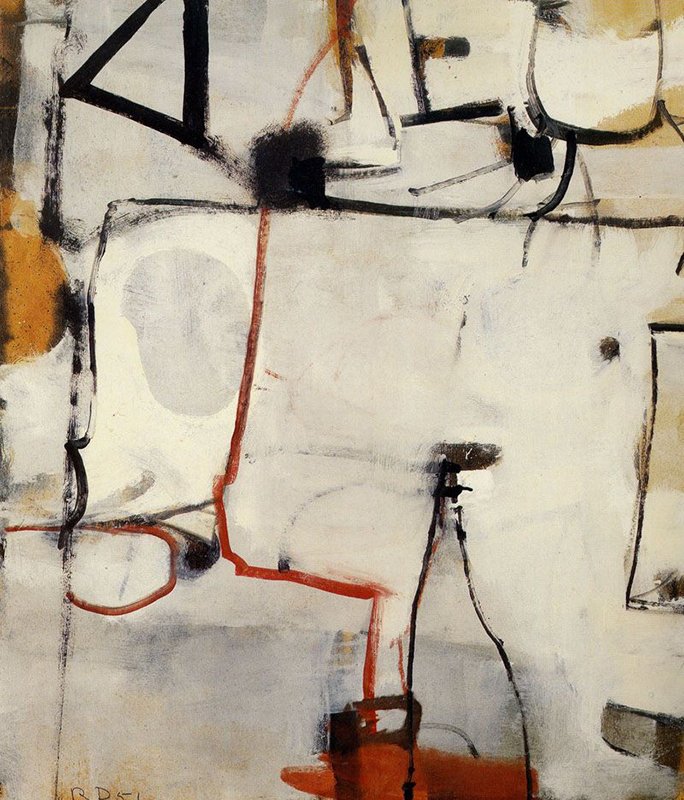
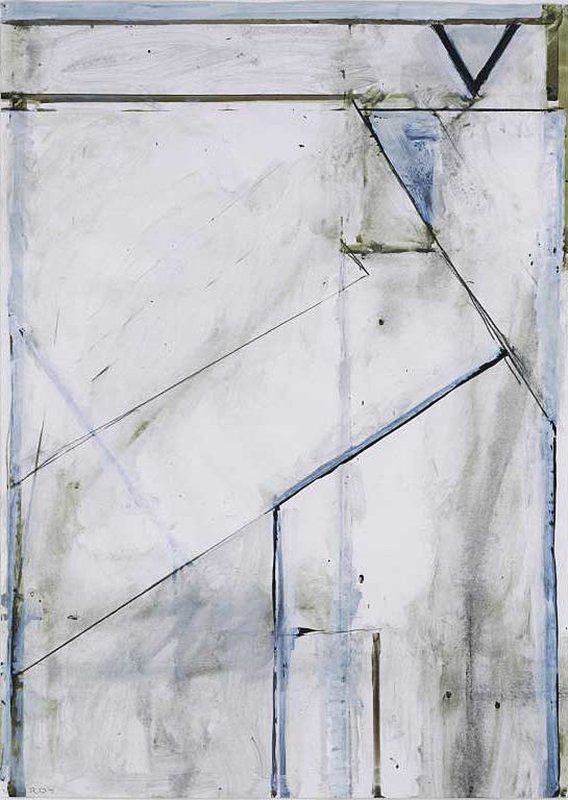
Abstractions on Paper, Richard Diebenkorn, Kellys Cove Press
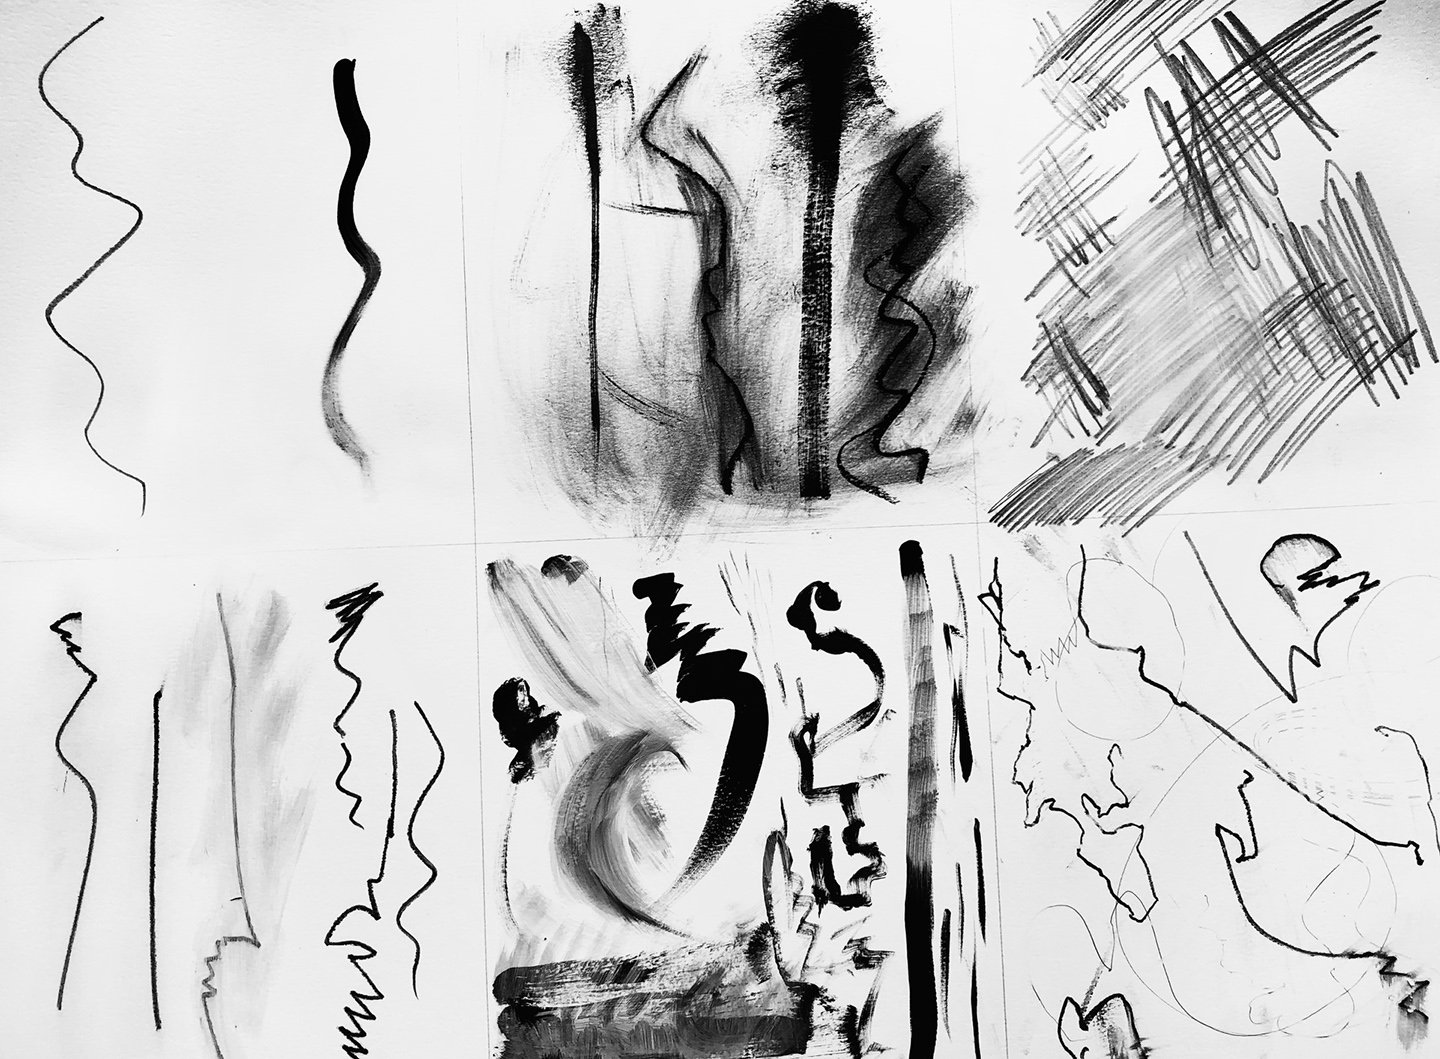
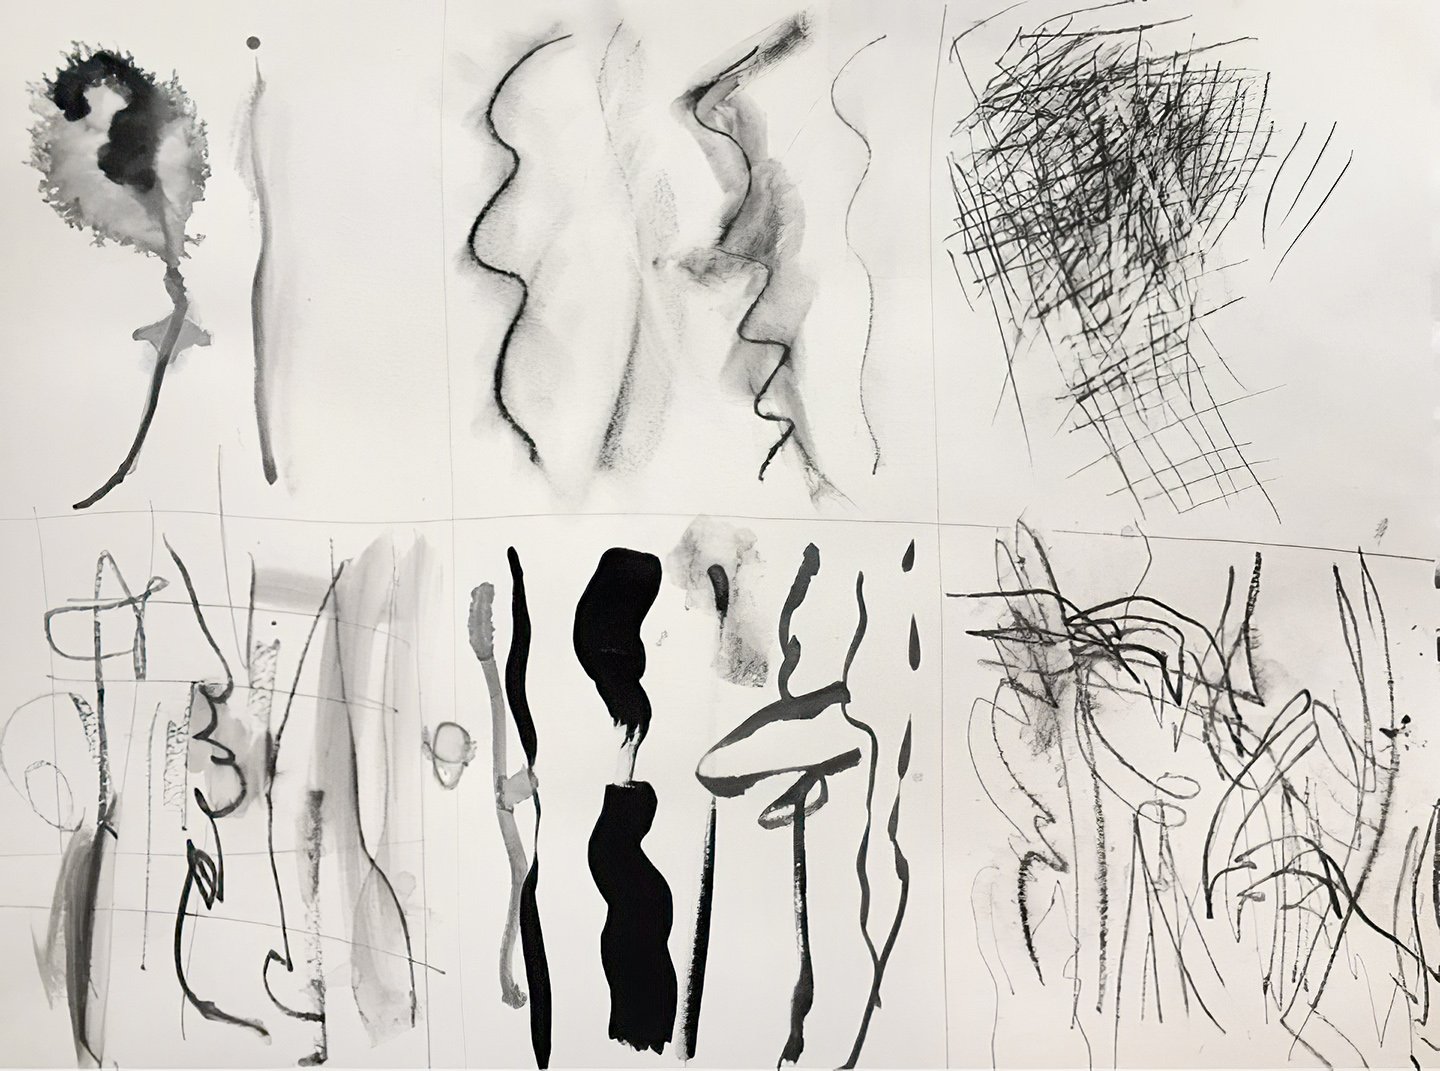
EXERCISE #1
Exploring Line with Tools
Materials needed for this exercise:
Ebony pencil
Water soluble graphite 9B pencil
Non-water soluble graphite 9B pencil
Charcoal or black pastel
Eraser and damp cloth
#6 round paintbrush with black acrylic ink or watered down paint
9" x 12" or 11" x 14" mixed media workbook
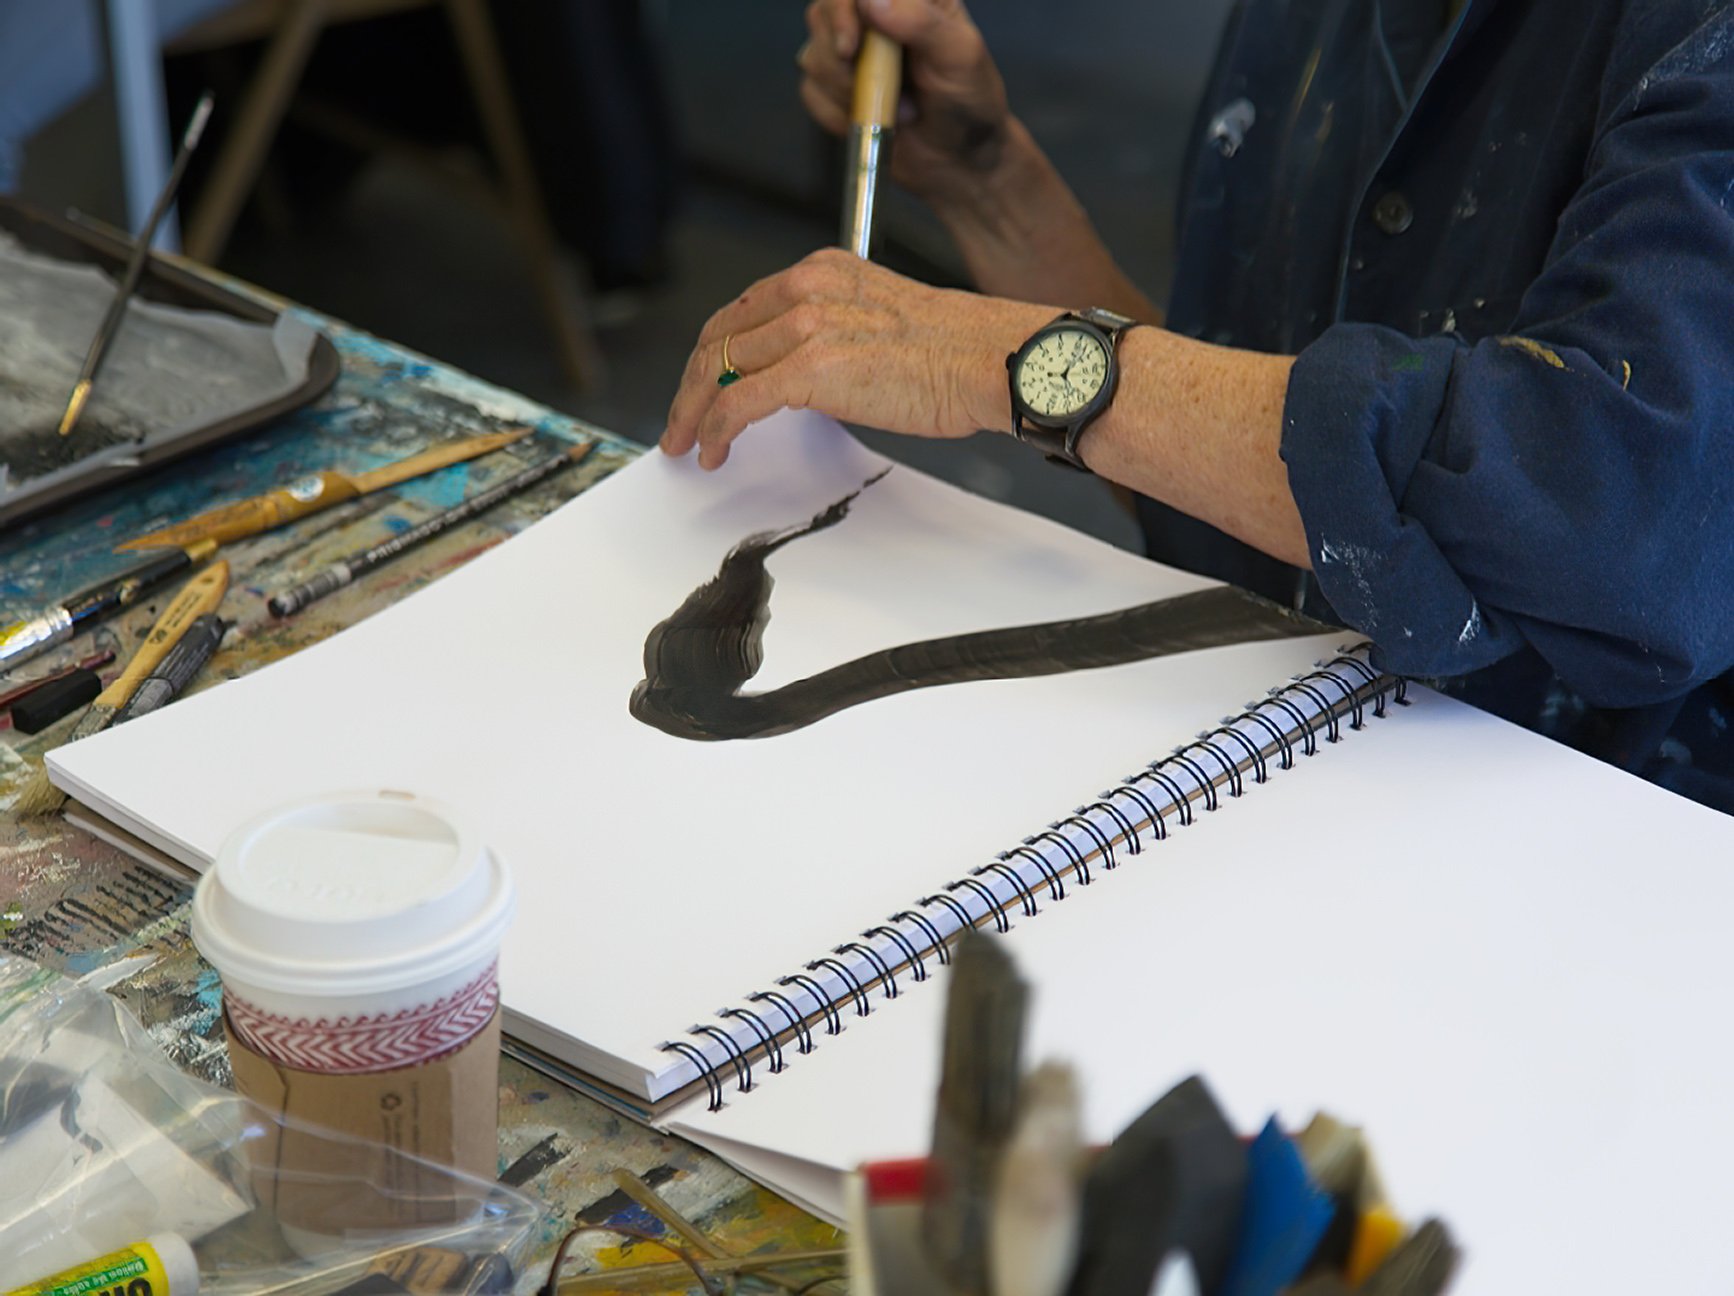
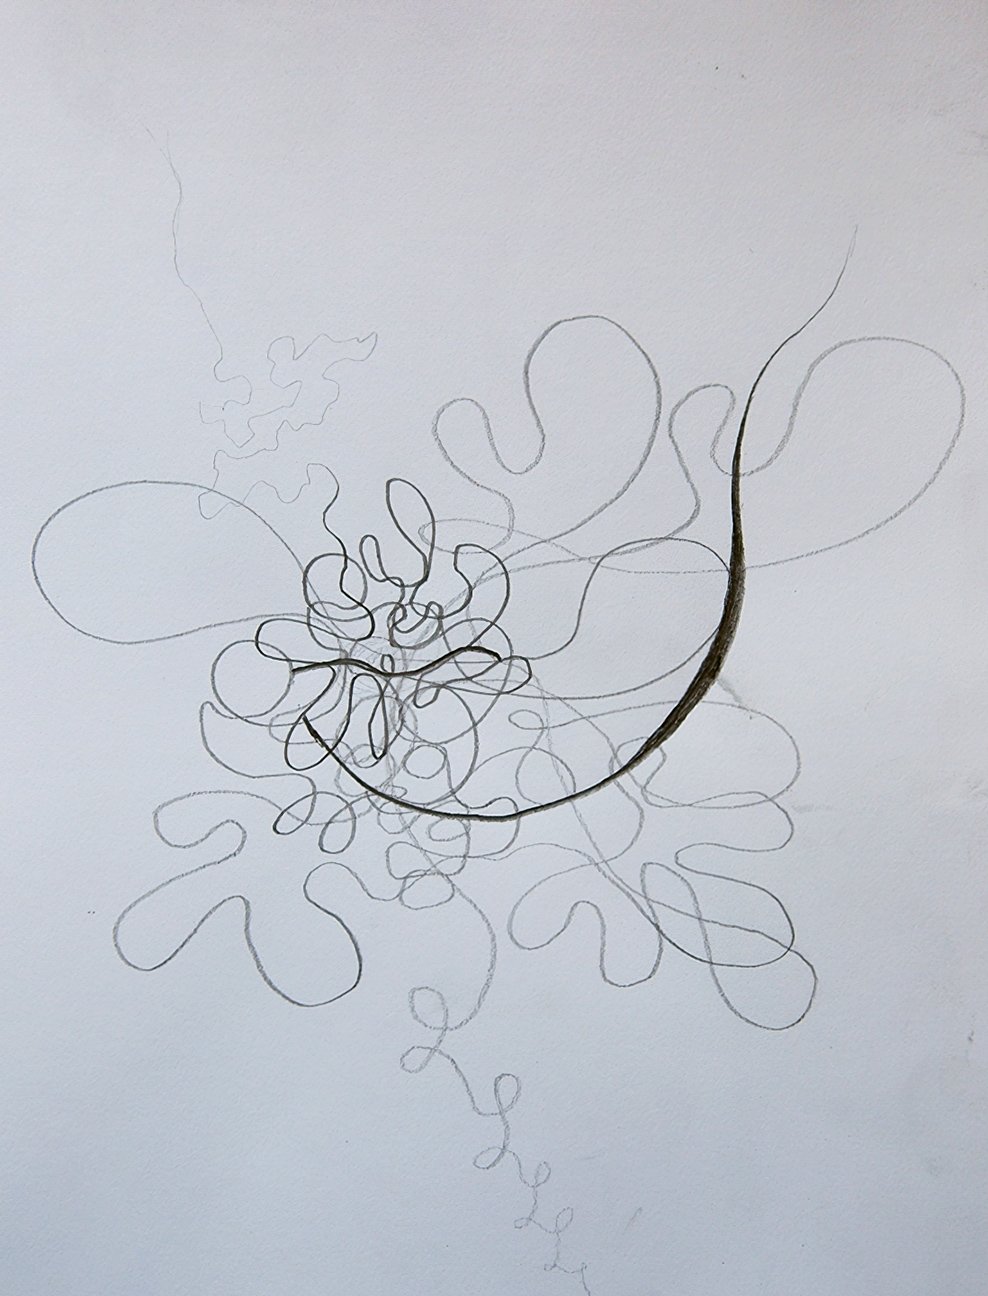
Take each tool and experiment and explore as many possibilities as you can, what that drawing tool can do. Try a light touch as well as baring down on the paper. Move the tool as you use it and see what qualities of lines you can achieve. Try smearing, smudging and erasing the lines. Notice what residue is left. Try using a damp cloth over the lines and see what happens.
Remember there is no right or wrong, just exploration and seeing what you like and what resonates with you.
You might make some notes in your workbook on your experiences and observations, noting what tools and effects you especially like and want to use in your art.
TO DO
Make a small composition in your workbook using various drawing tools and various qualities of lines.
EXERCISE #2
The Feeling Quality of Line
The Feeling Quality of Line
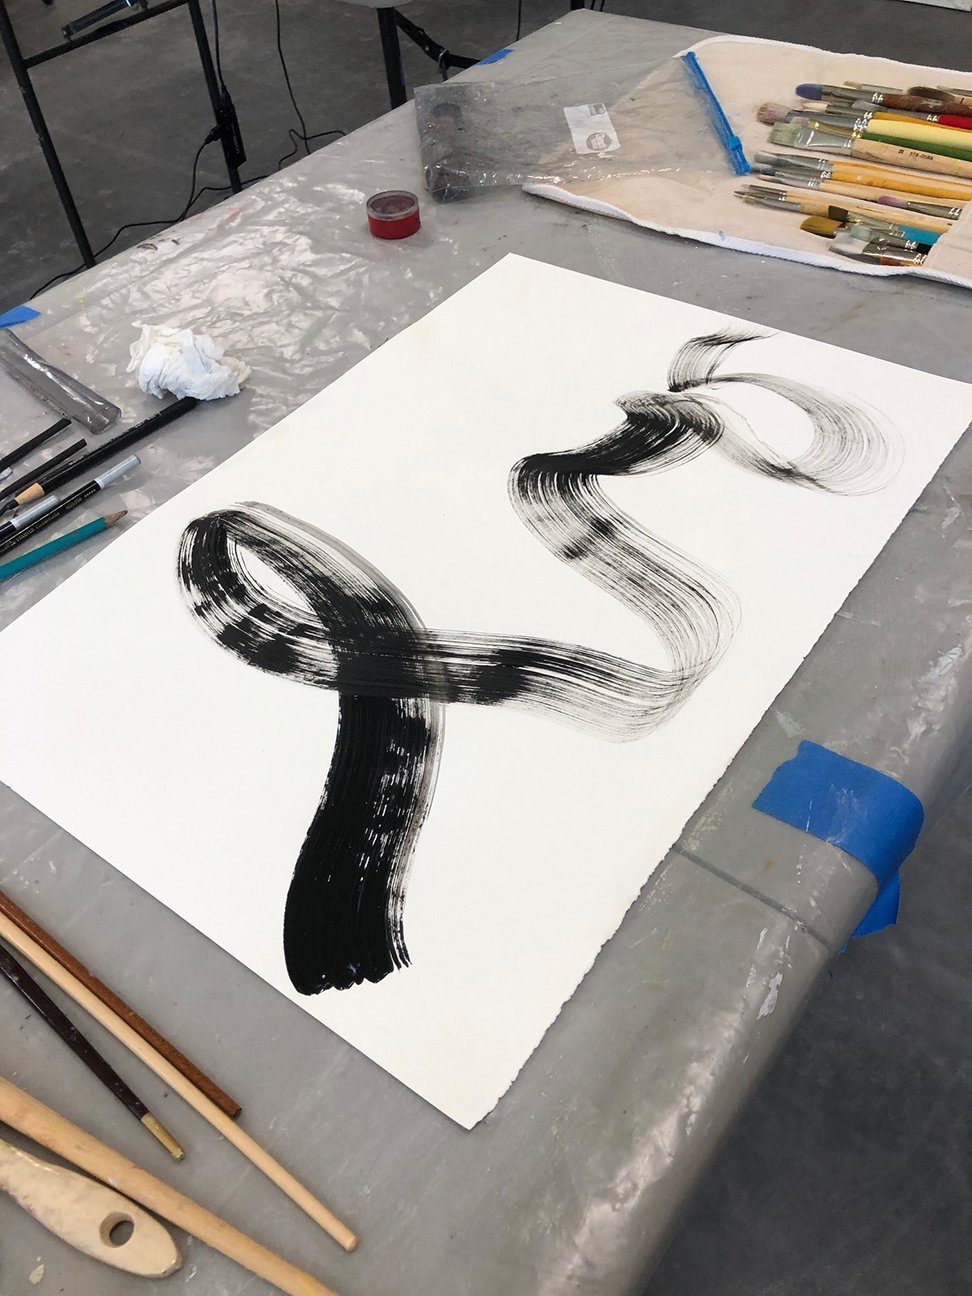
With a tool of your choice, making a loving line on your paper. Then make a second loving line in relationship to the first line that enhances or supports it. Finally, make a third line that unites the first two lines. Once done, look at the quality of the lines and how they interact with one another. Did they all together portray the feeling quality of love?
EXERCISE #3
Expressing Emotion with Line and Marks
Expressing emotion with Line and Marks
Pick an emotion. It could be sad, joy, anxiety, hurt, frustration, etc… Feel it in your body. Take a tool of your choice and make lines/marks to express the qualities of this emotion.
TO DO
In your workbook, make a list of emotions. Now, experiment drawing several different emotions with the tool that “feels” right for that particular emotion. Look at all the drawings. Can you observe the differences of the lines and how they can give rise to emotions. Do you feel the energies of these drawings in your body? Describe to yourself what you experience in the different drawings.
EXERCISE #4
Exploring Personal Marks
Same tools as above
18" x 24" mixed media heavyweight paper
Chalk pastels
Stabillo Woody's
Art Crayons
Scraper, shapers, palette knife, chip brush
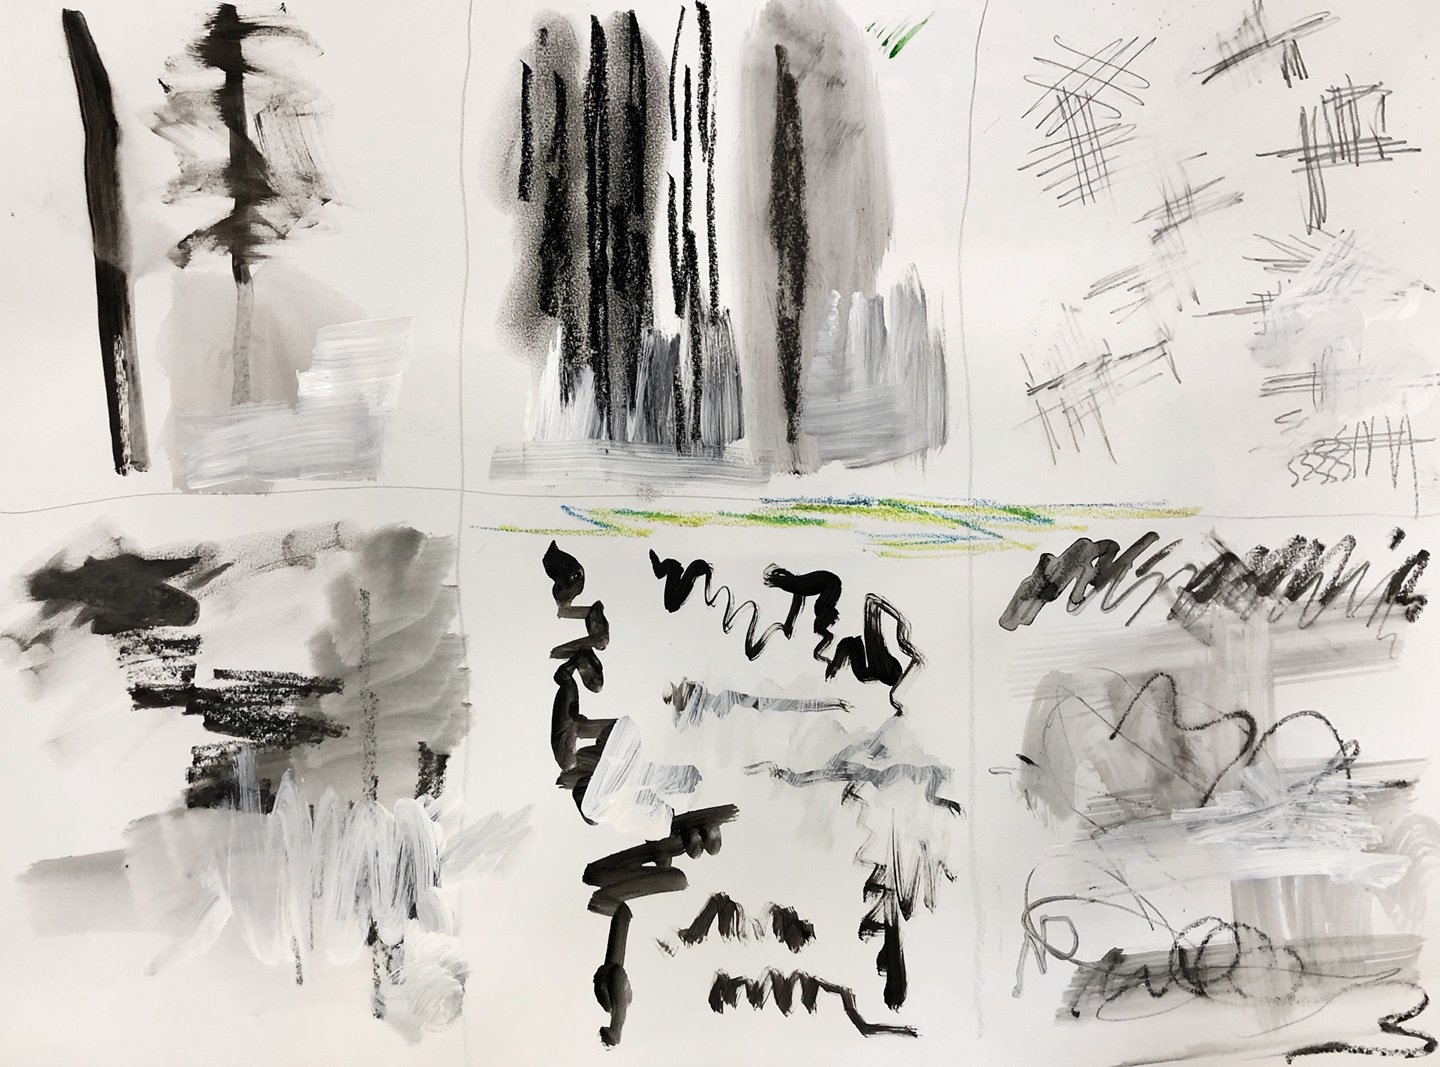
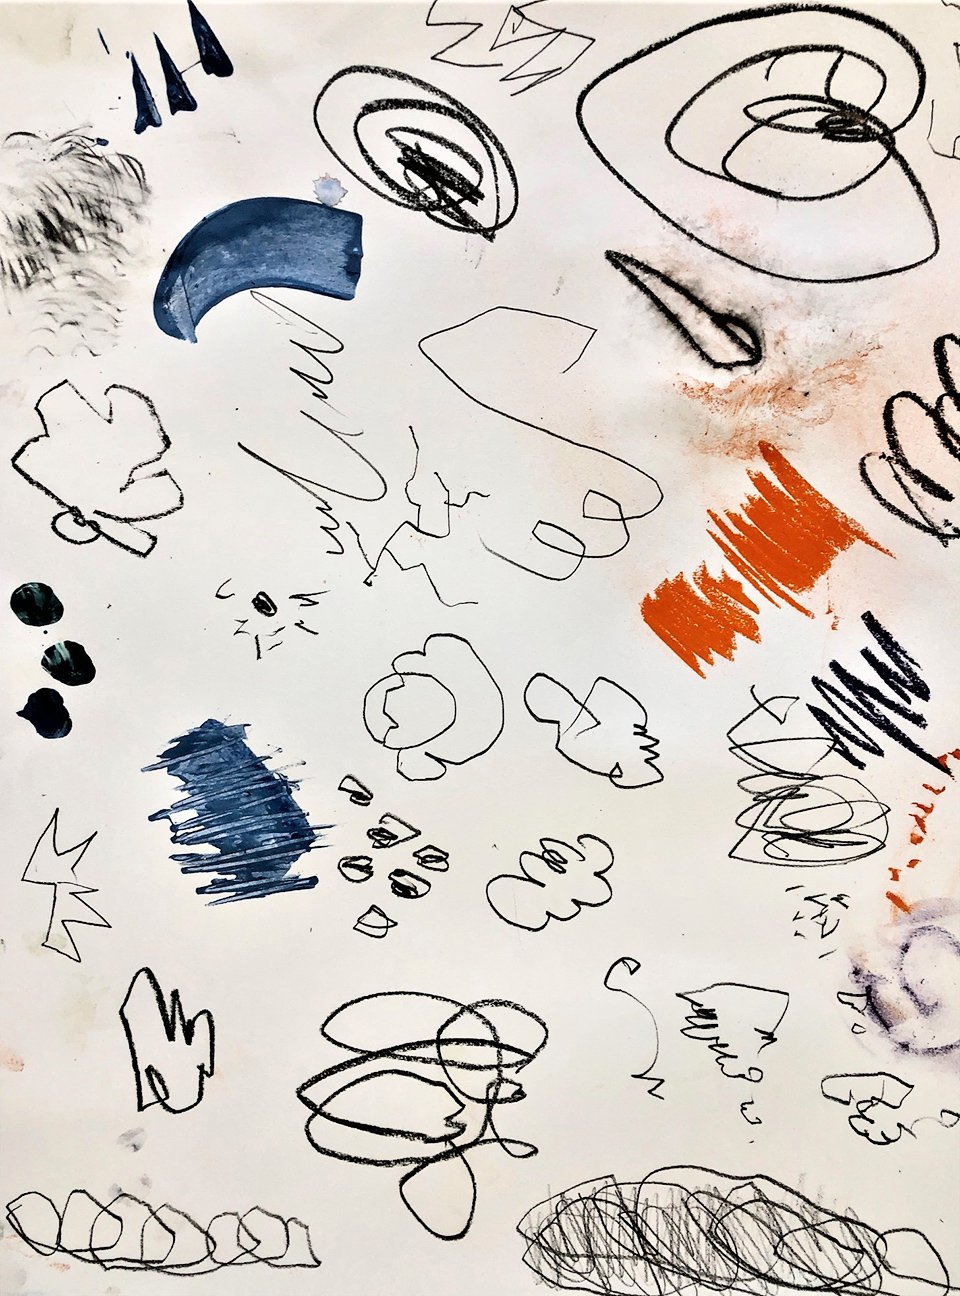
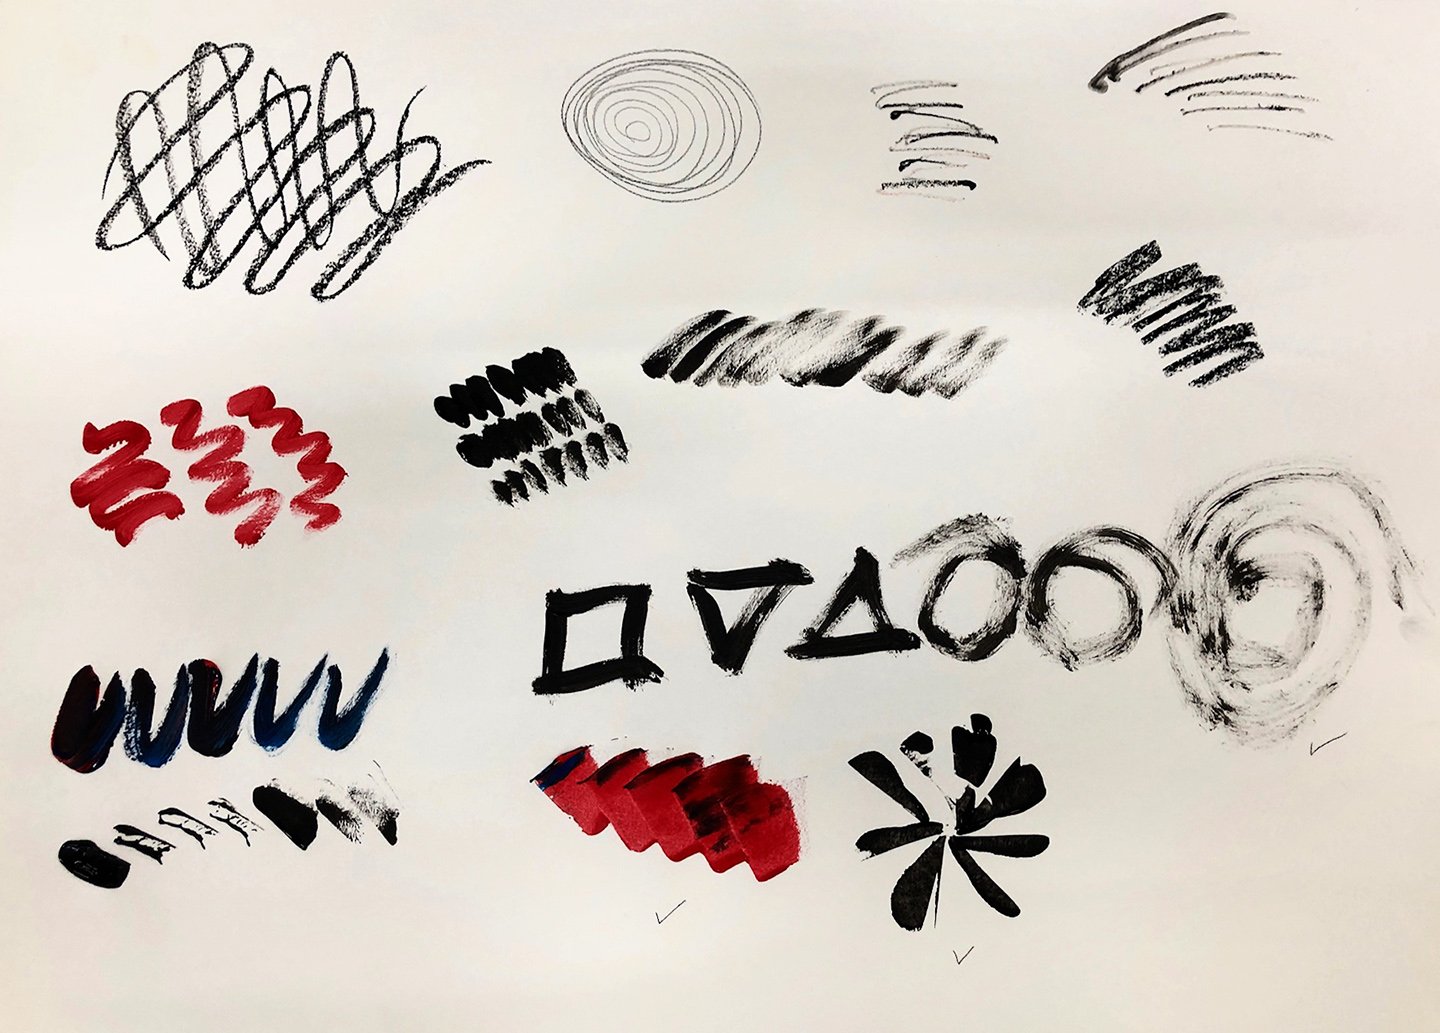
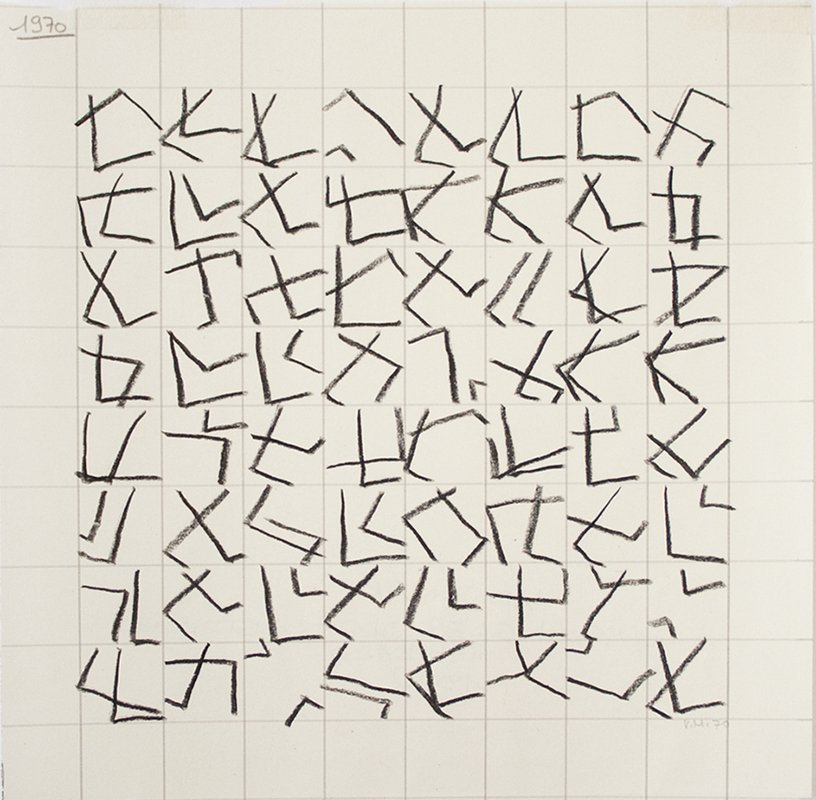
In this exercise, you will be concentrating on making your own unique marks with different tools. All the same instructions apply here as did in Exercise #1 at the top of this page. By experimenting with different marks and different tools, you are engaging in your own very special way of making personal marks.
When you have filled the page, take a look at the marks and note which ones resonate with you. The ones you like, you can begin to use them in your paintings and see how you might like to incorporate them as your own expressive element.
TO DO
In your workbook, create a composition using some of these marks. Note that you can repeat the marks to add movement and rhythm to your composition. Or you can make similar marks in various sizes to create connection through out the image.
BONUS
Automatic Drawing and Expressive Drawing
In this Bonus we offer you to consider ways to begin and enhance a painting with some techniques and definitions for your own "toolbox."
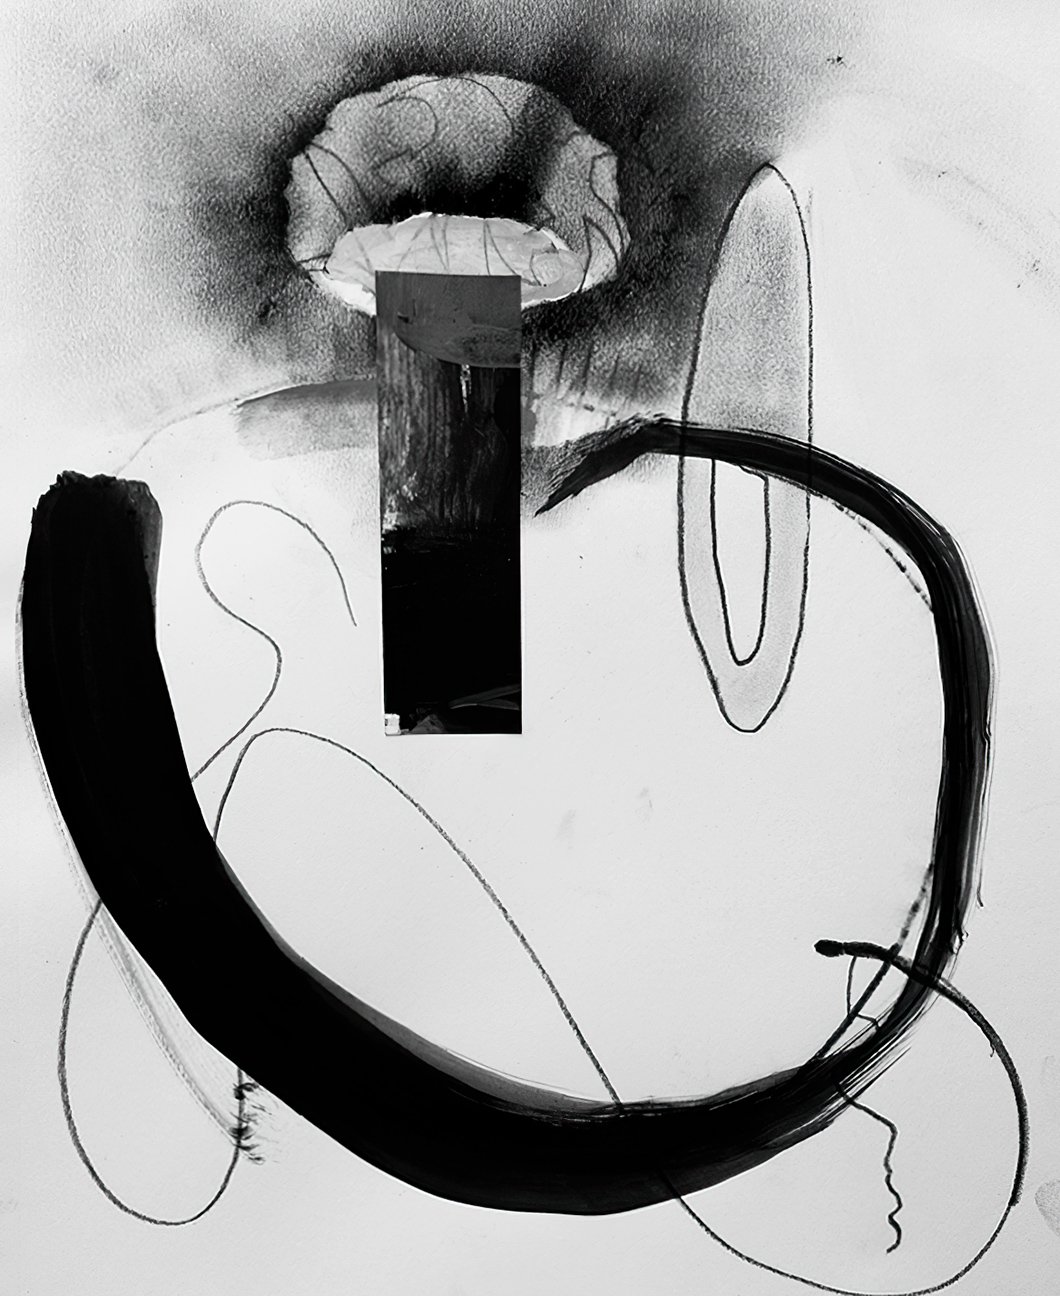
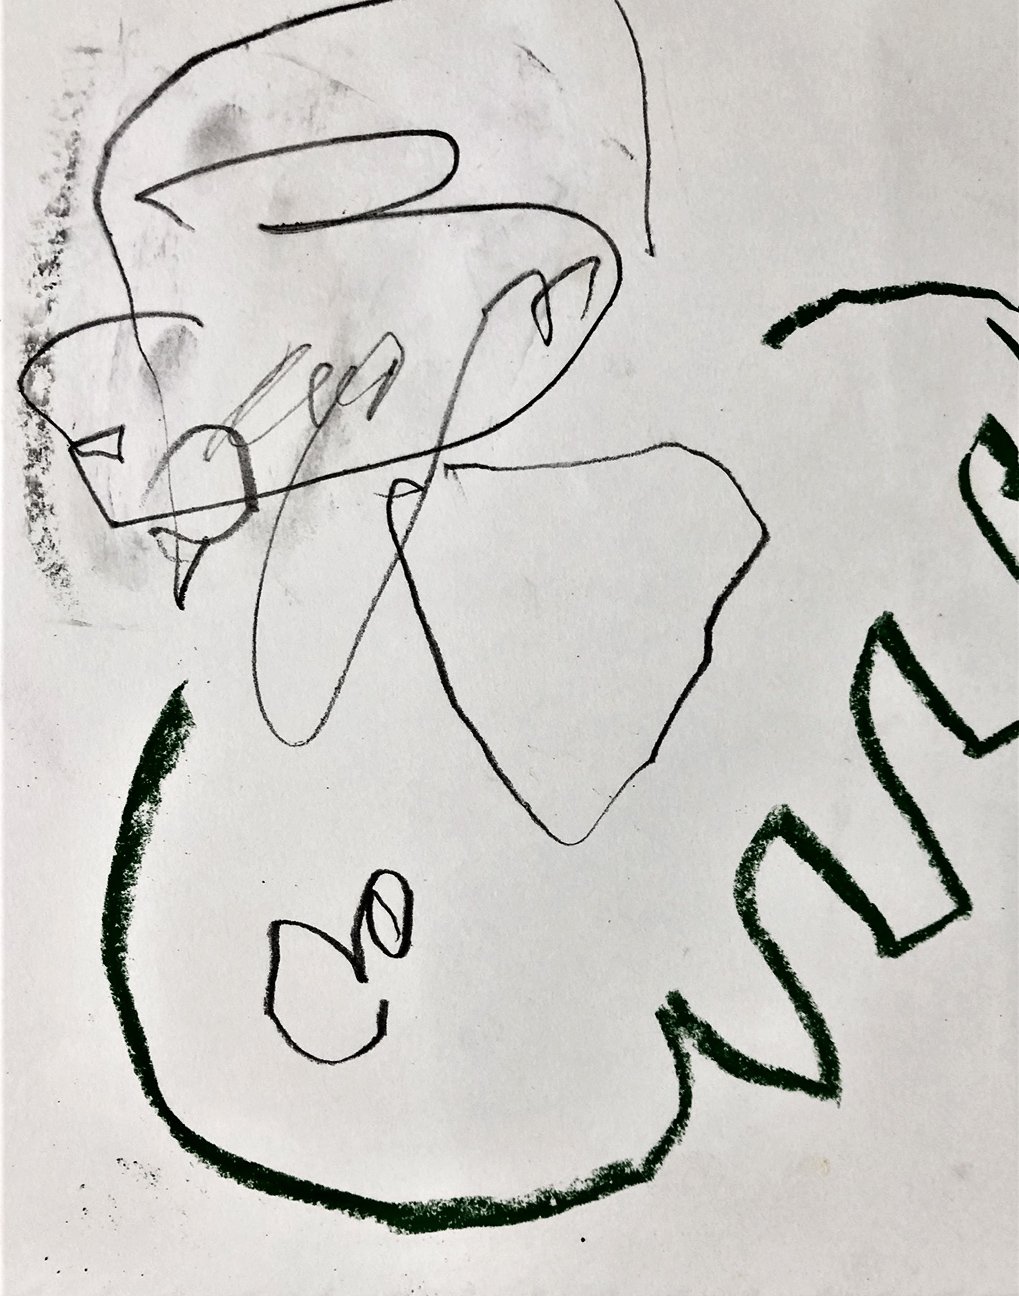
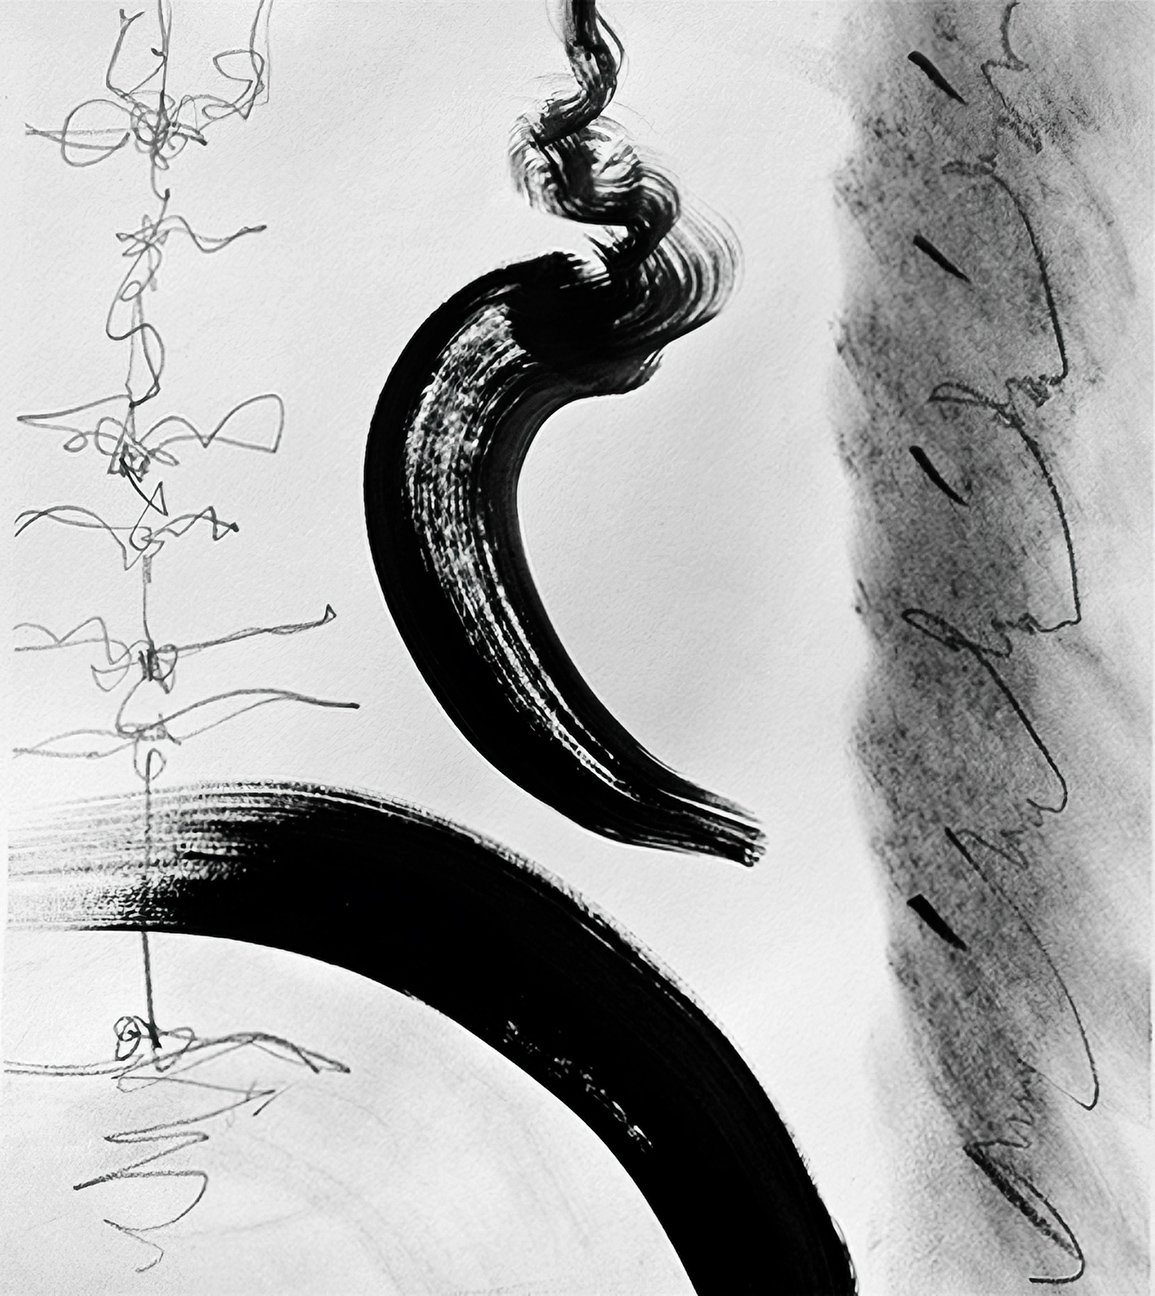
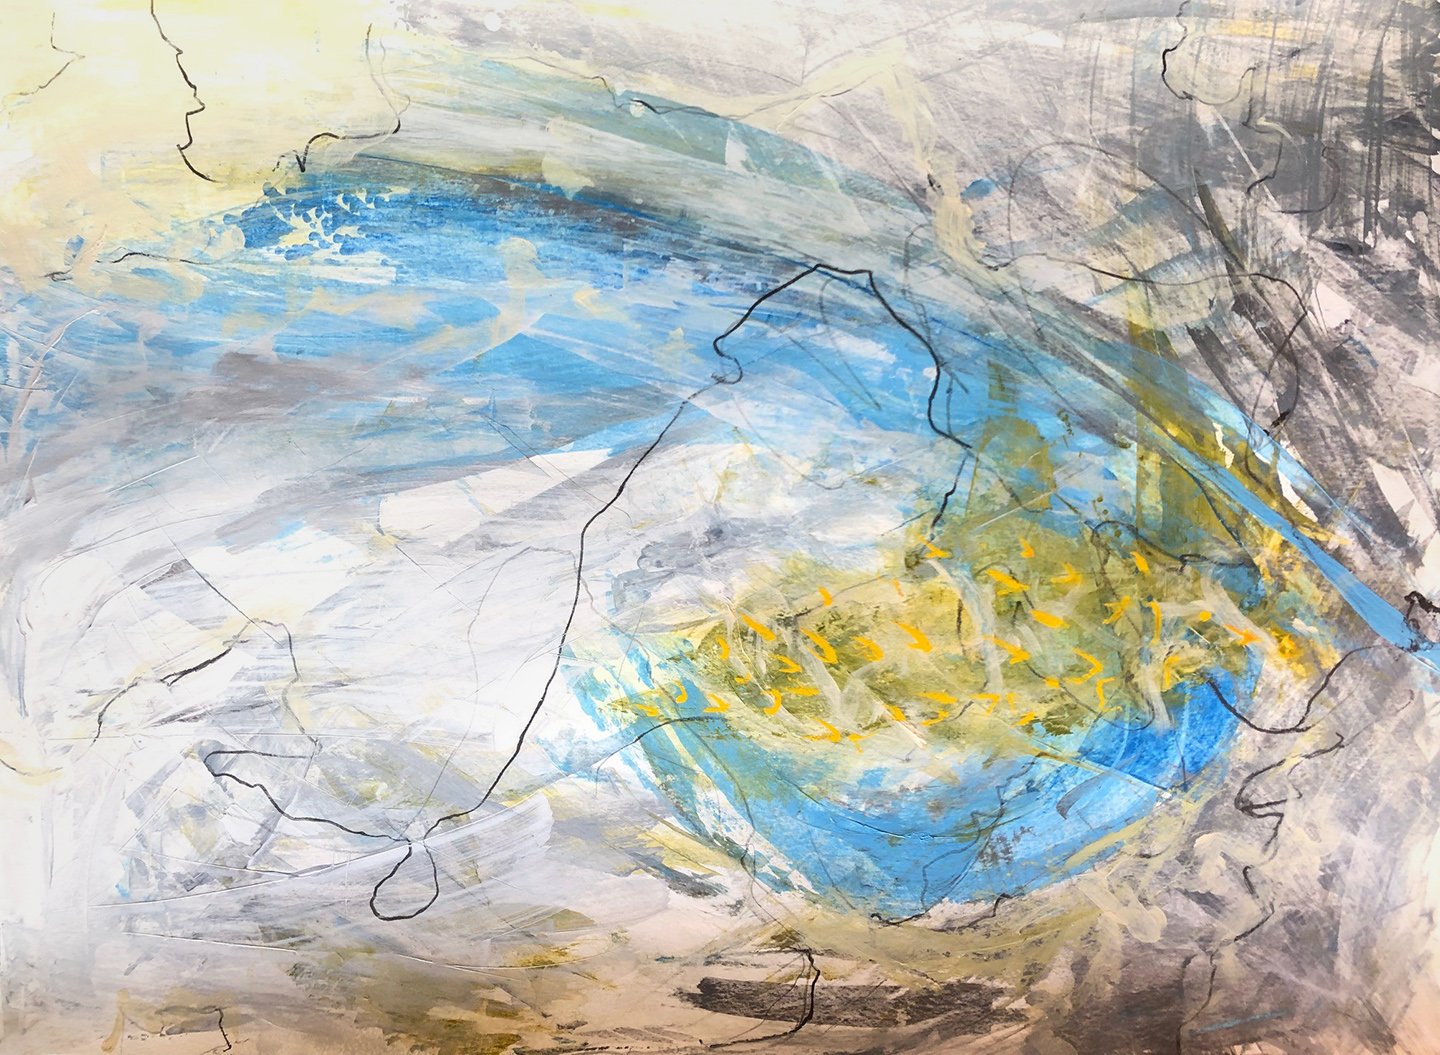
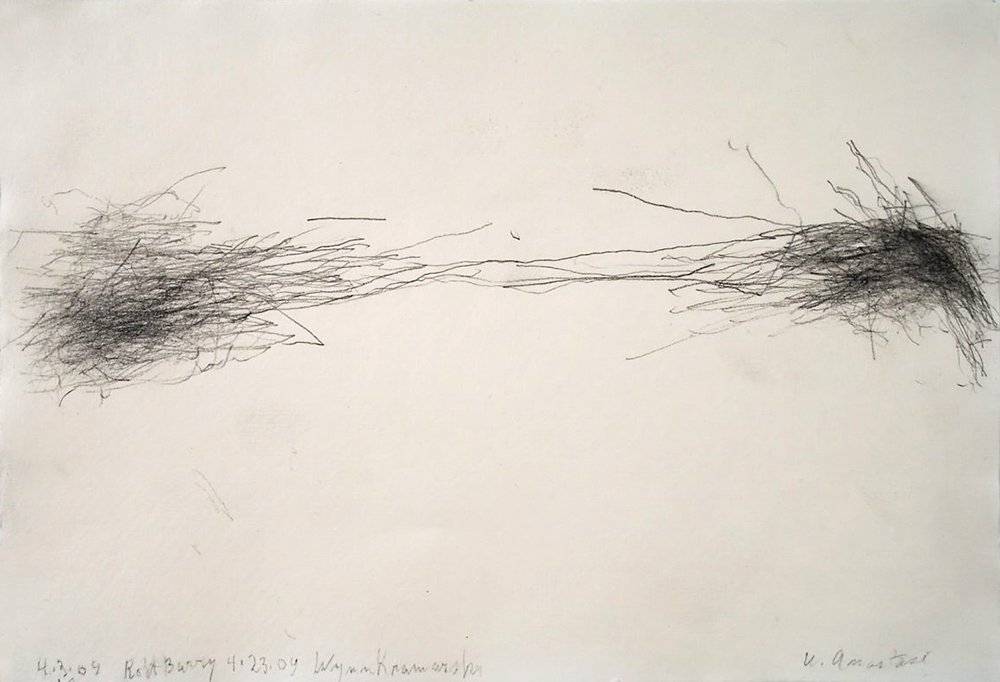
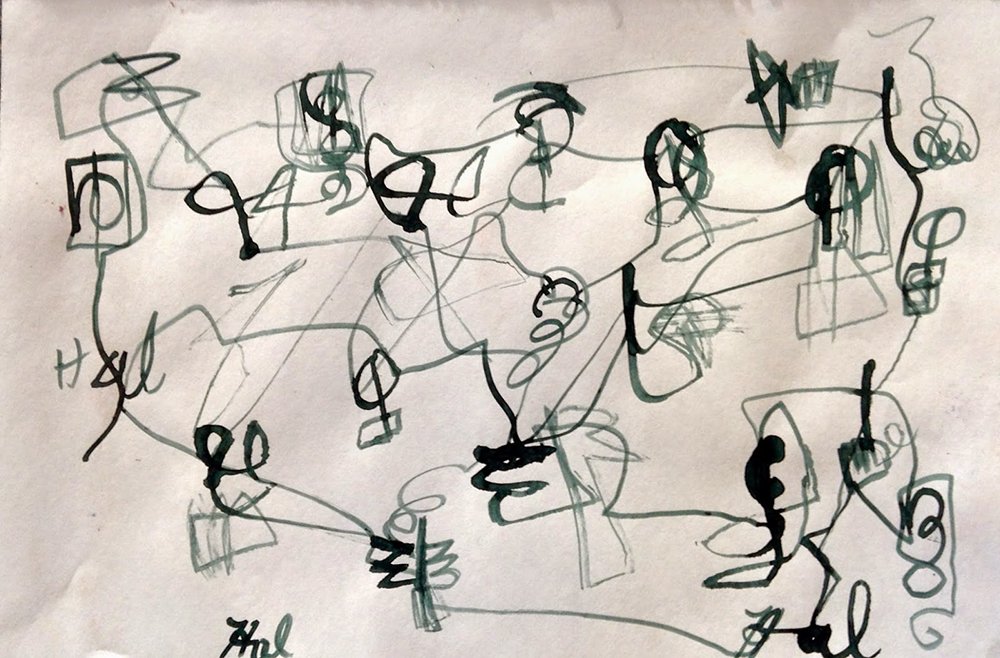
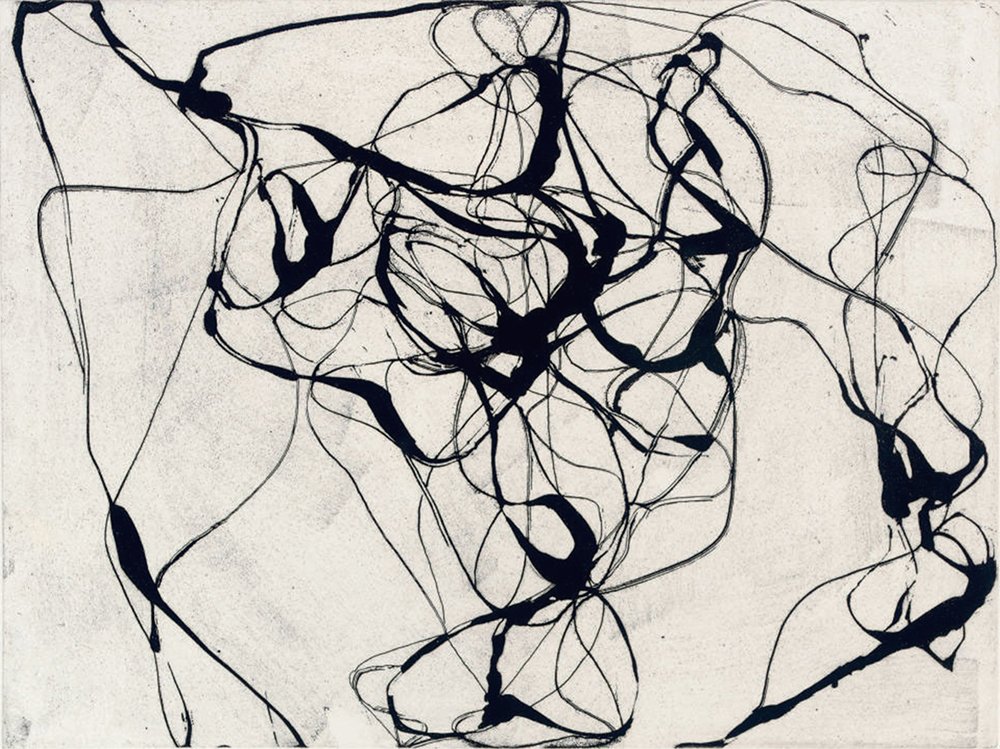
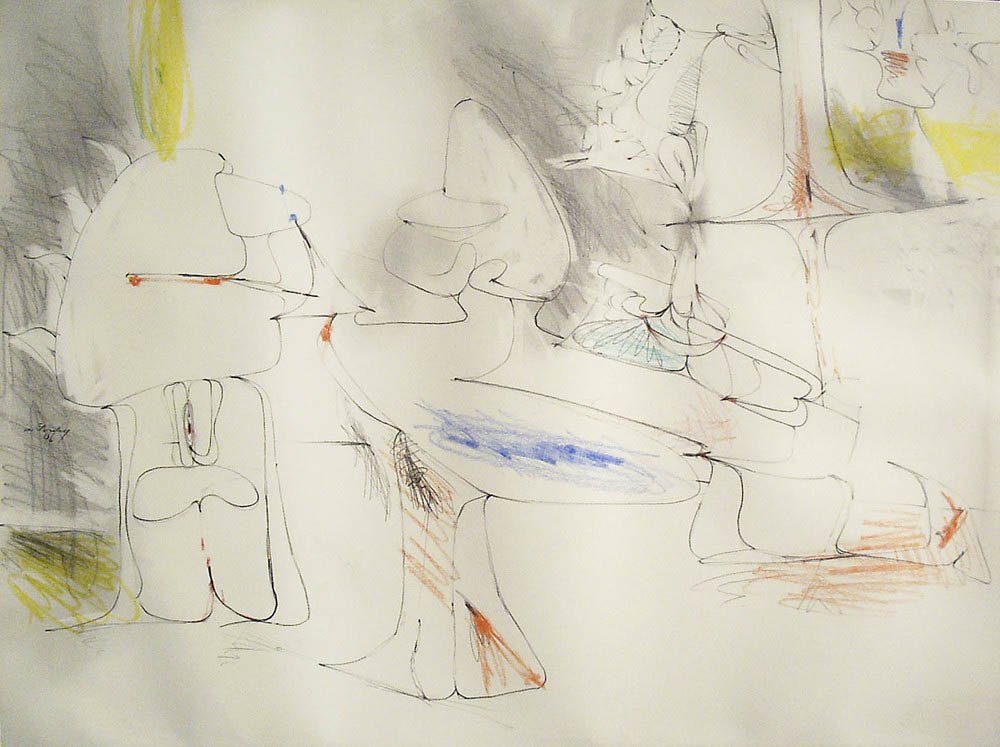
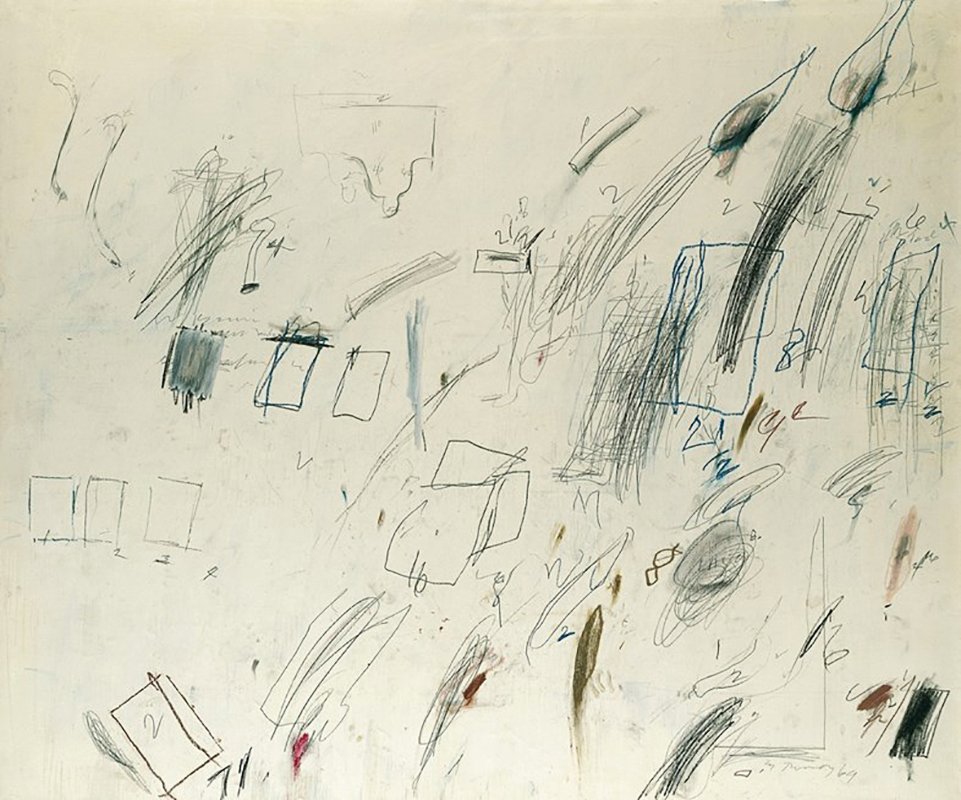
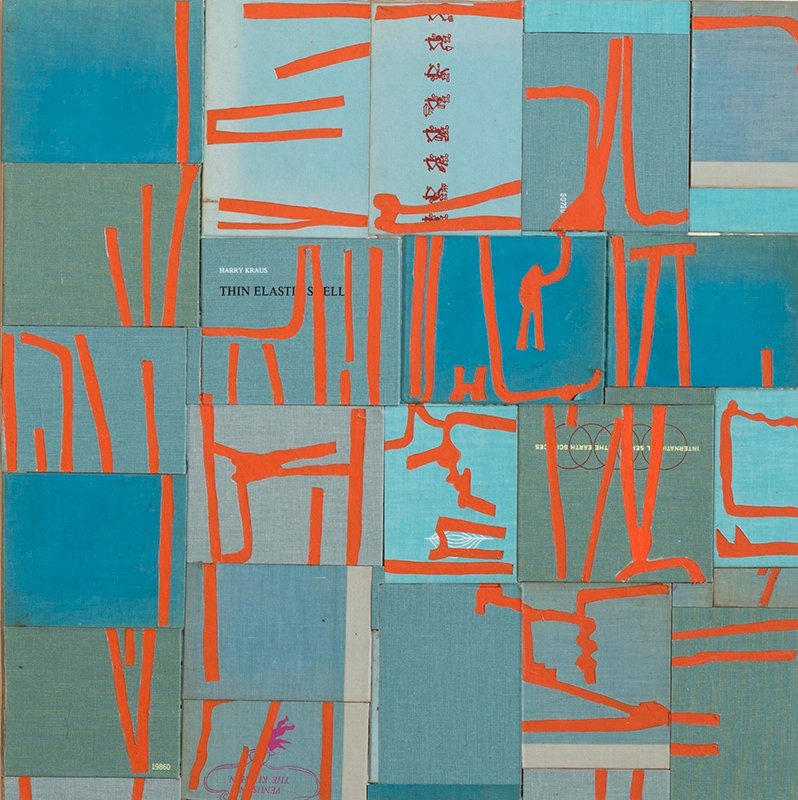
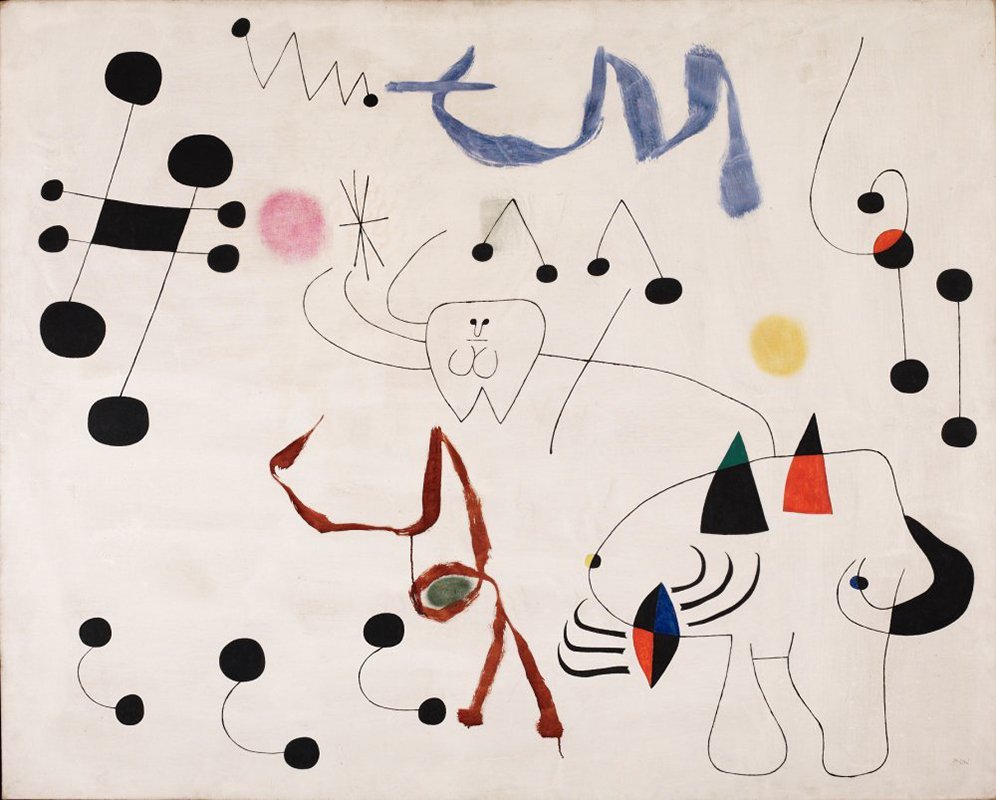
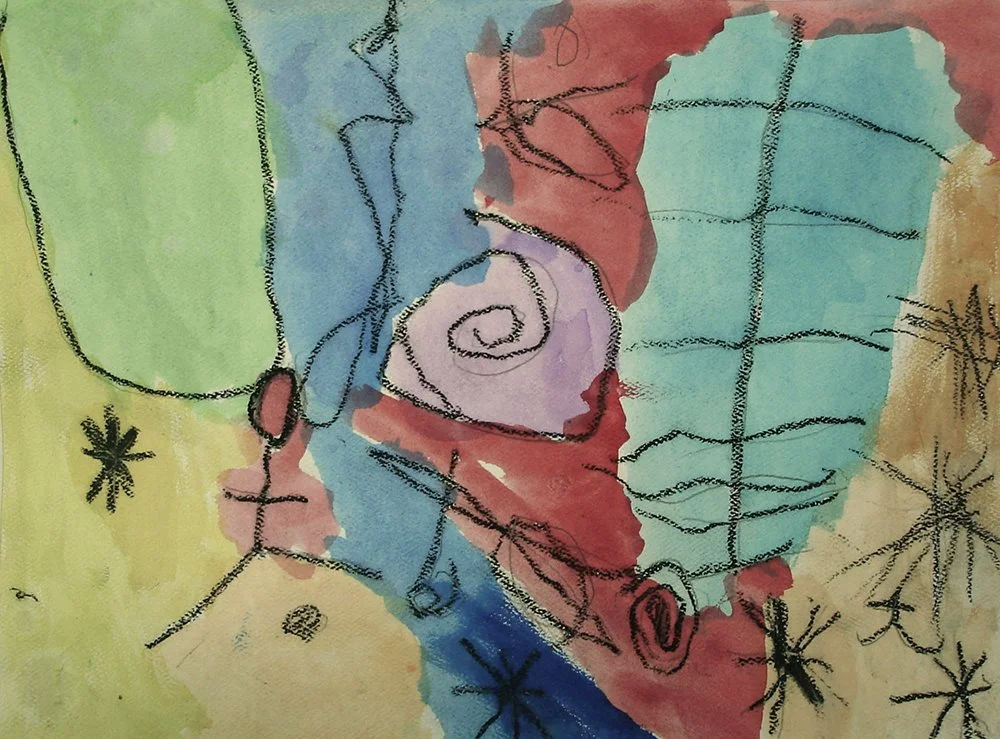
Automatic Drawing - Spontaneously drawing without much thought or plan, thereby, allowing whatever wants to reveal itself to be put onto the paper or canvas. There is a freedom from thought and the result is authentic marks and lines. Drawing automatically is inherently linked with automatism, which is an art-making process where the subconscious is allowed to create. The surrealists developed this method.
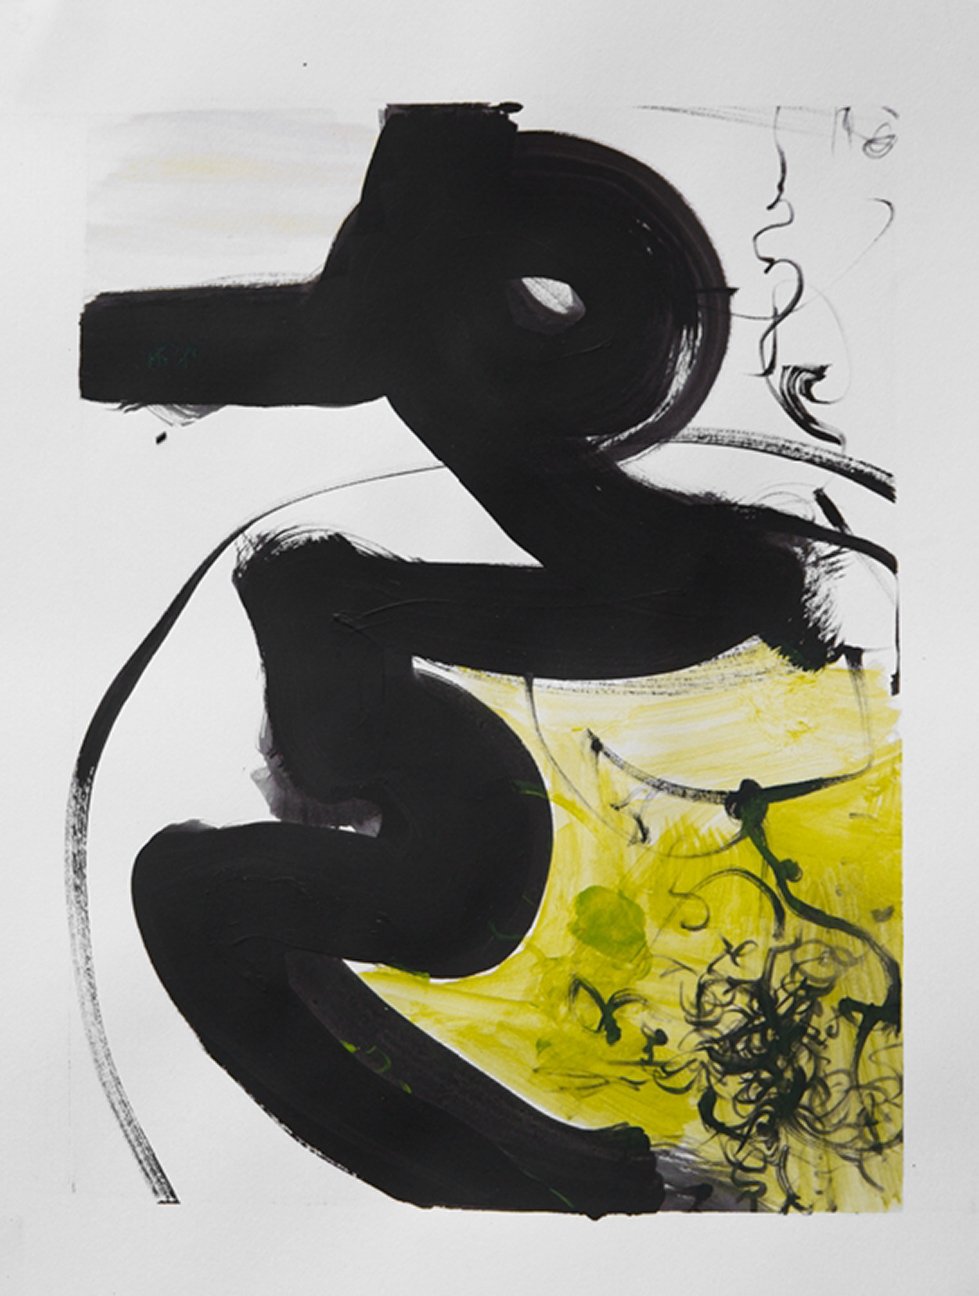
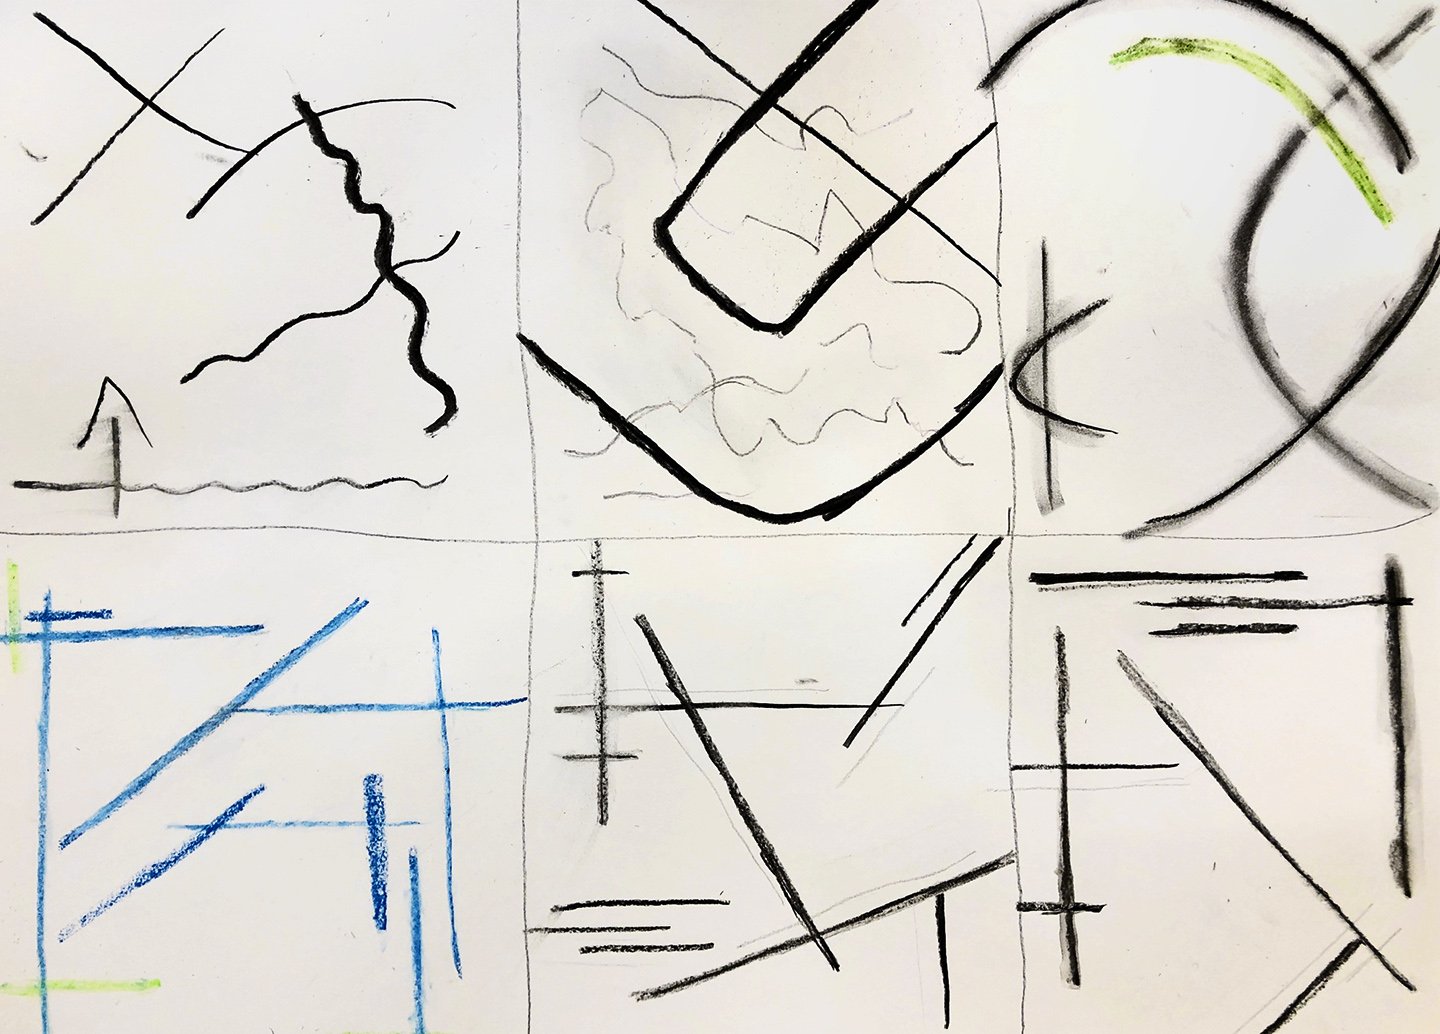
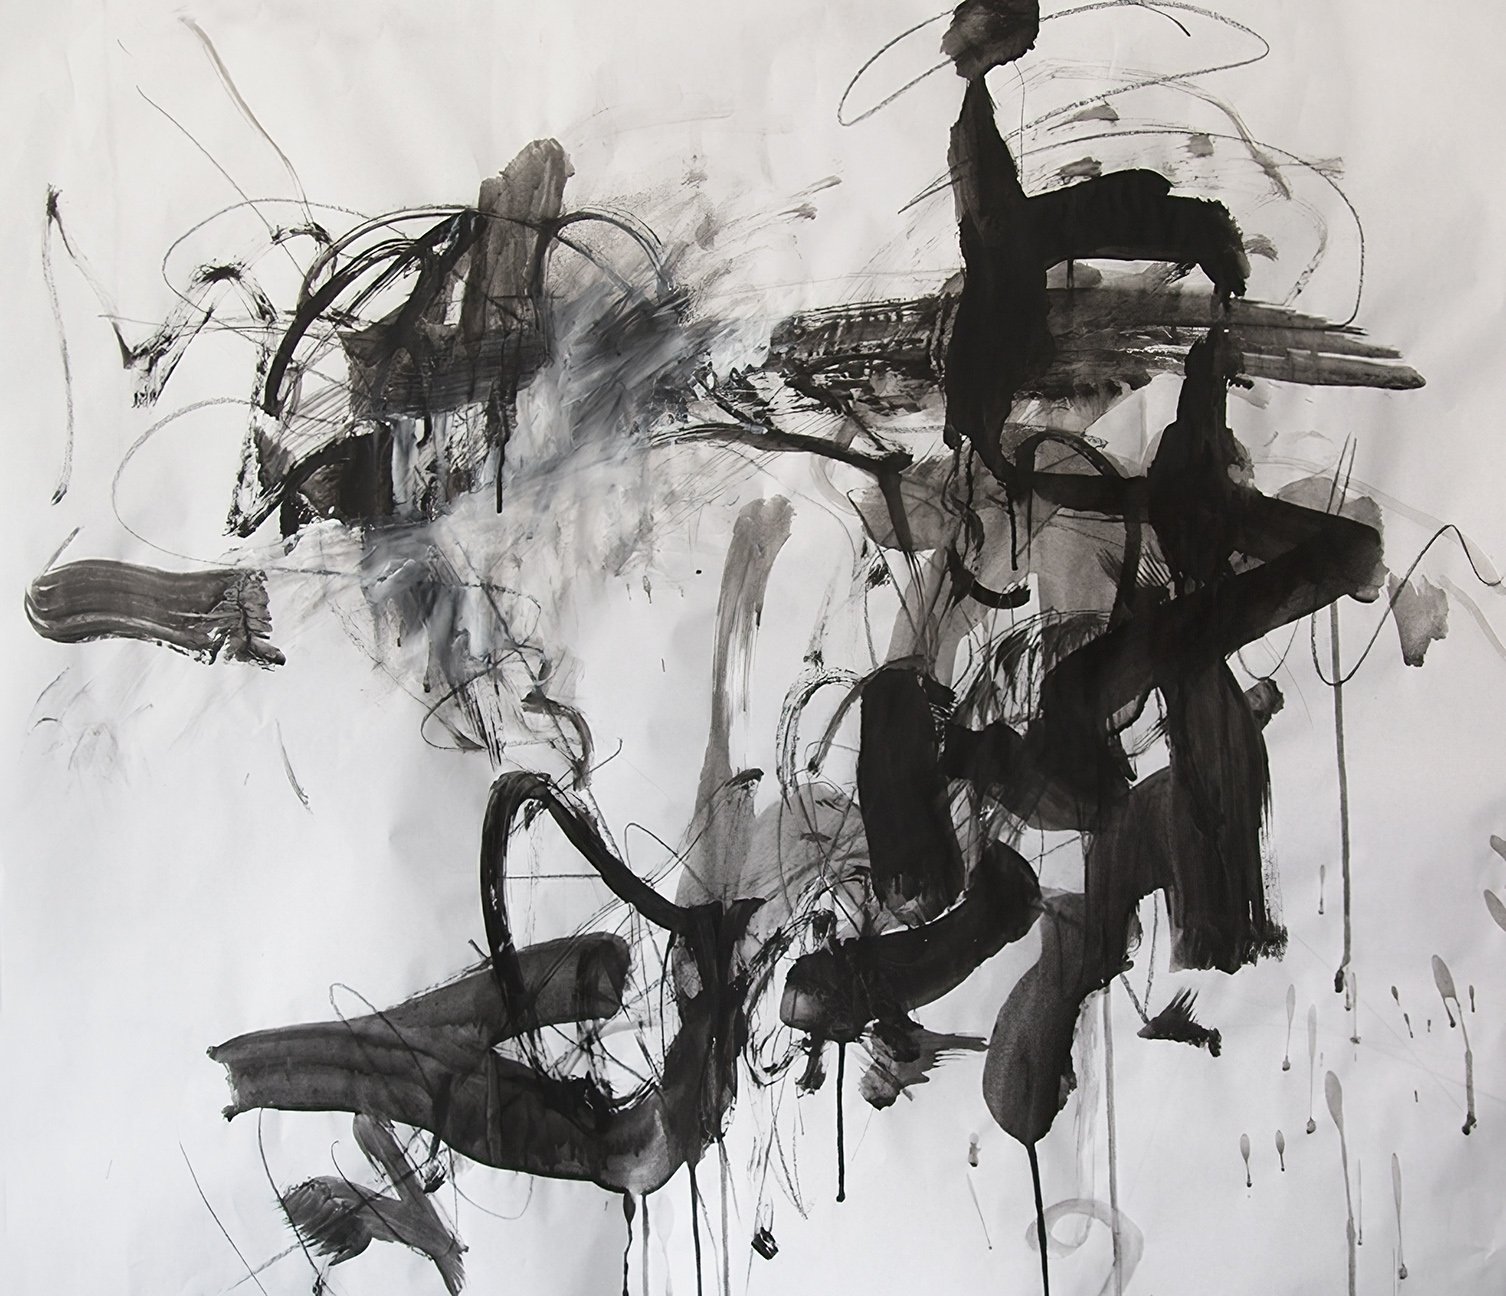
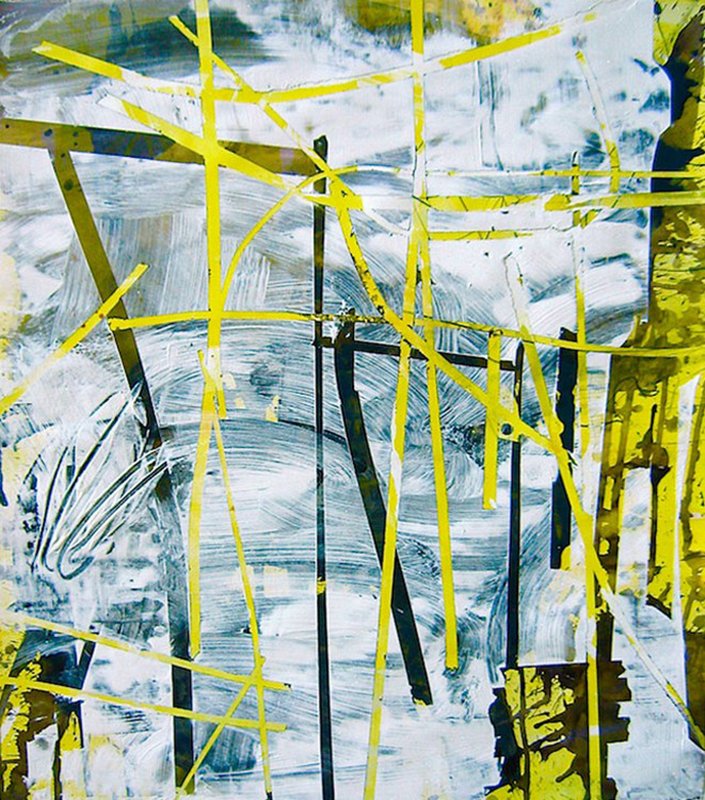
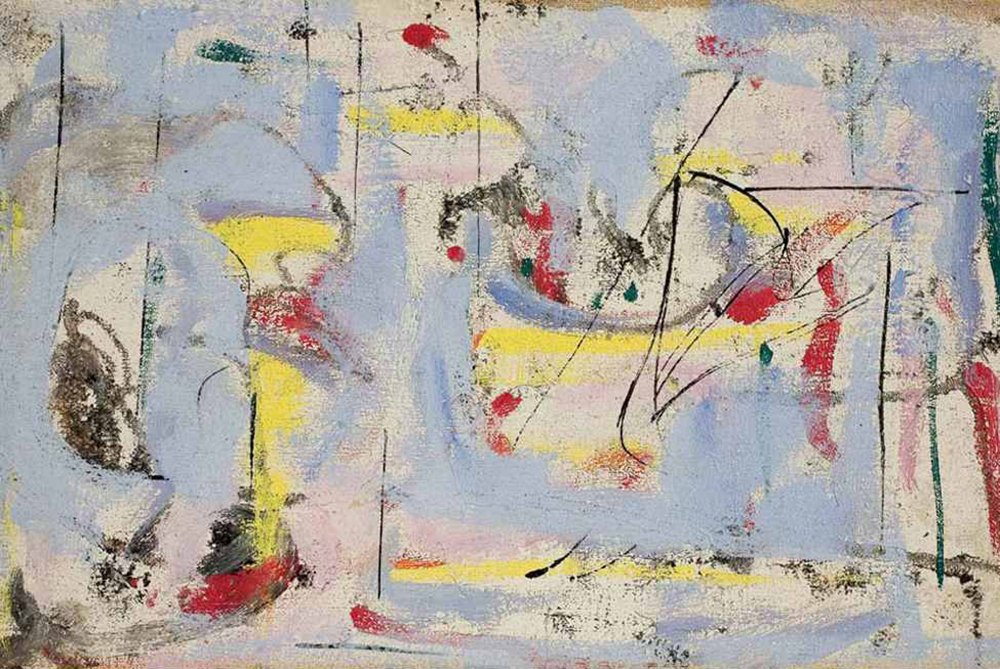
Expressive Drawing - the intuitive expression of energy, feelings and one's own inner world. It is the improvisation of the senses, responding to the world using tools and paint. Mostly non-representational. Abstract expressionism relies on this method of painting.
Both automatic drawing and expressive drawing are ways to set the painting into motion with the artist responding to the drawing and painting elements. Both kinds of drawing have in common - that one thing leads to another. The artist moves things around, adds things, veils and eliminates others, excavates and discovers, continuing until the elements relate to one another fluidly in a new reality all their own. In this way, the invisible inner world is made visible, revealing aspects of reality not accessed in any other way.
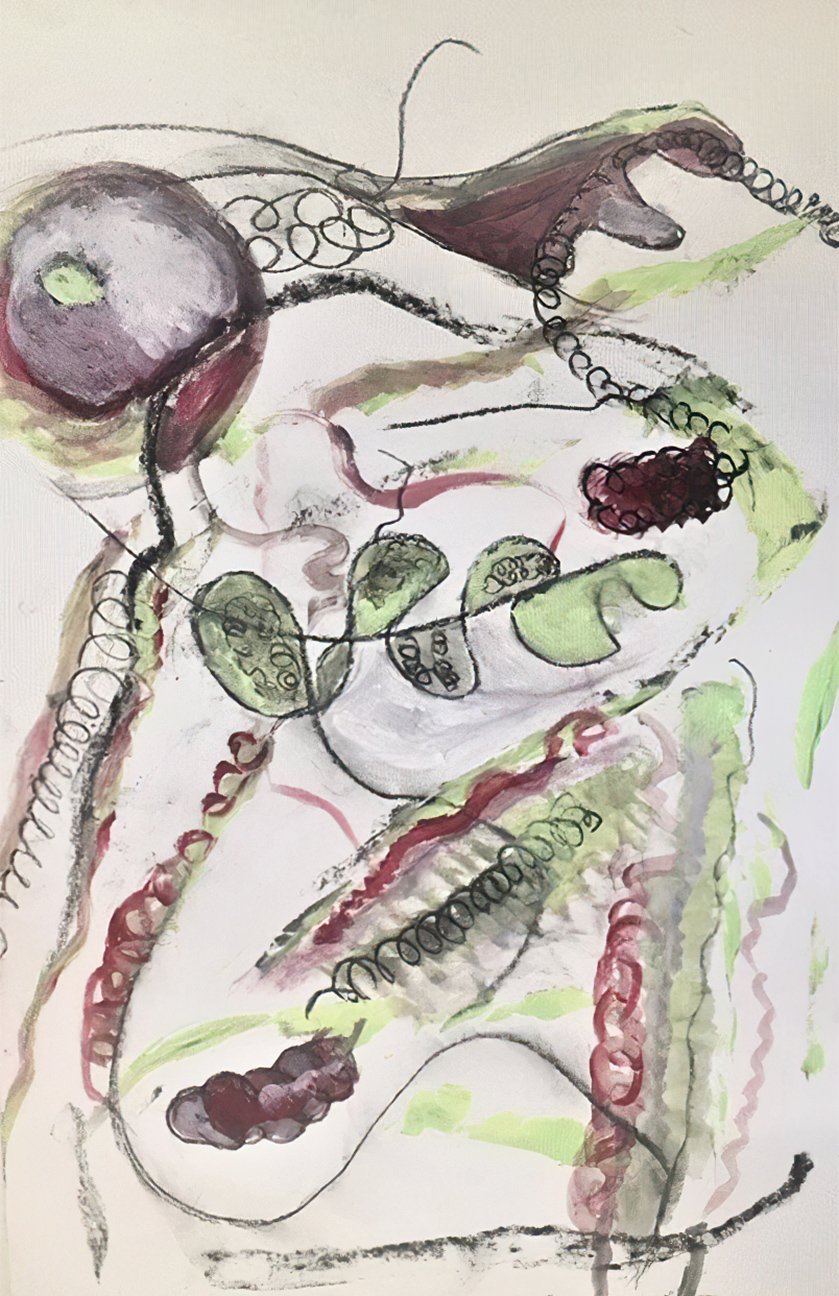
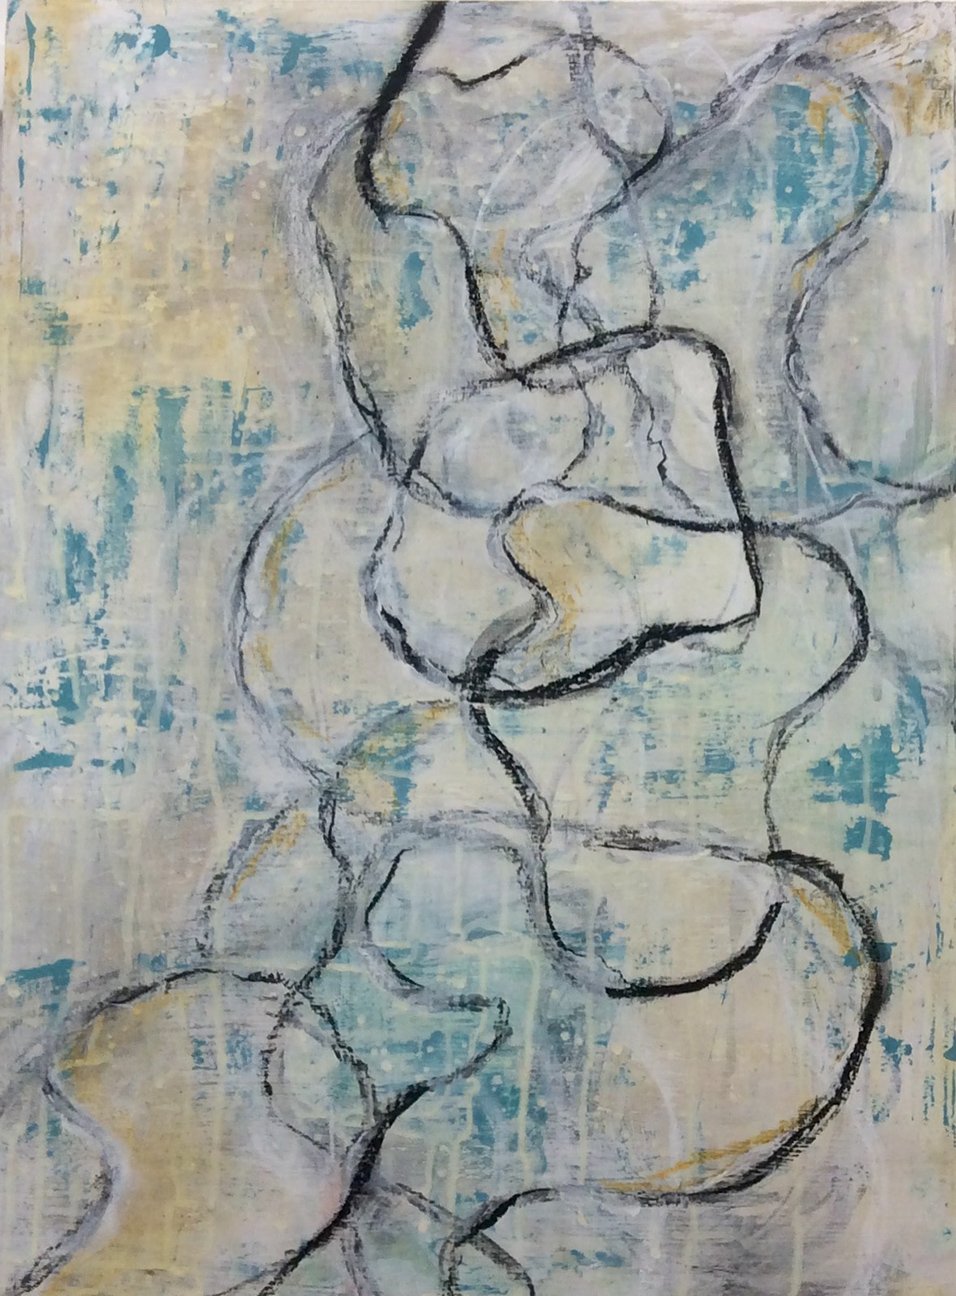
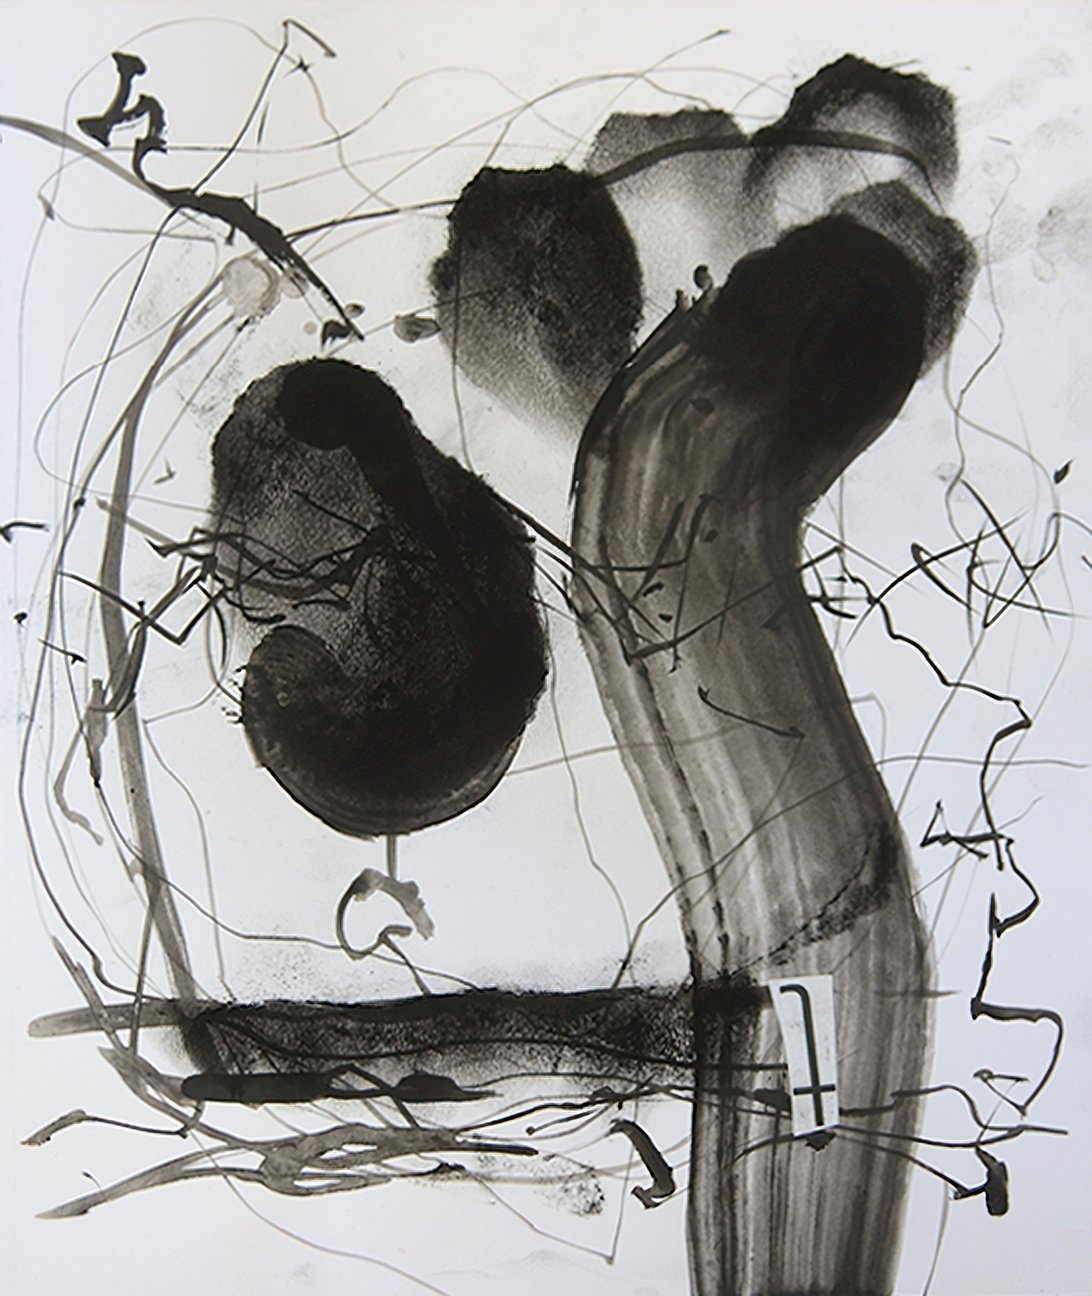
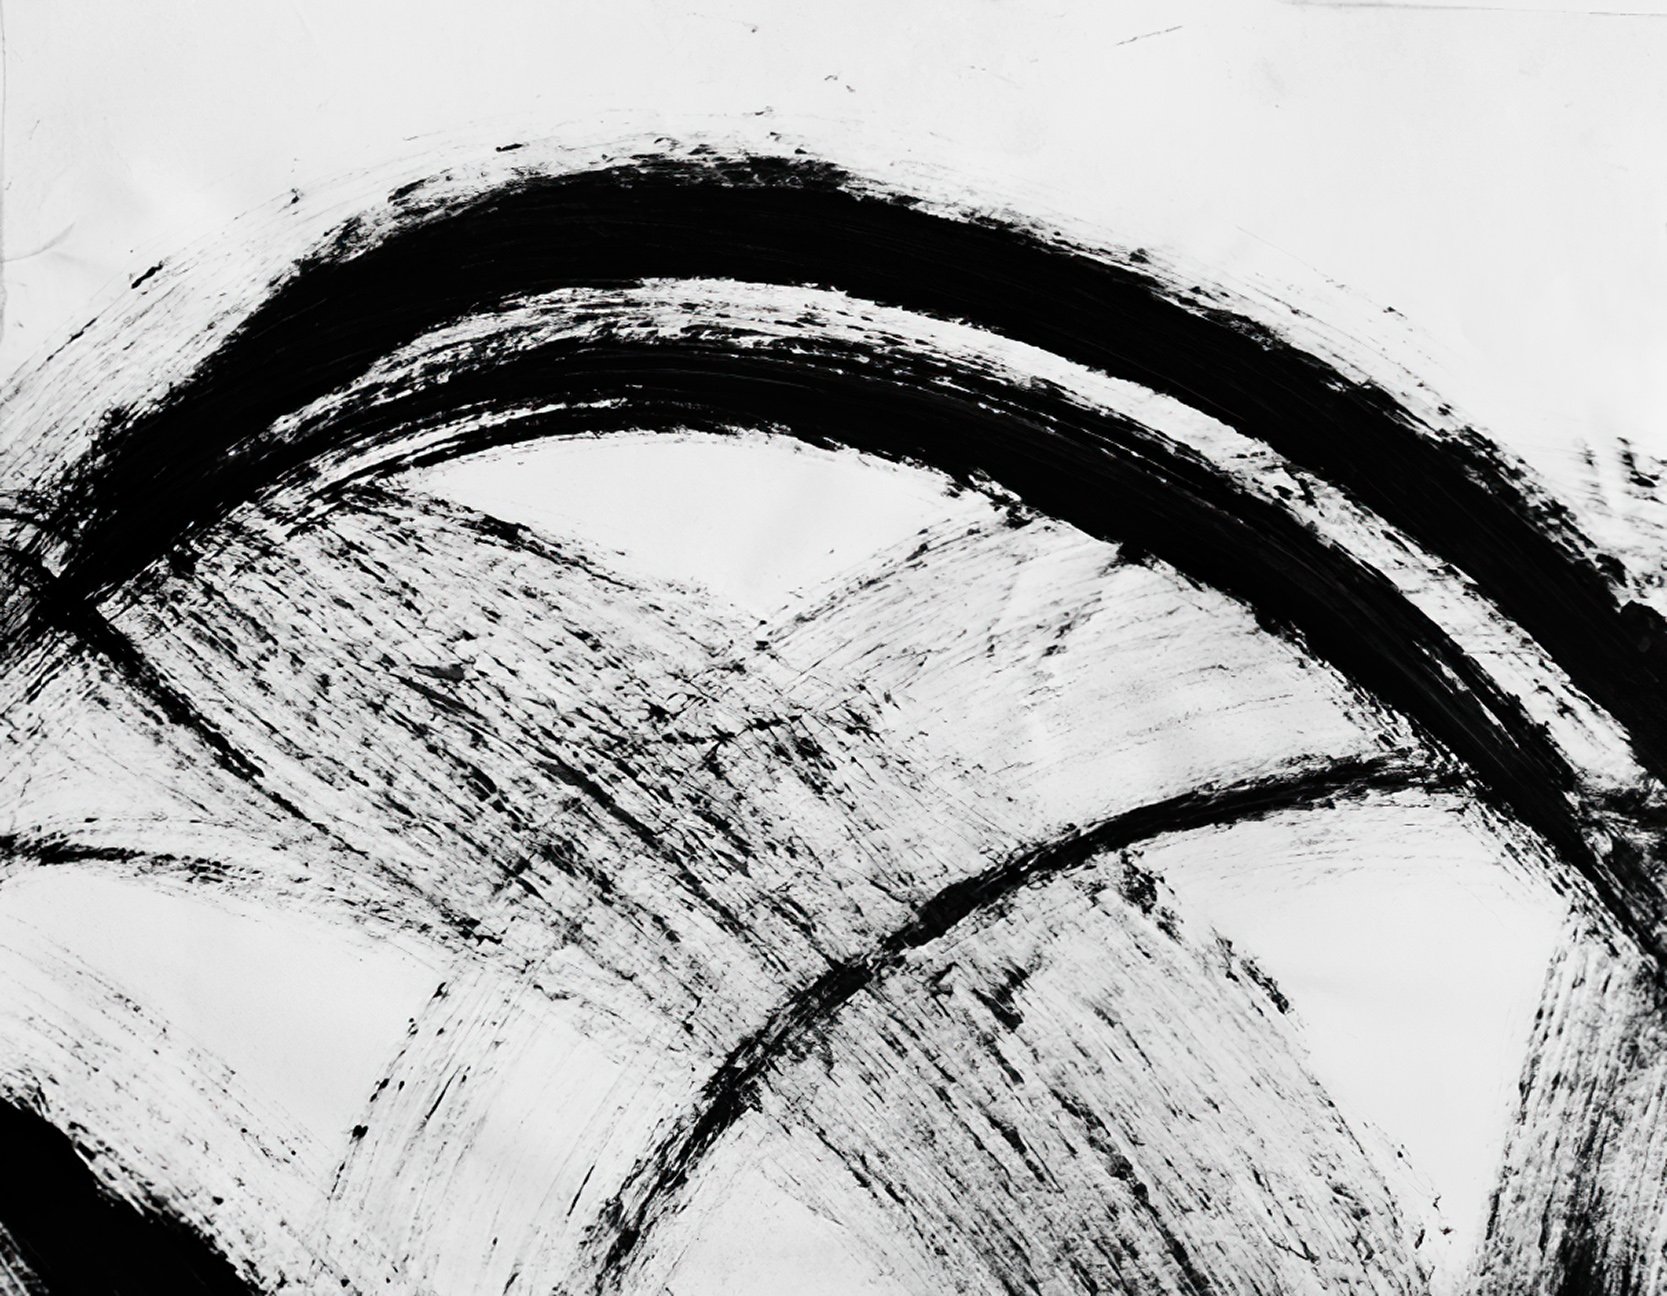
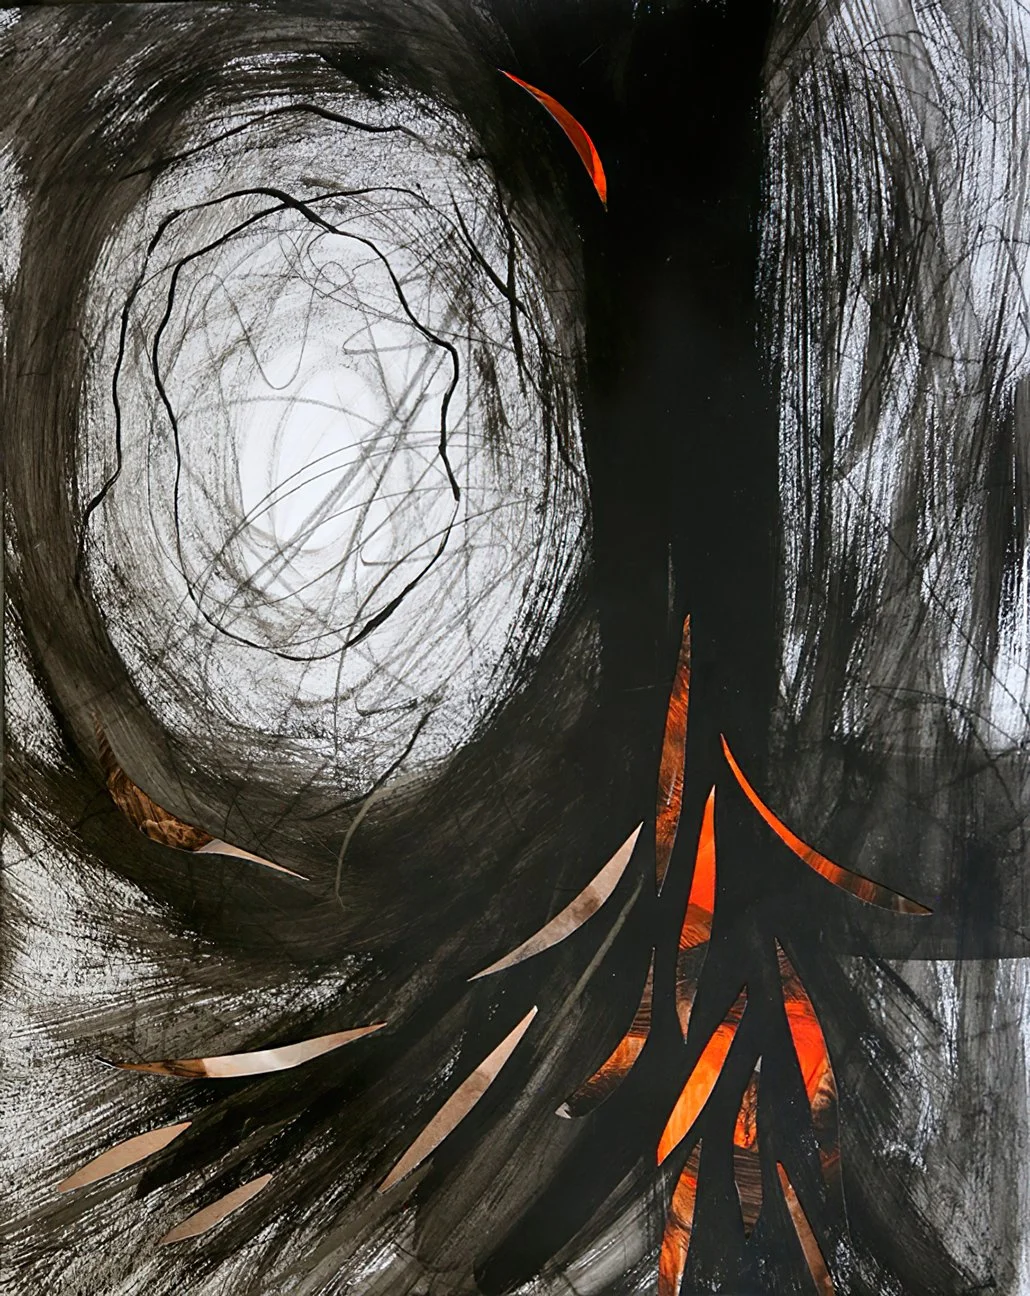
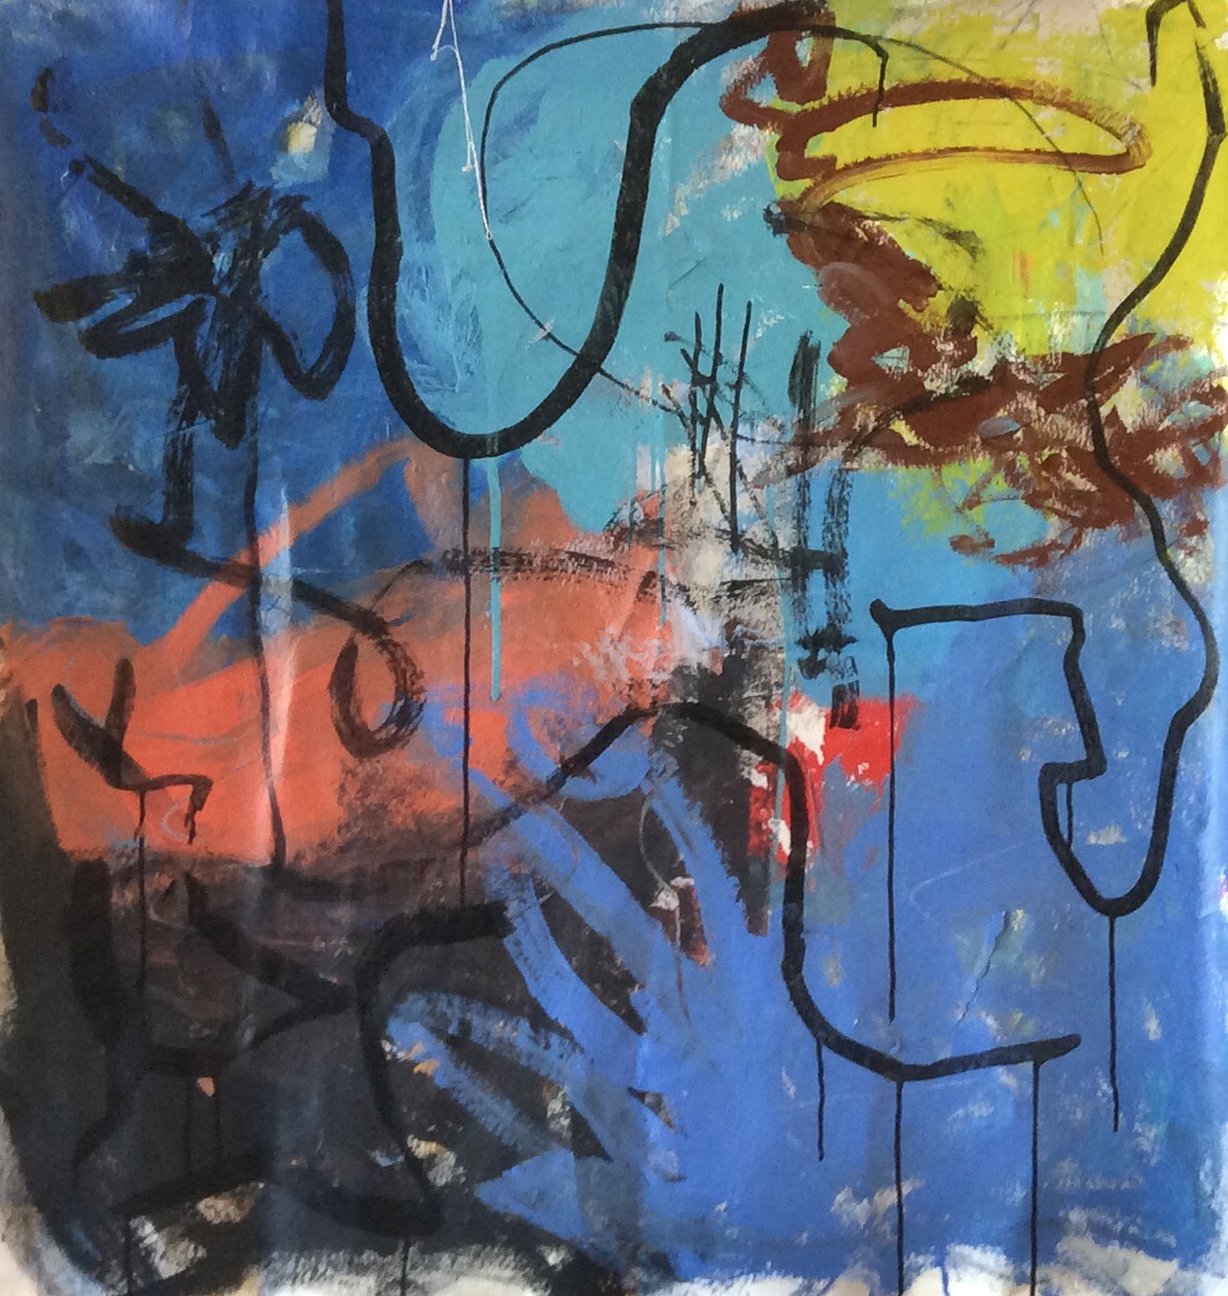
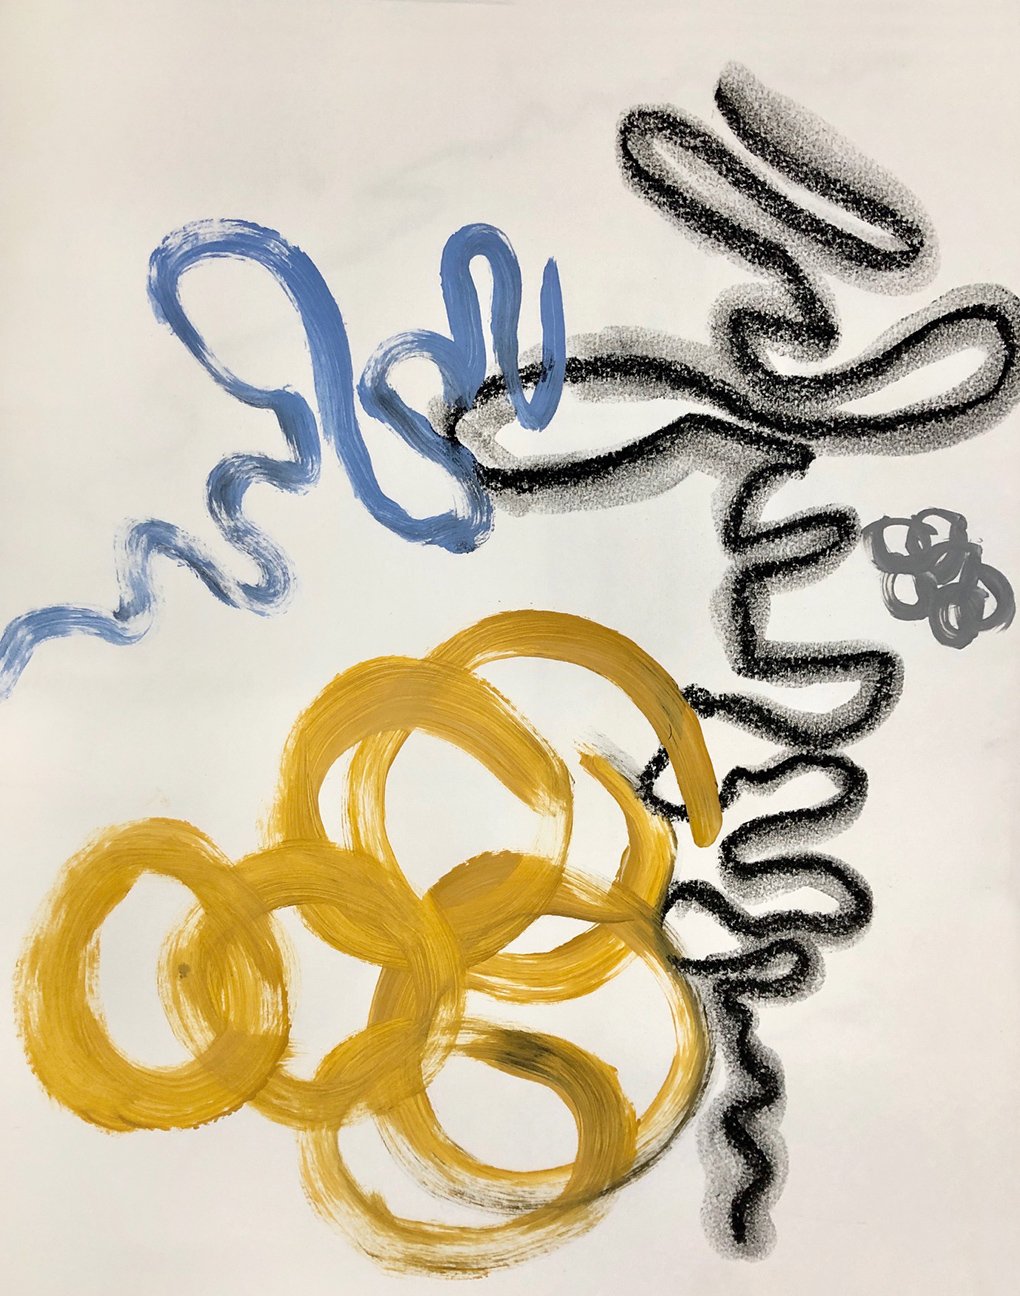
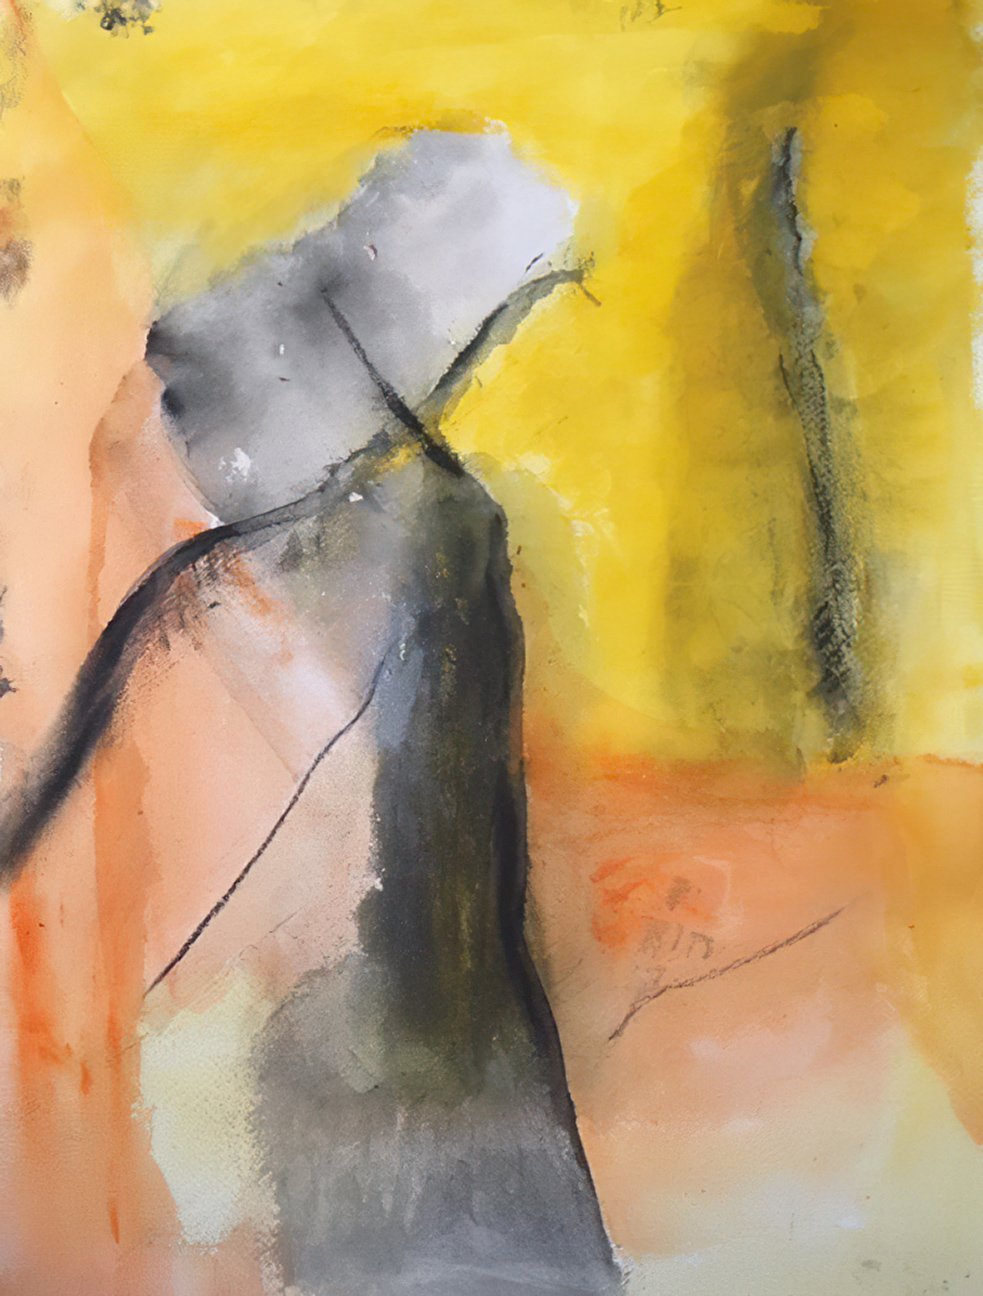
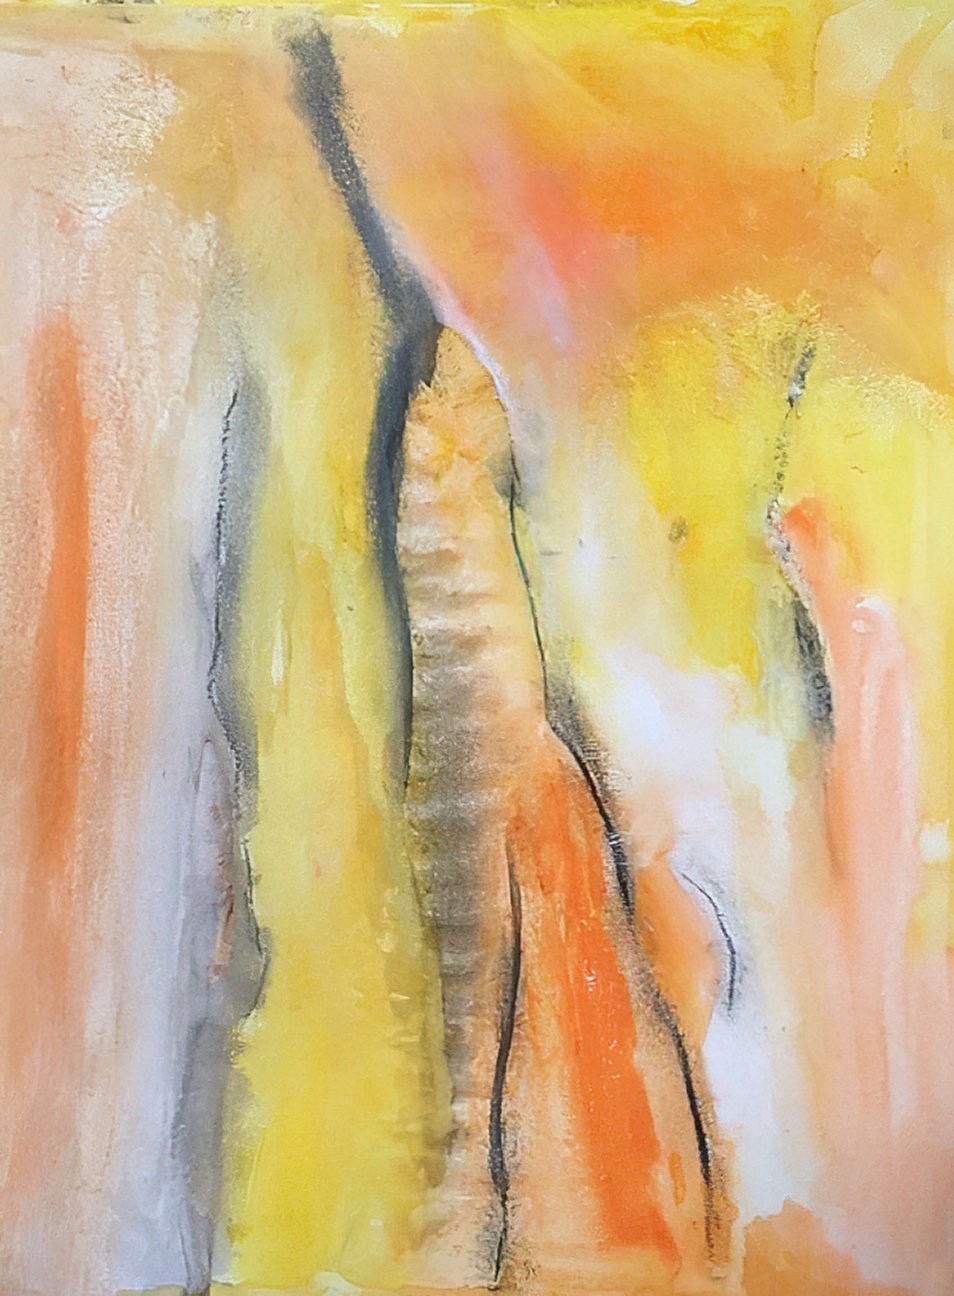
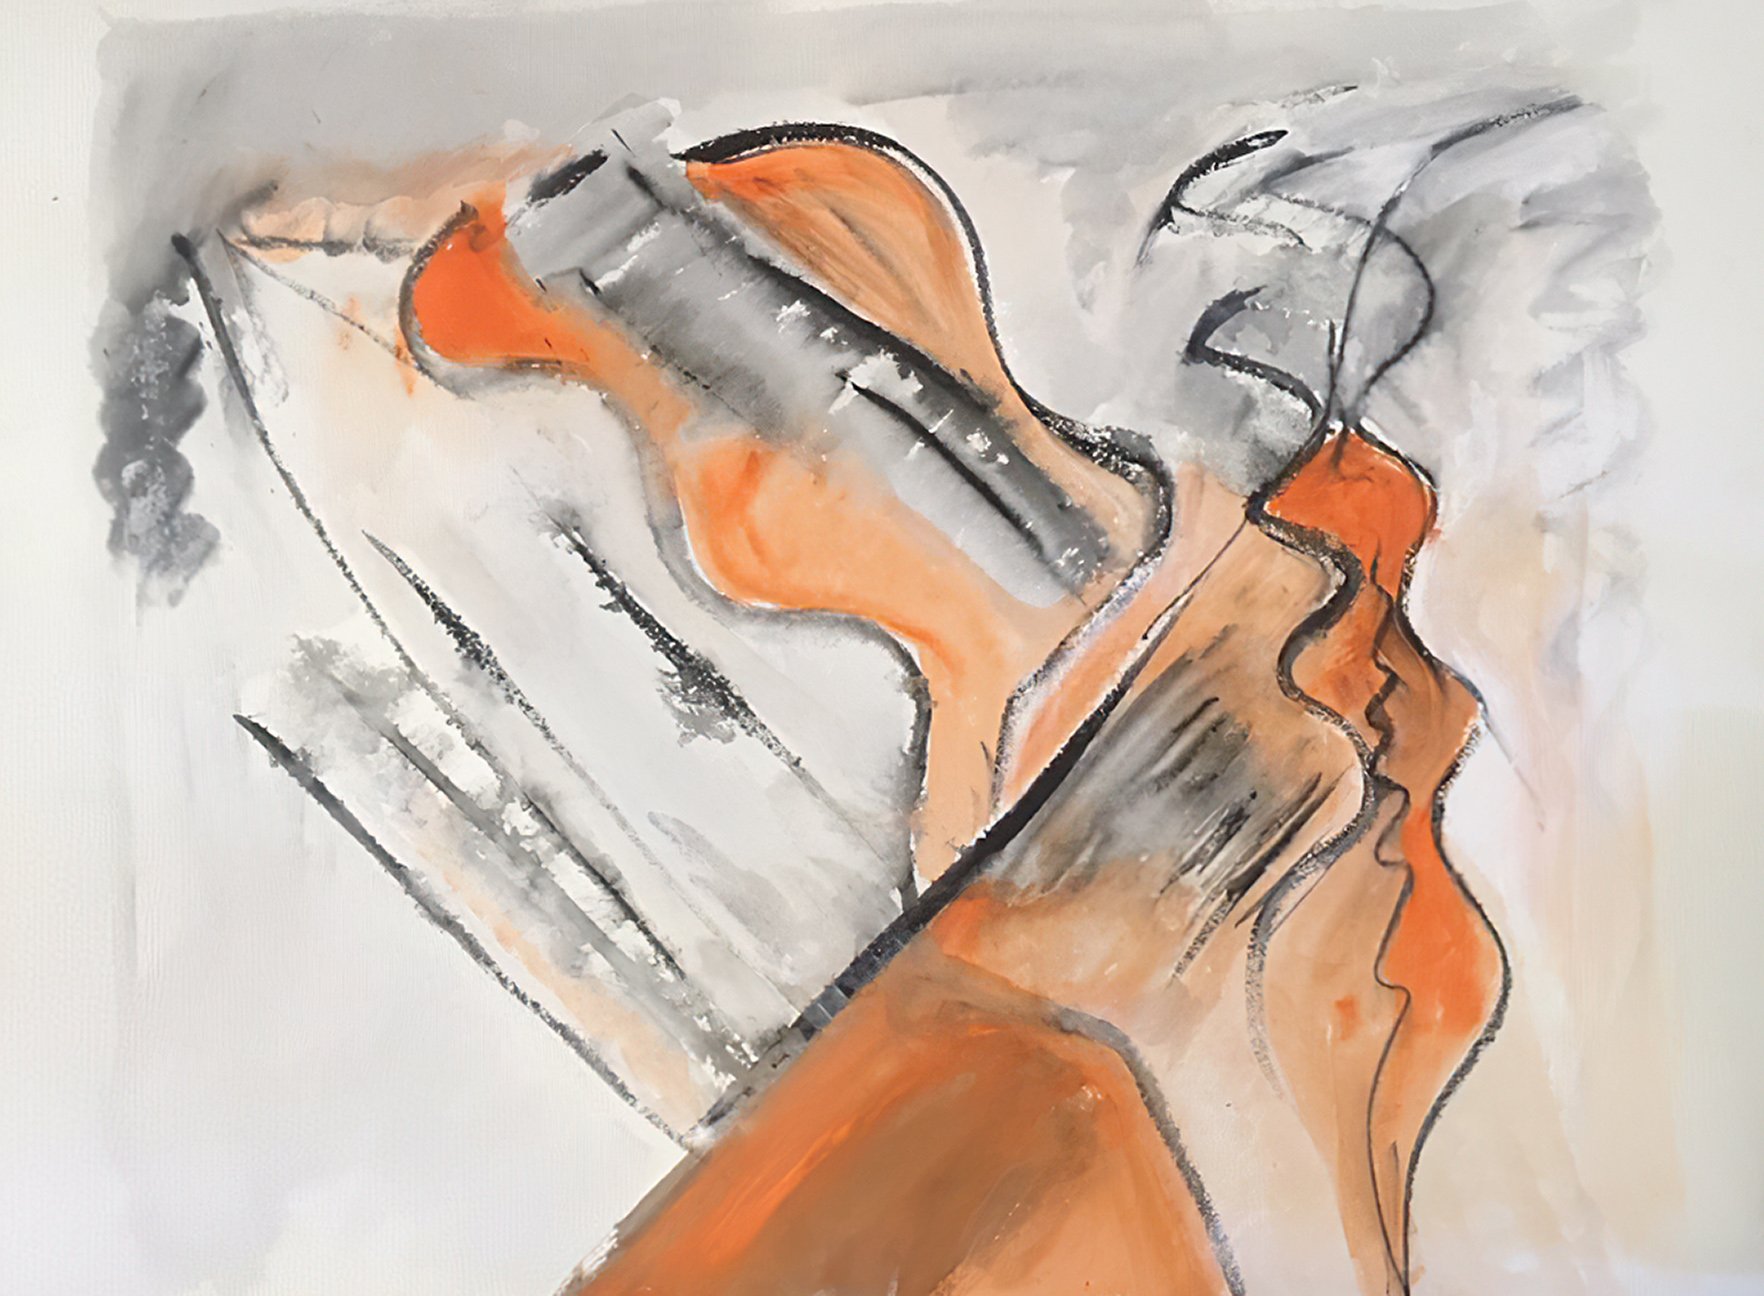
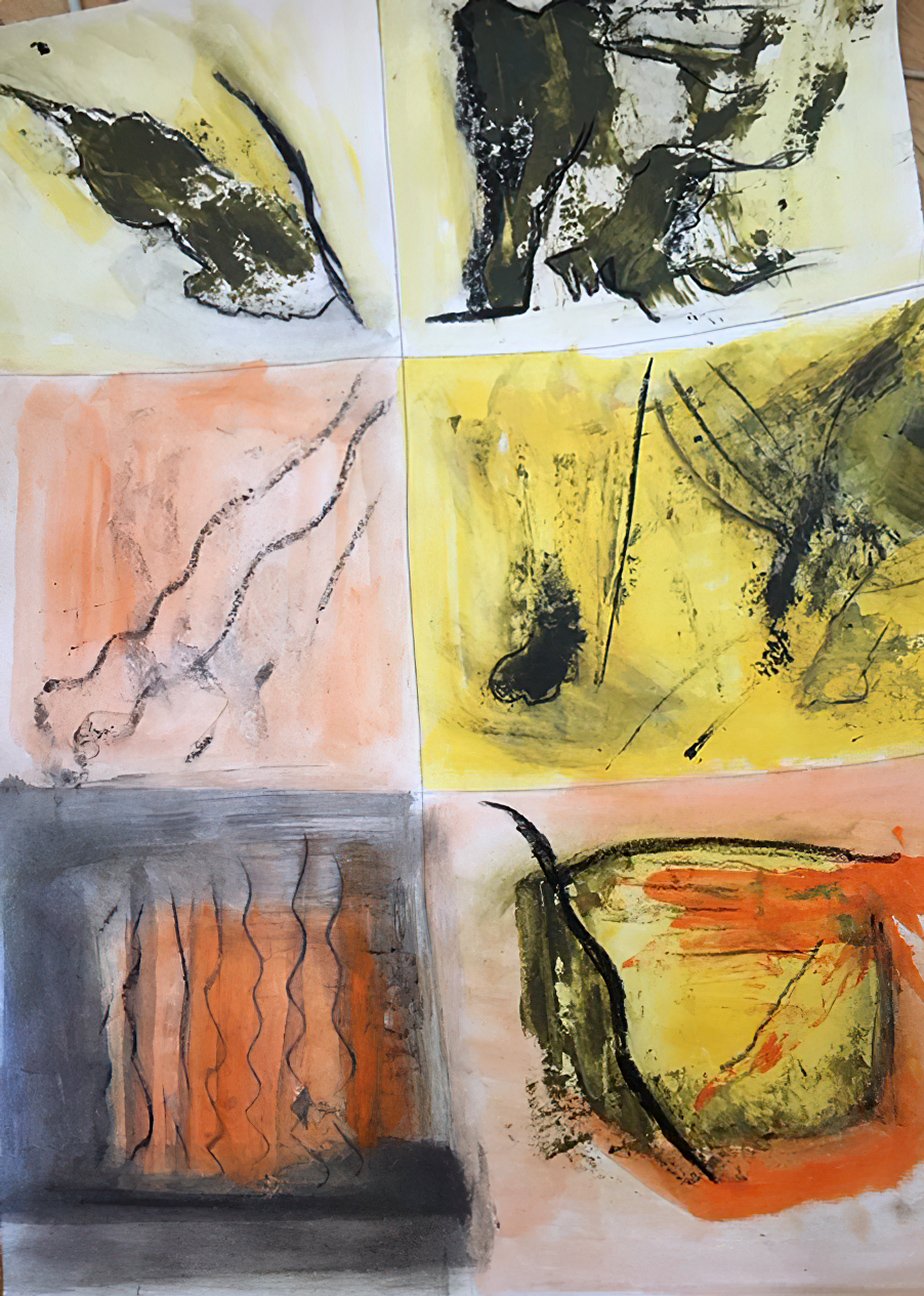
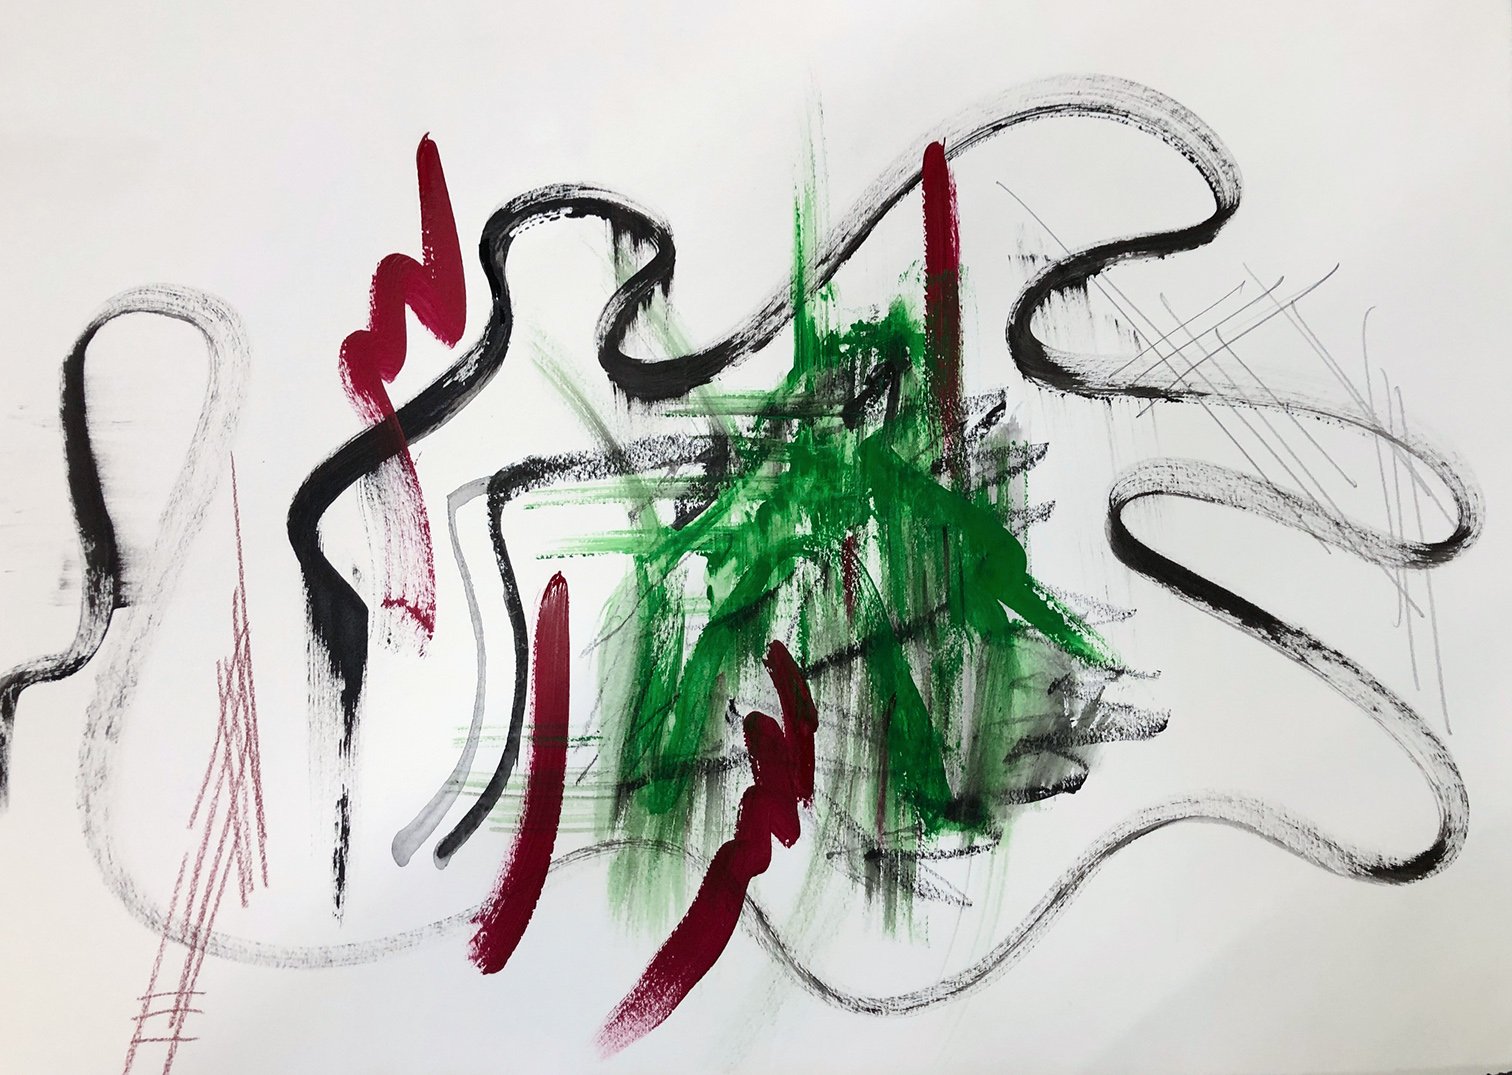
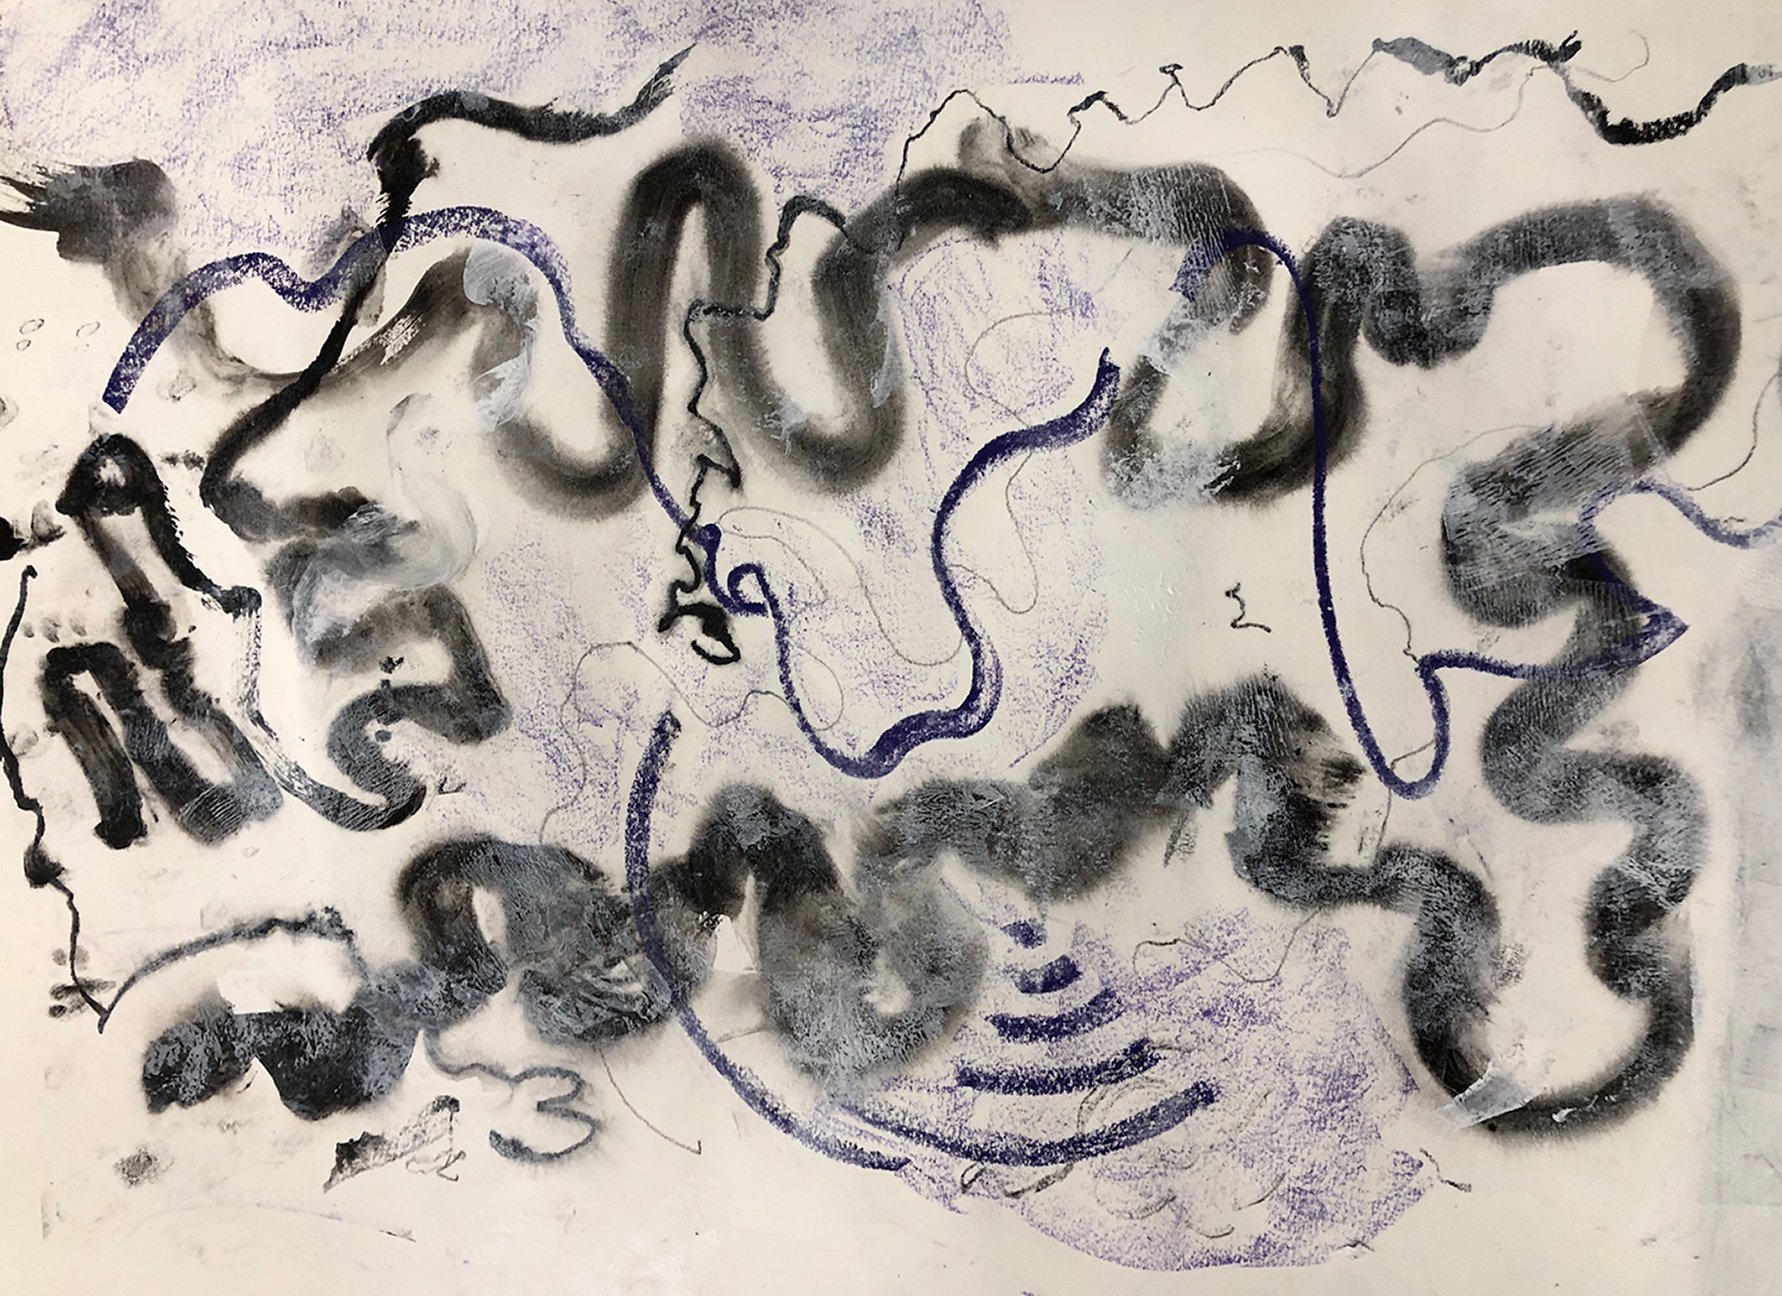
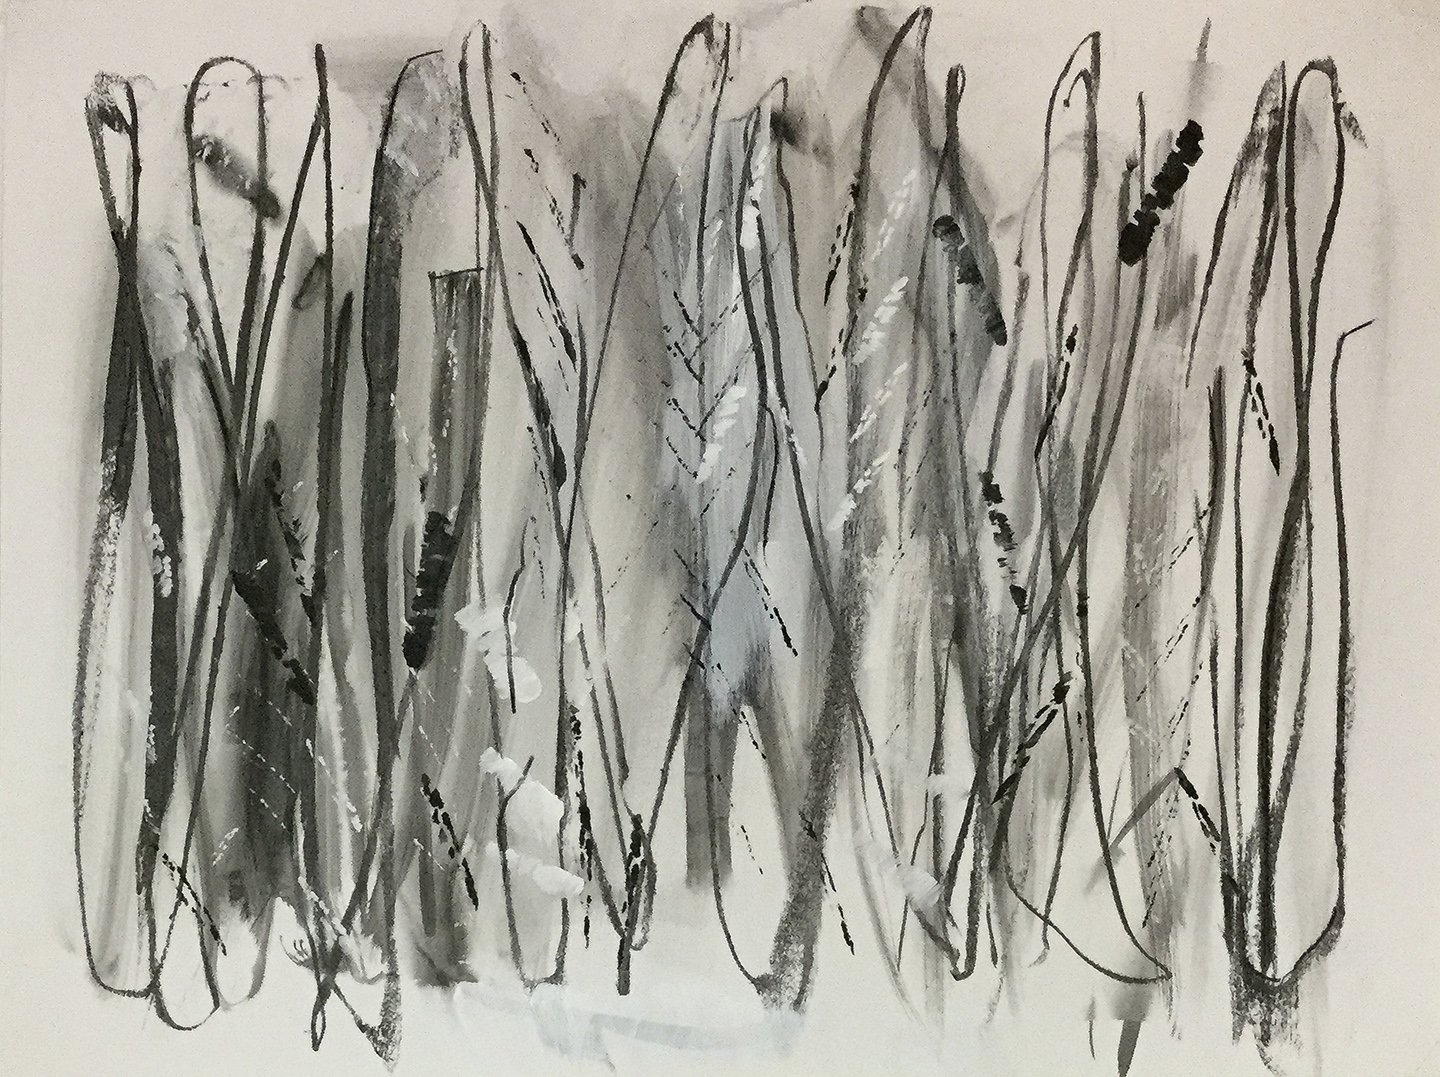
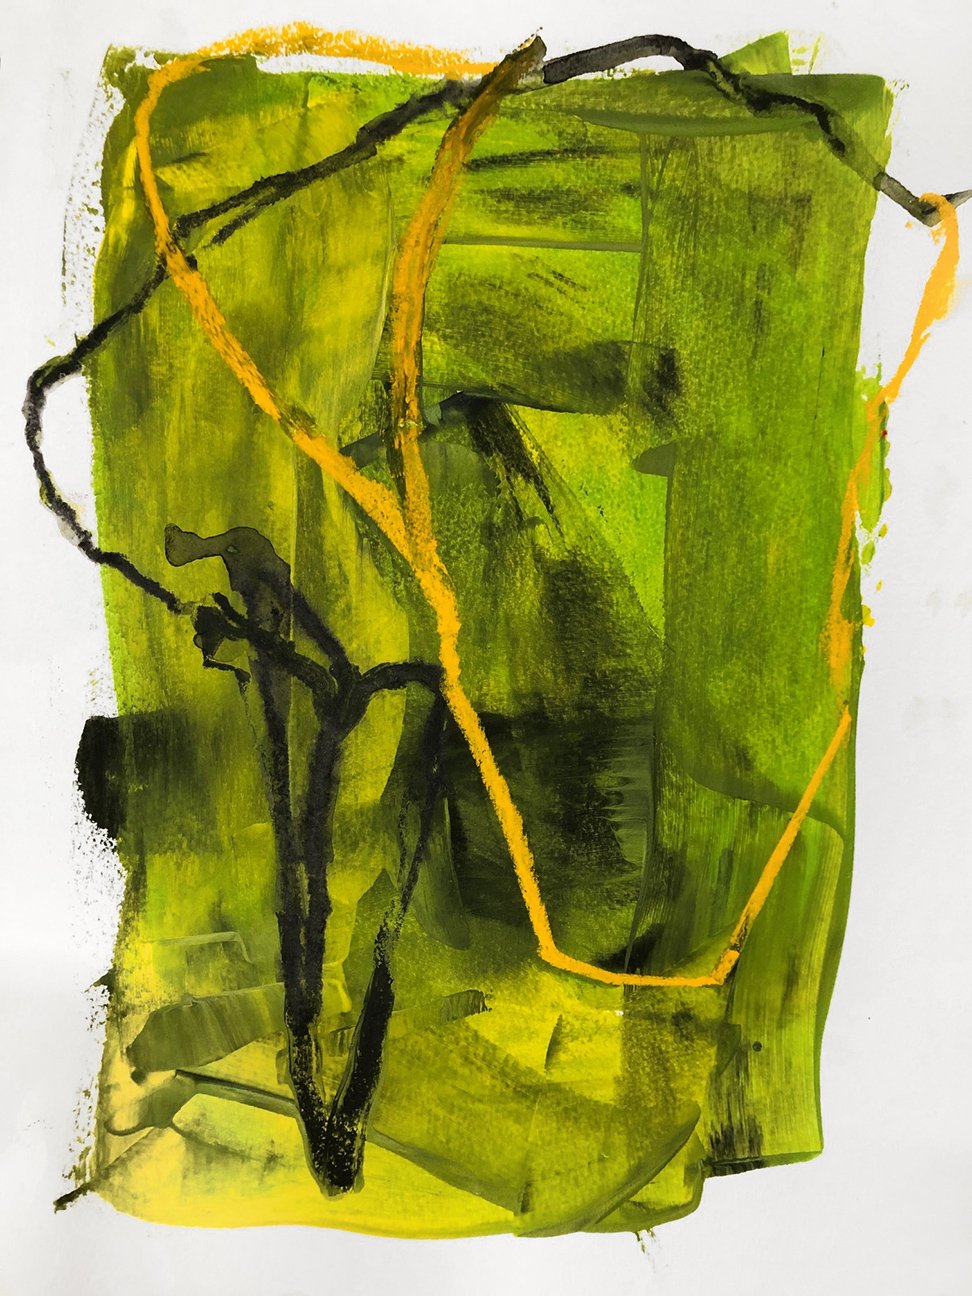
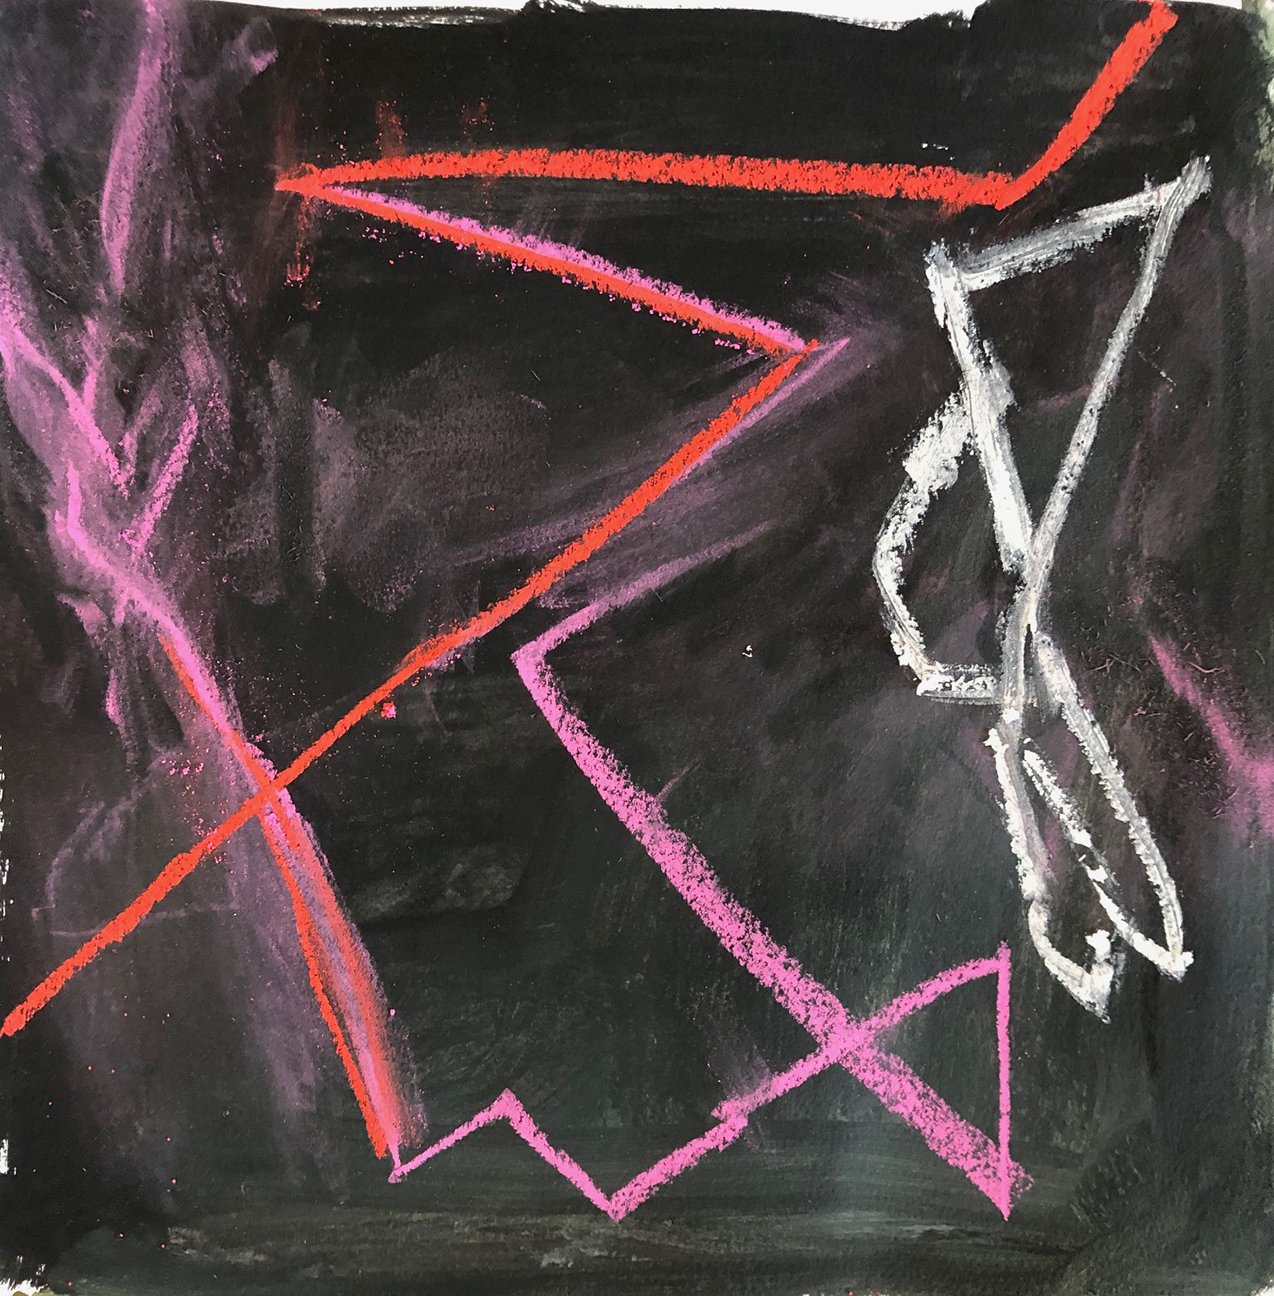
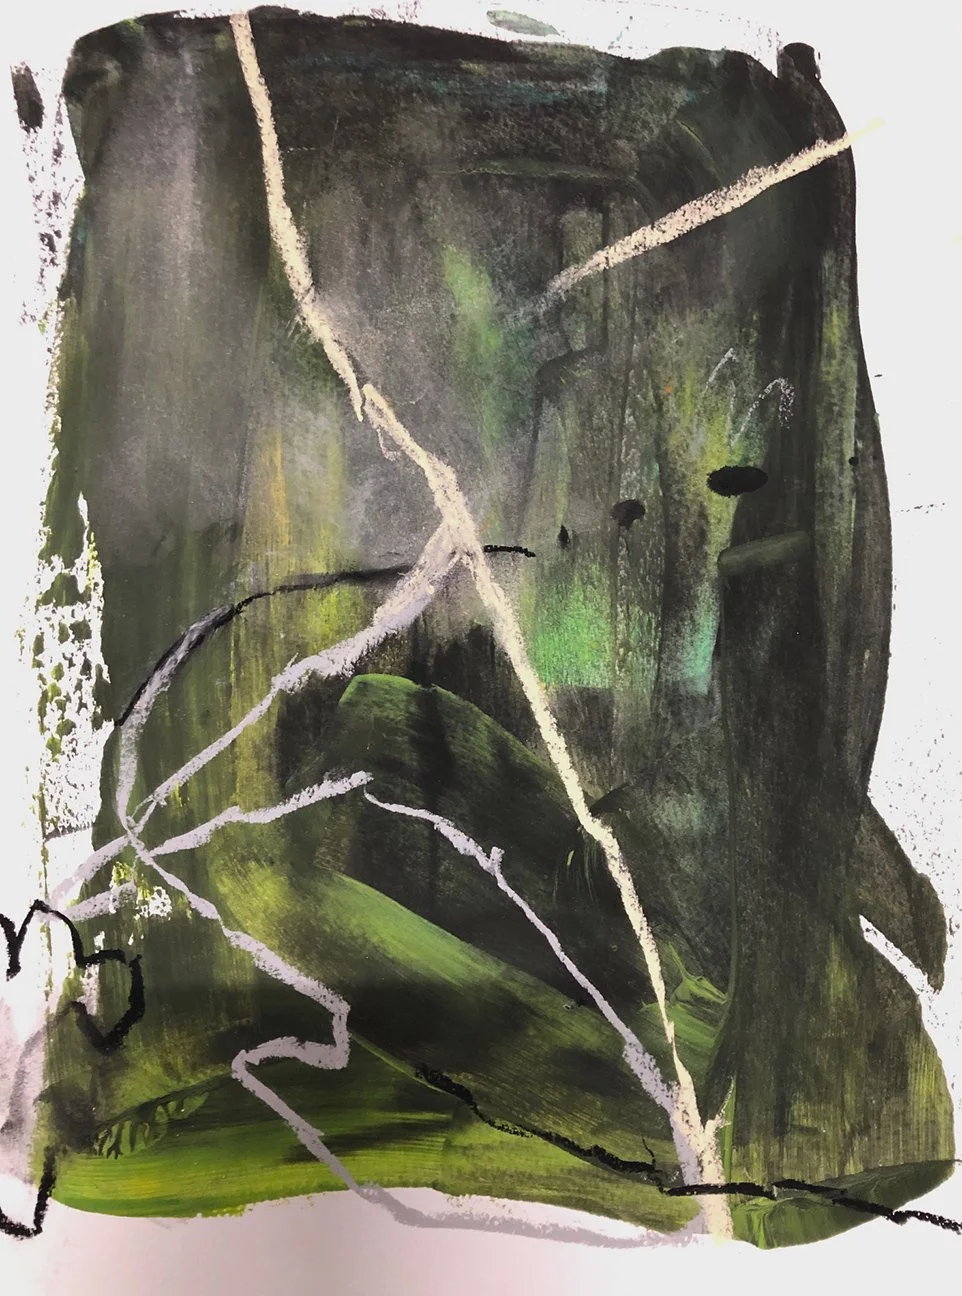
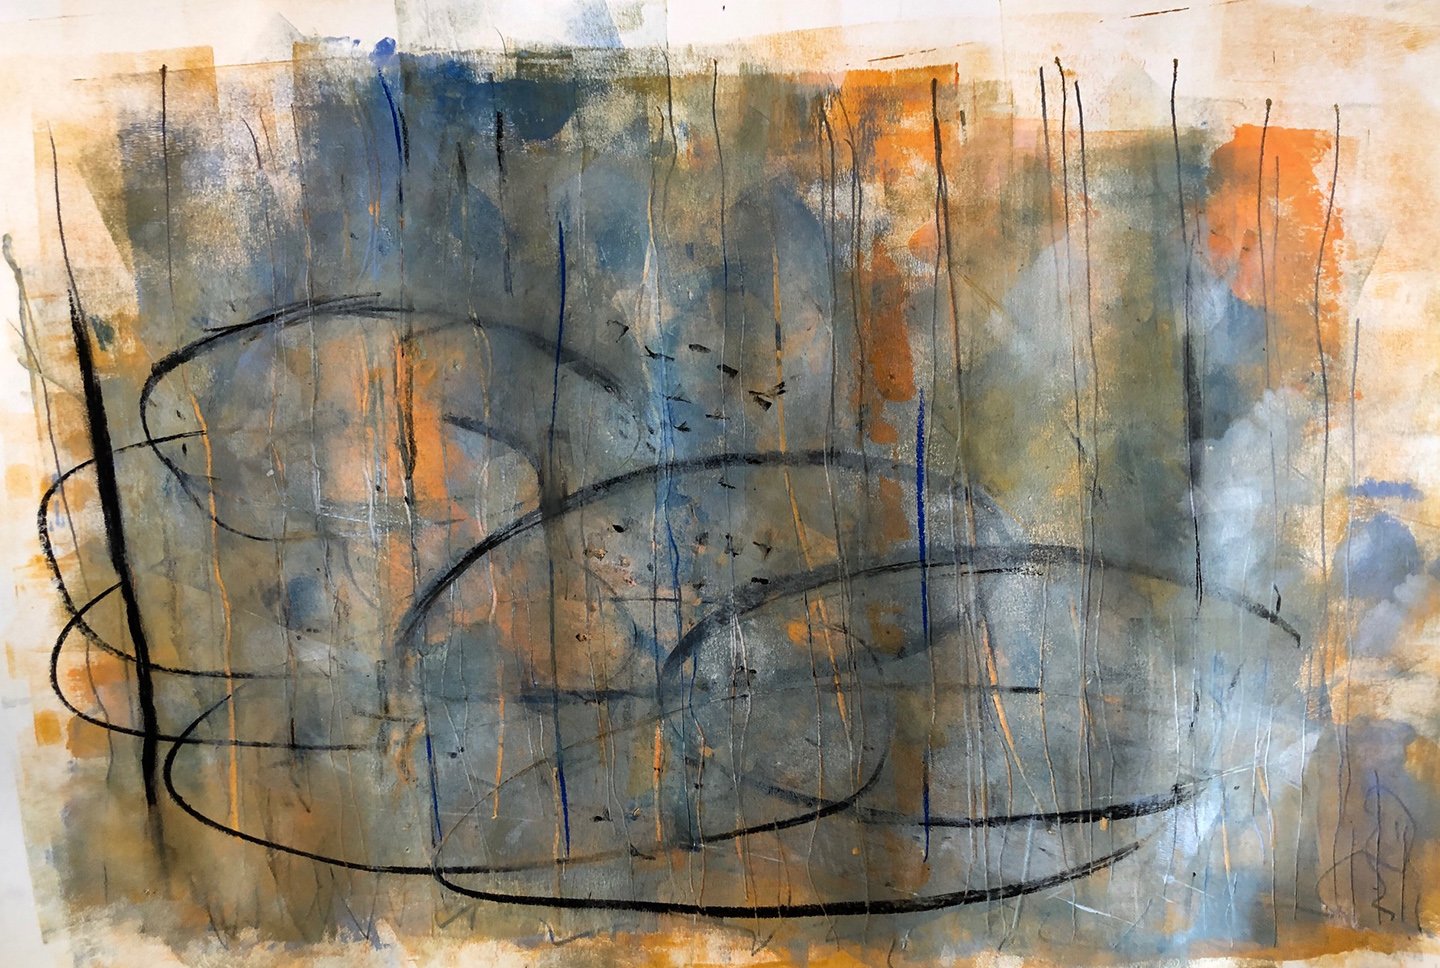
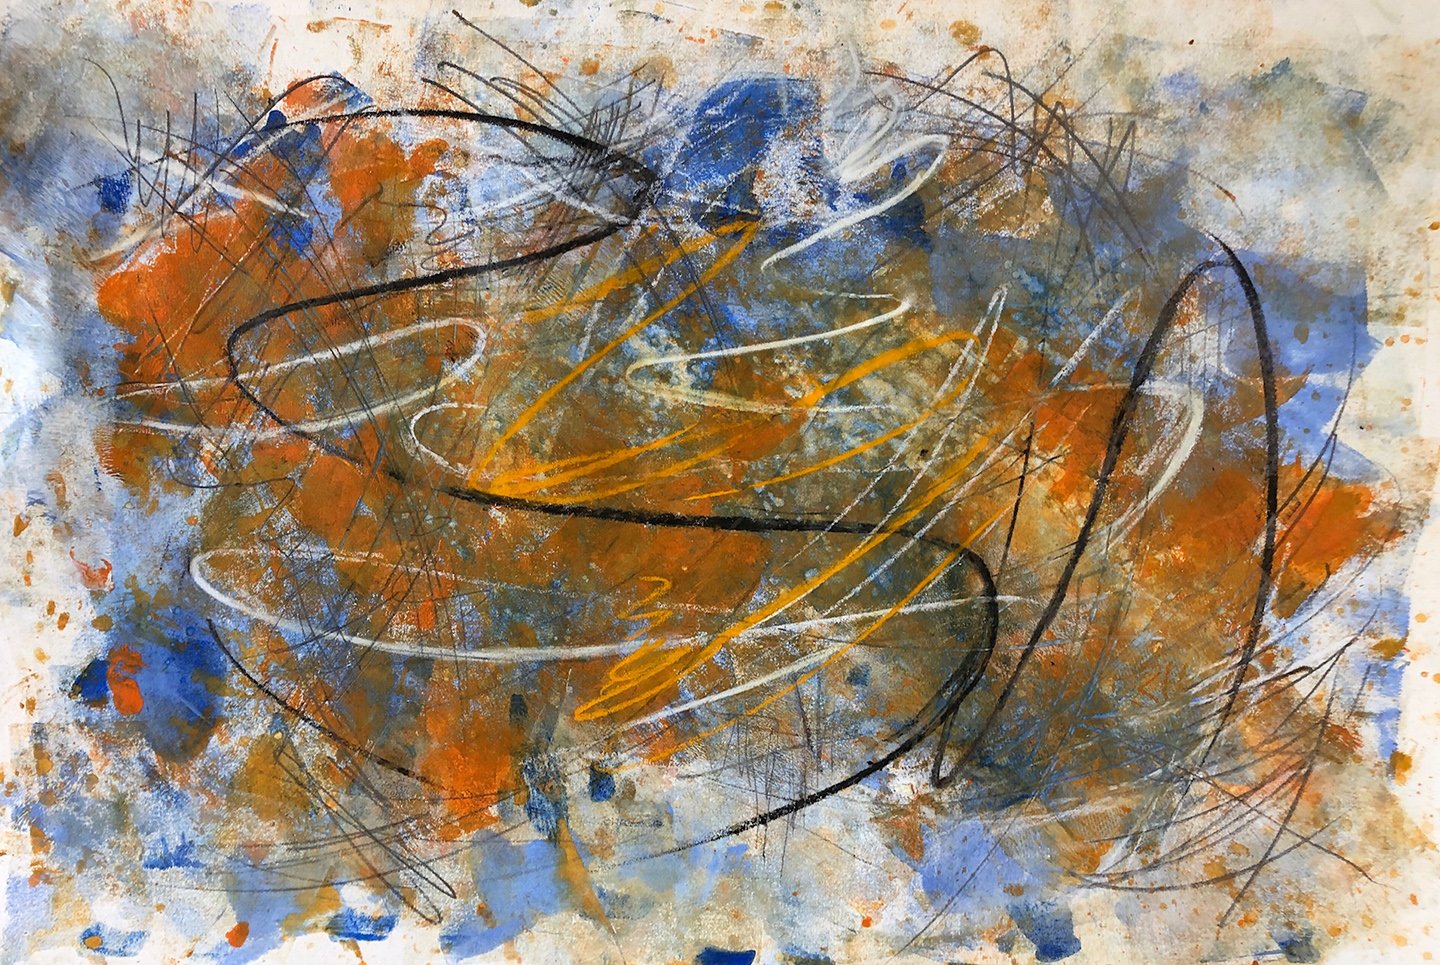
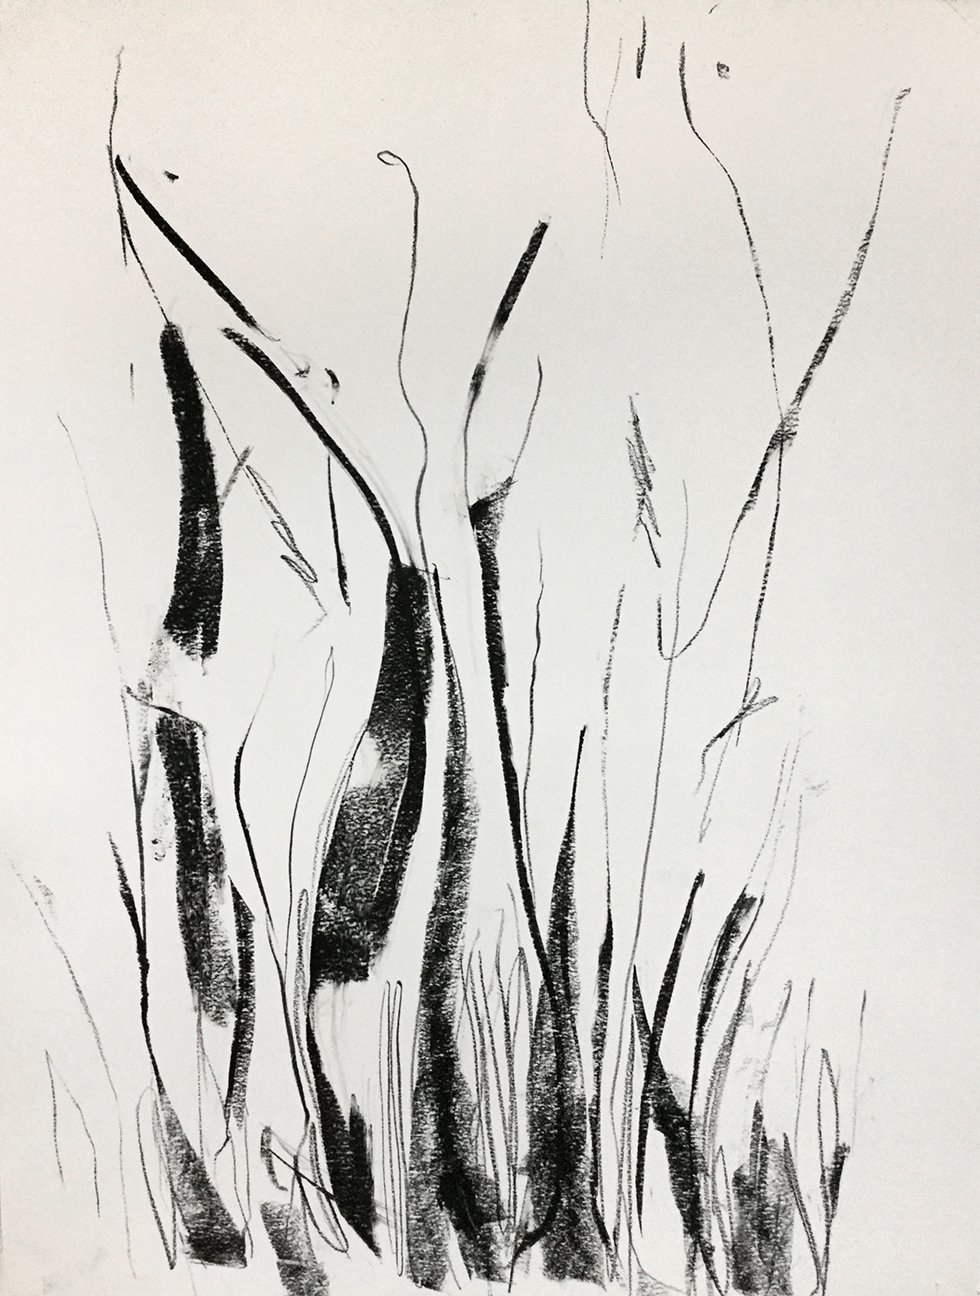
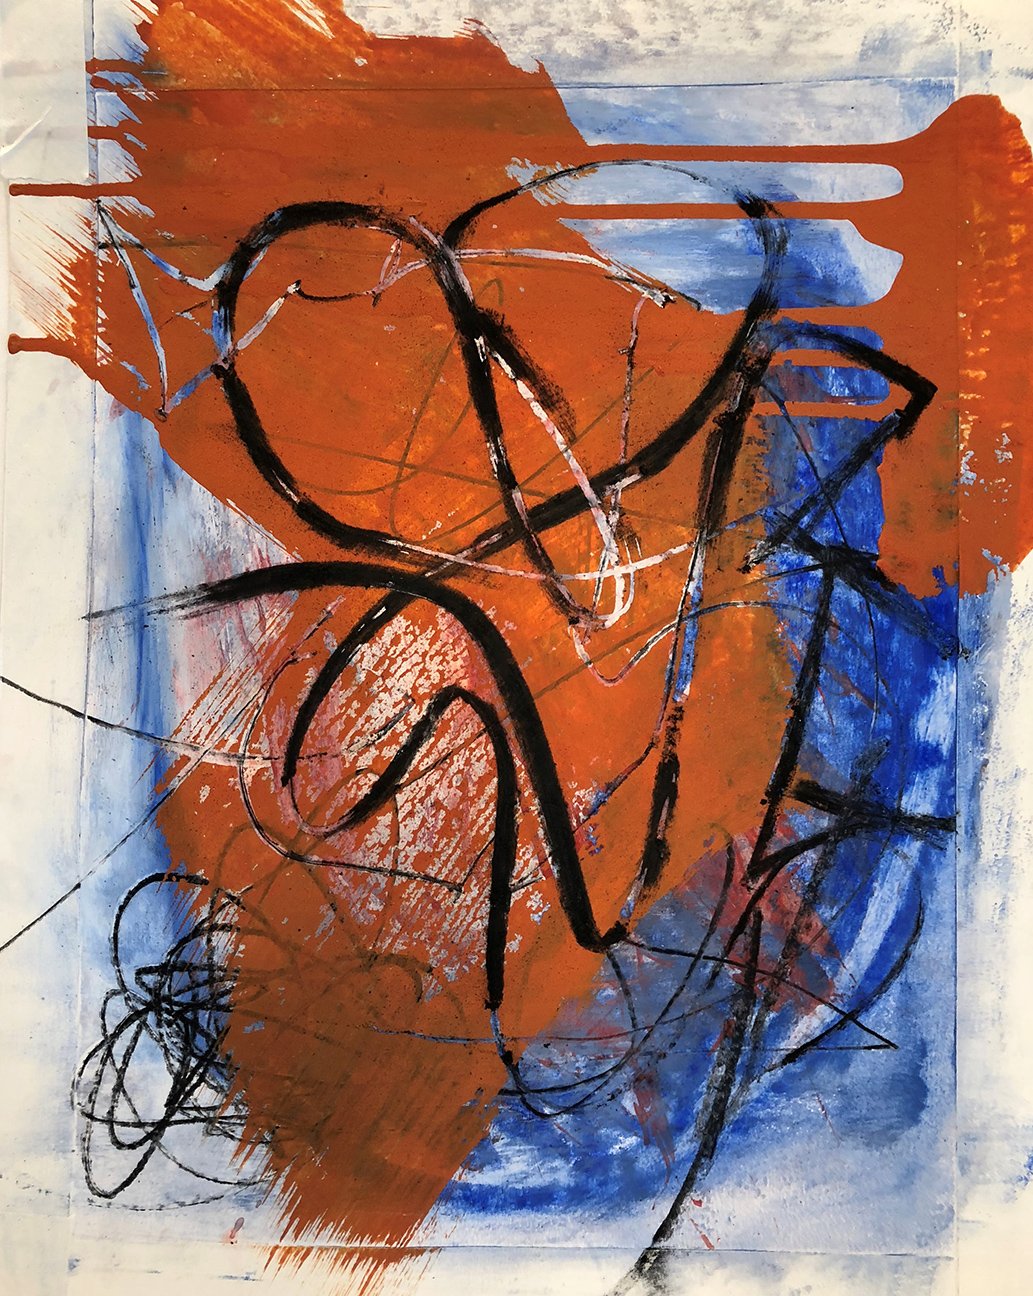
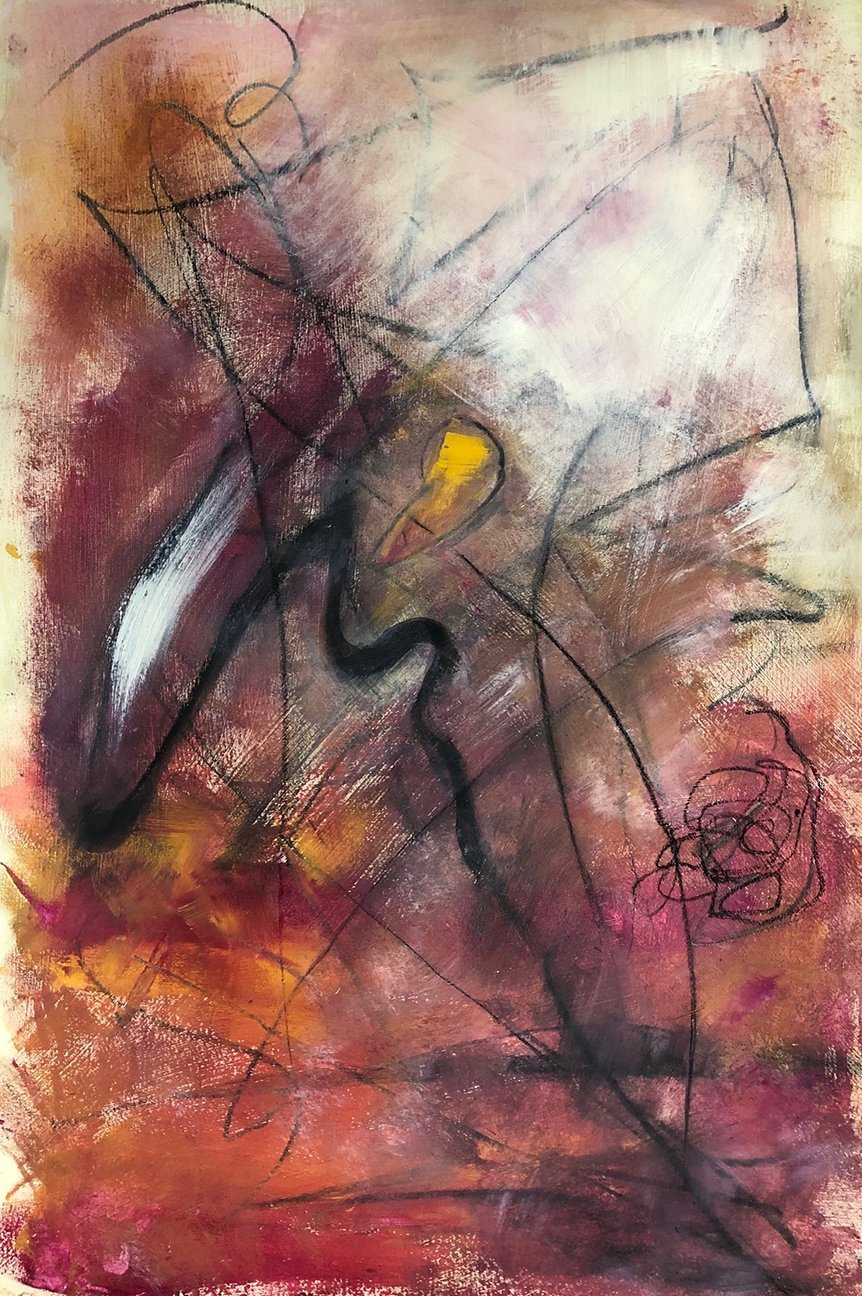
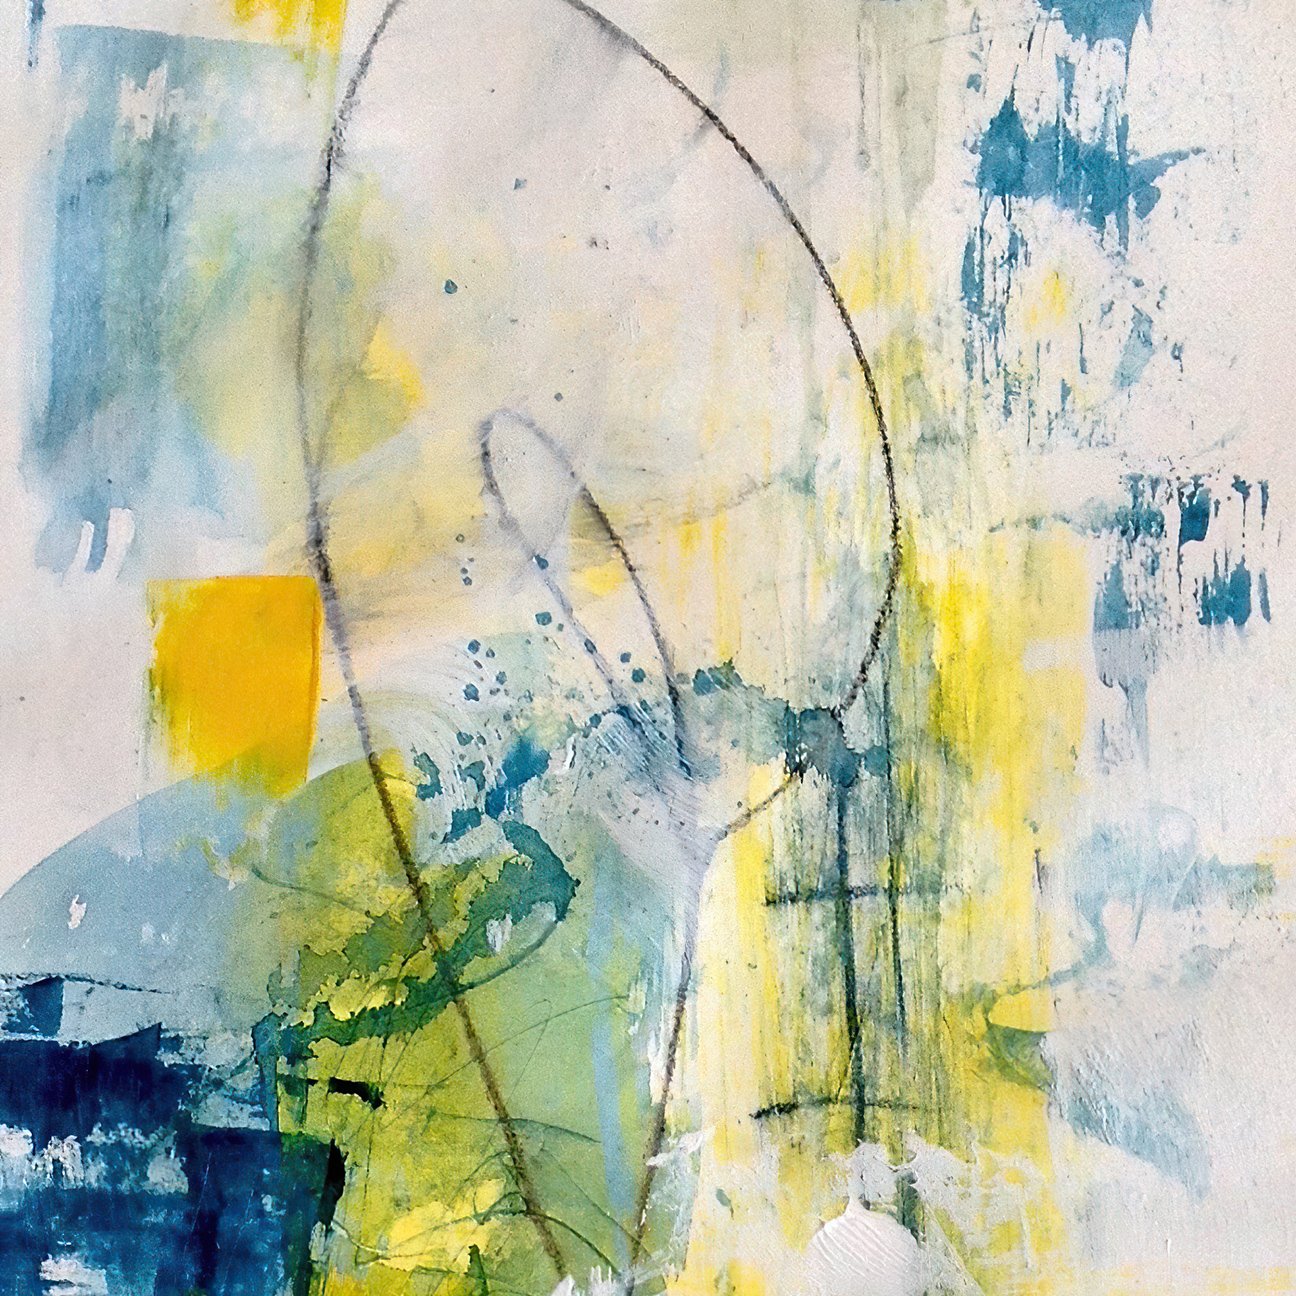
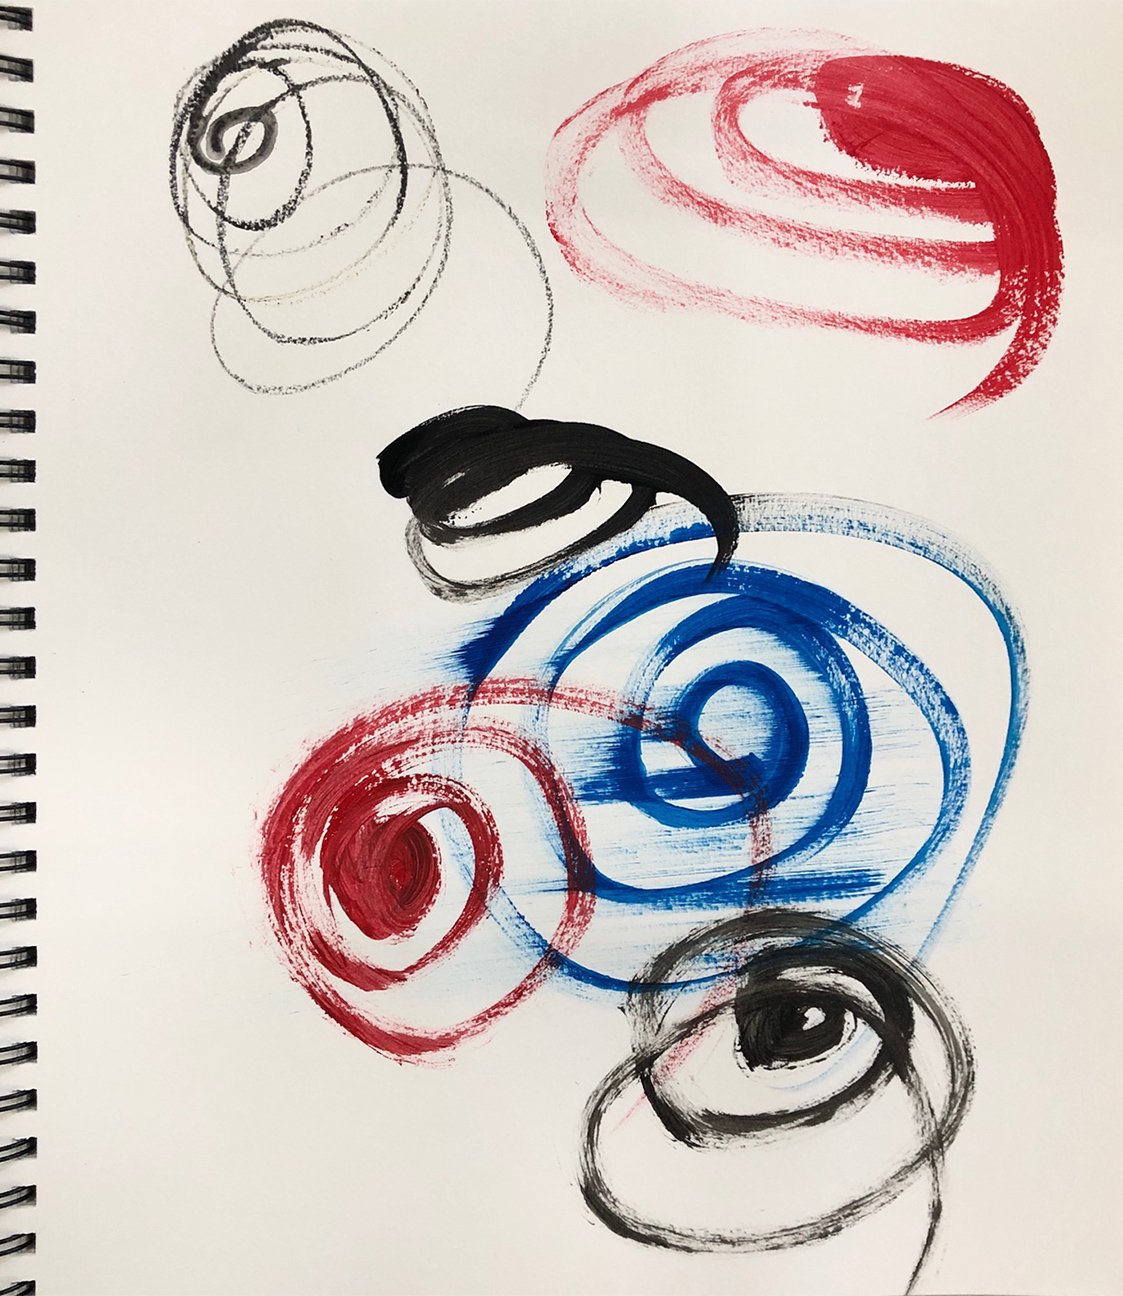
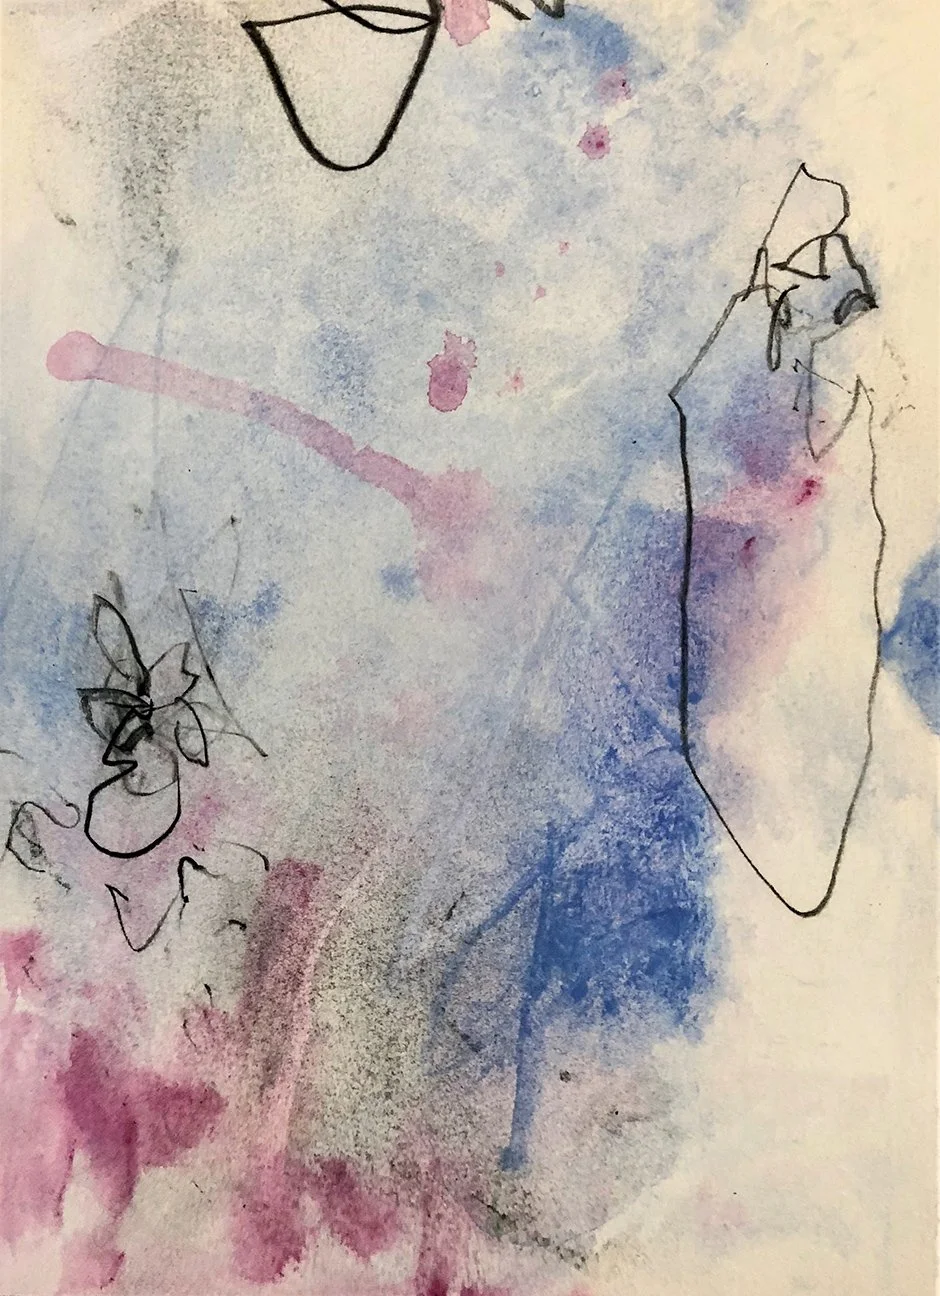
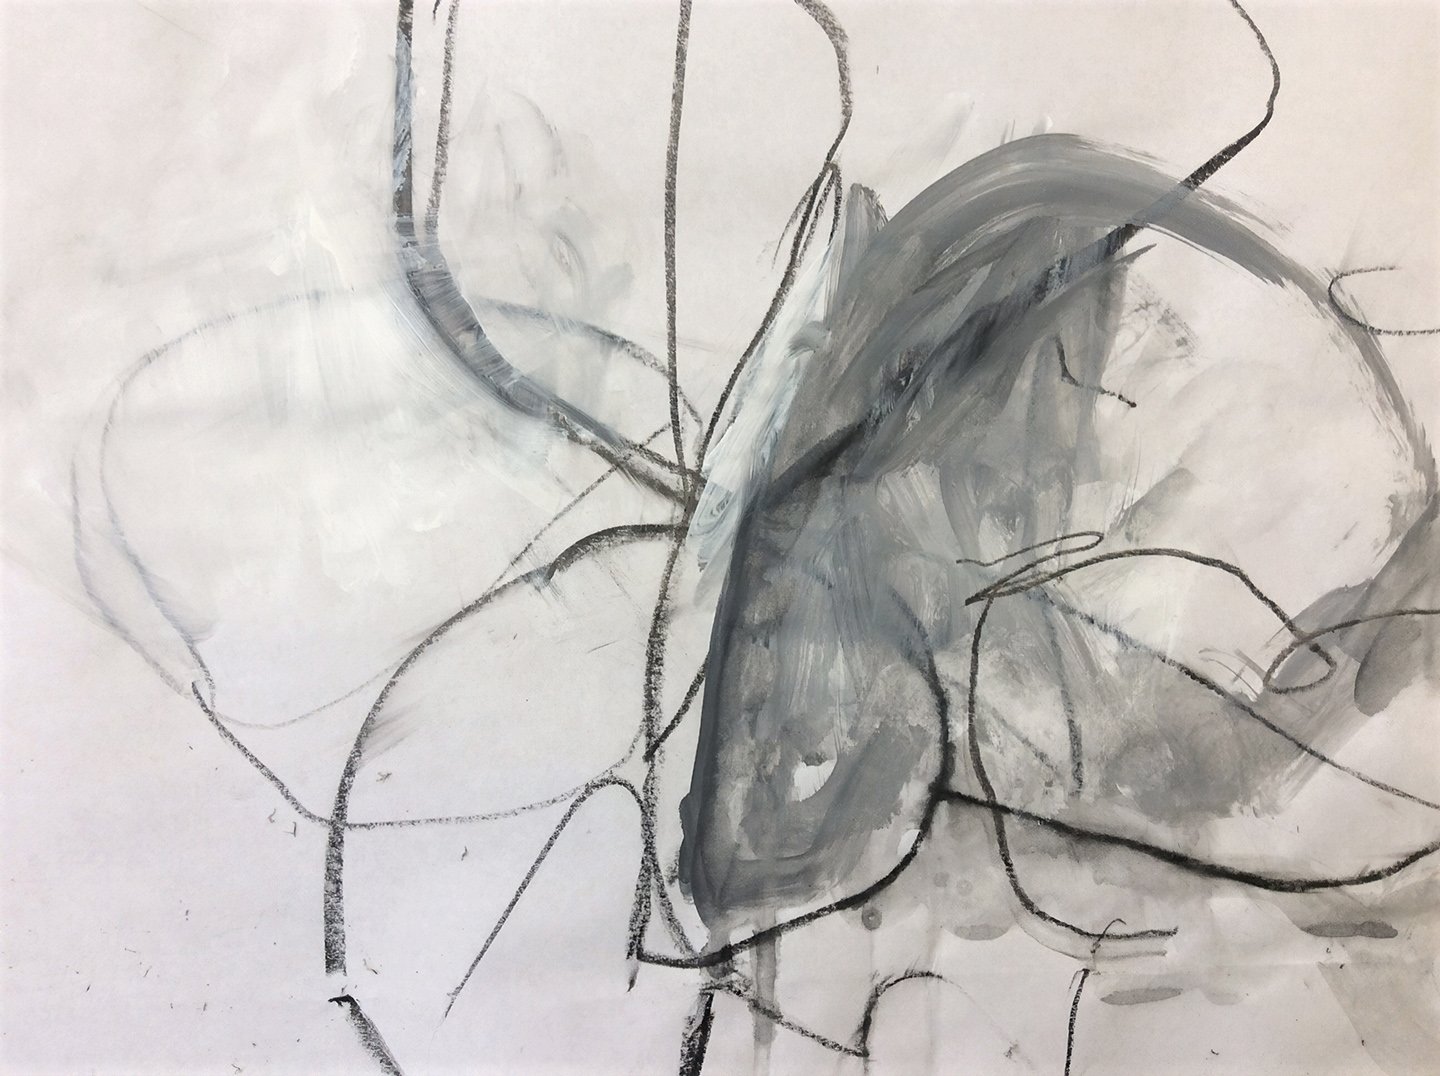
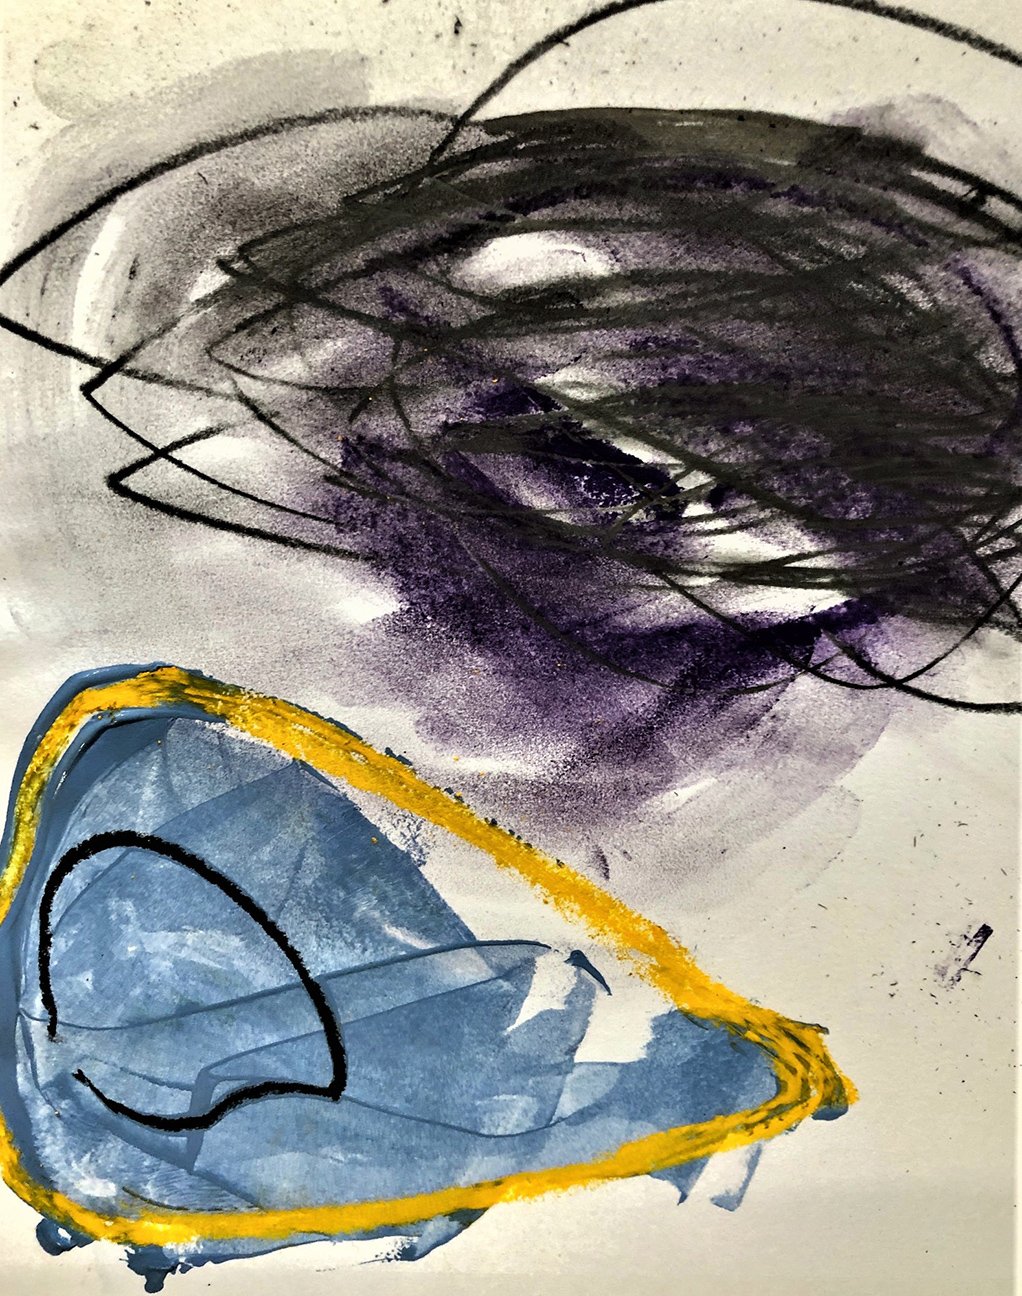
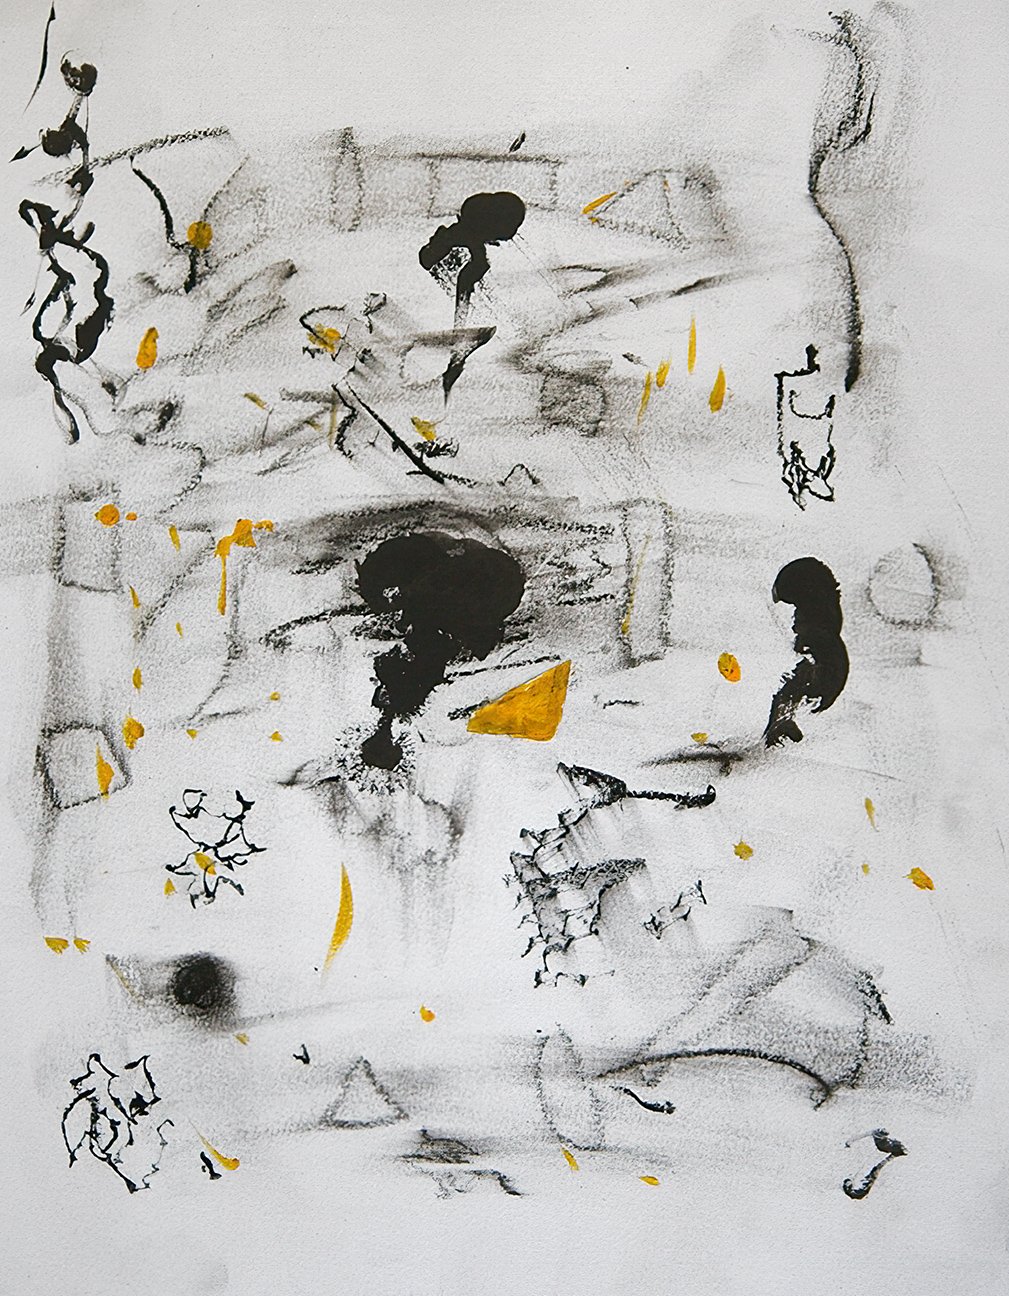
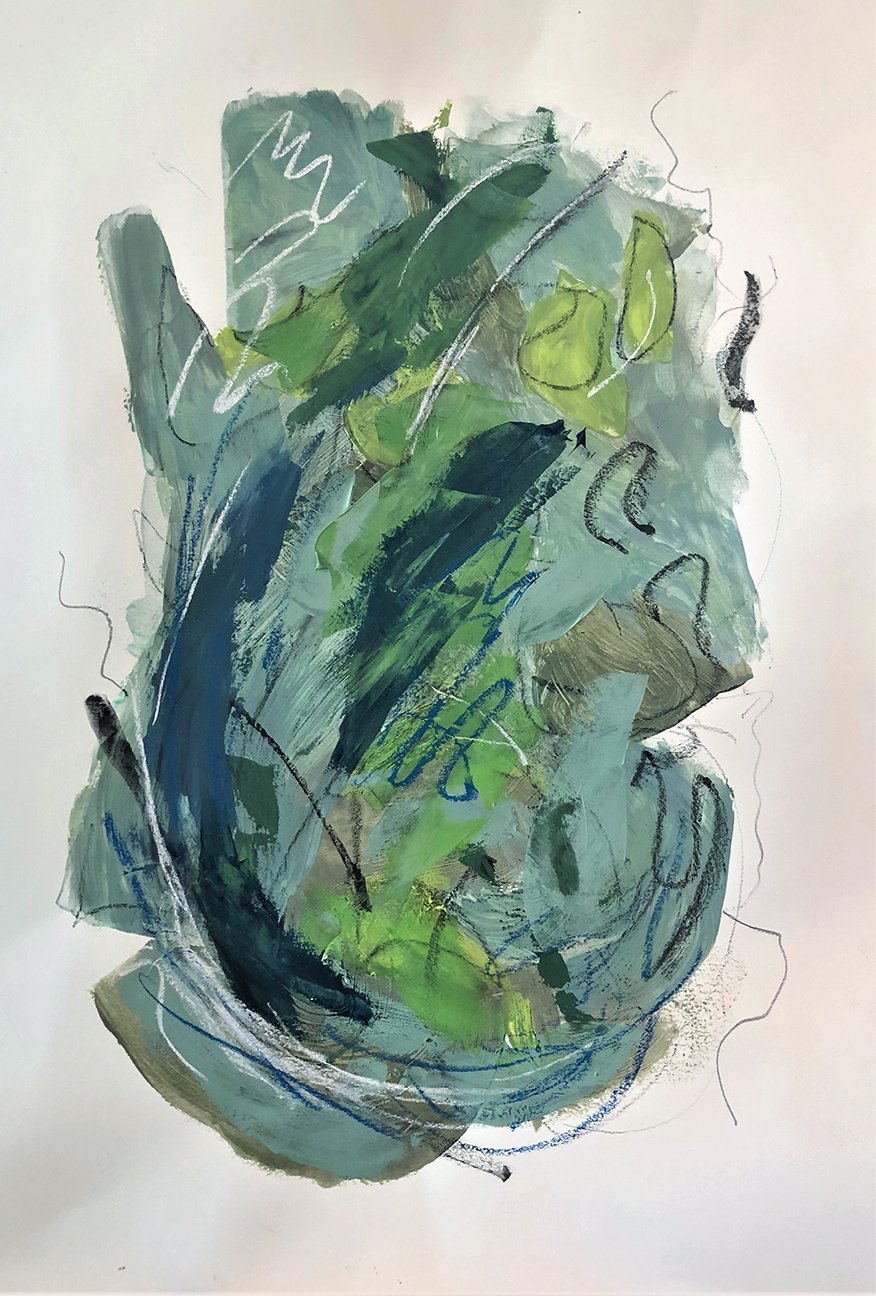
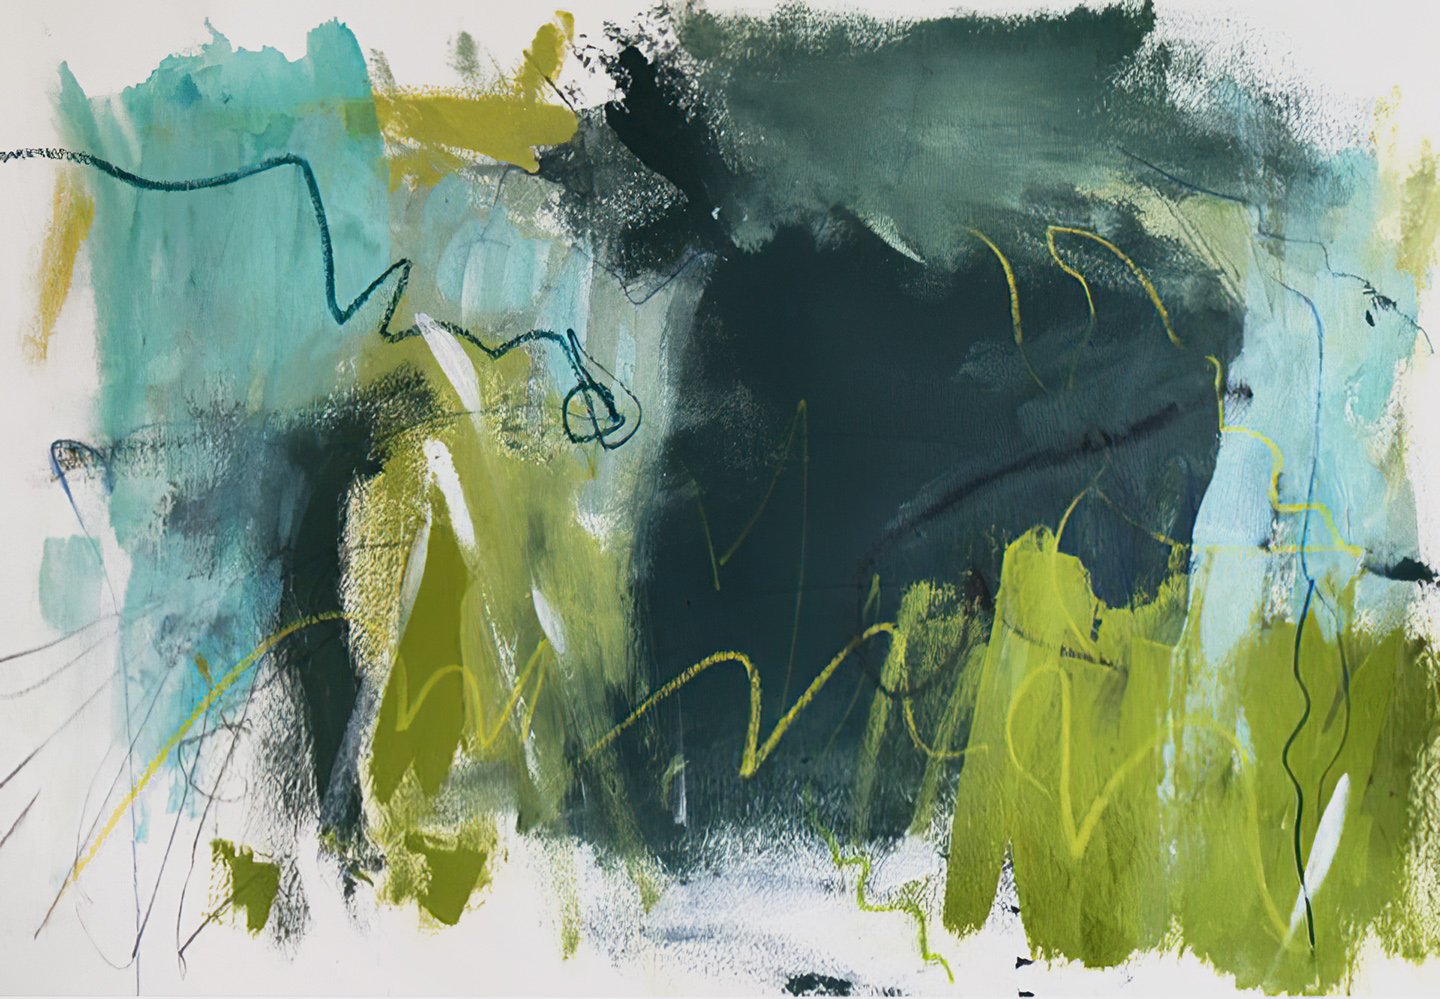
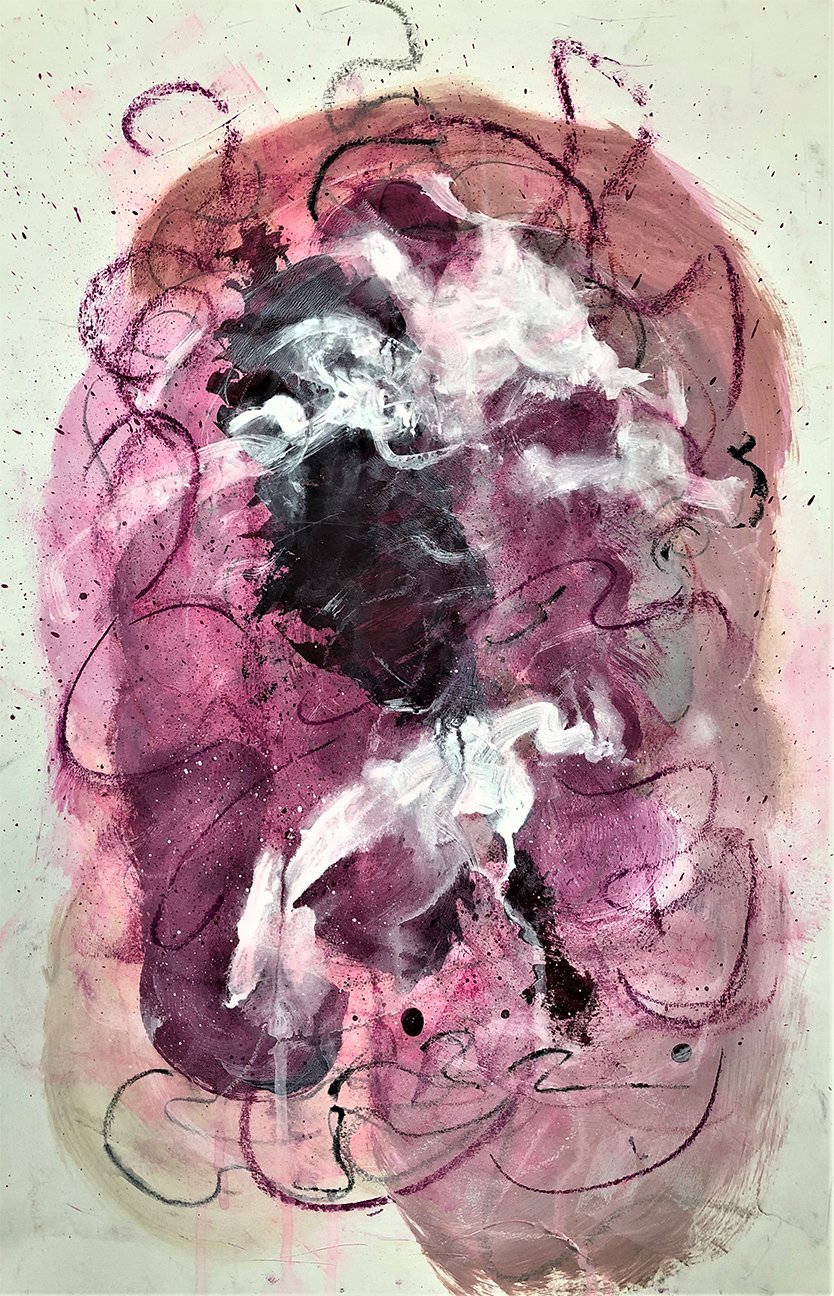
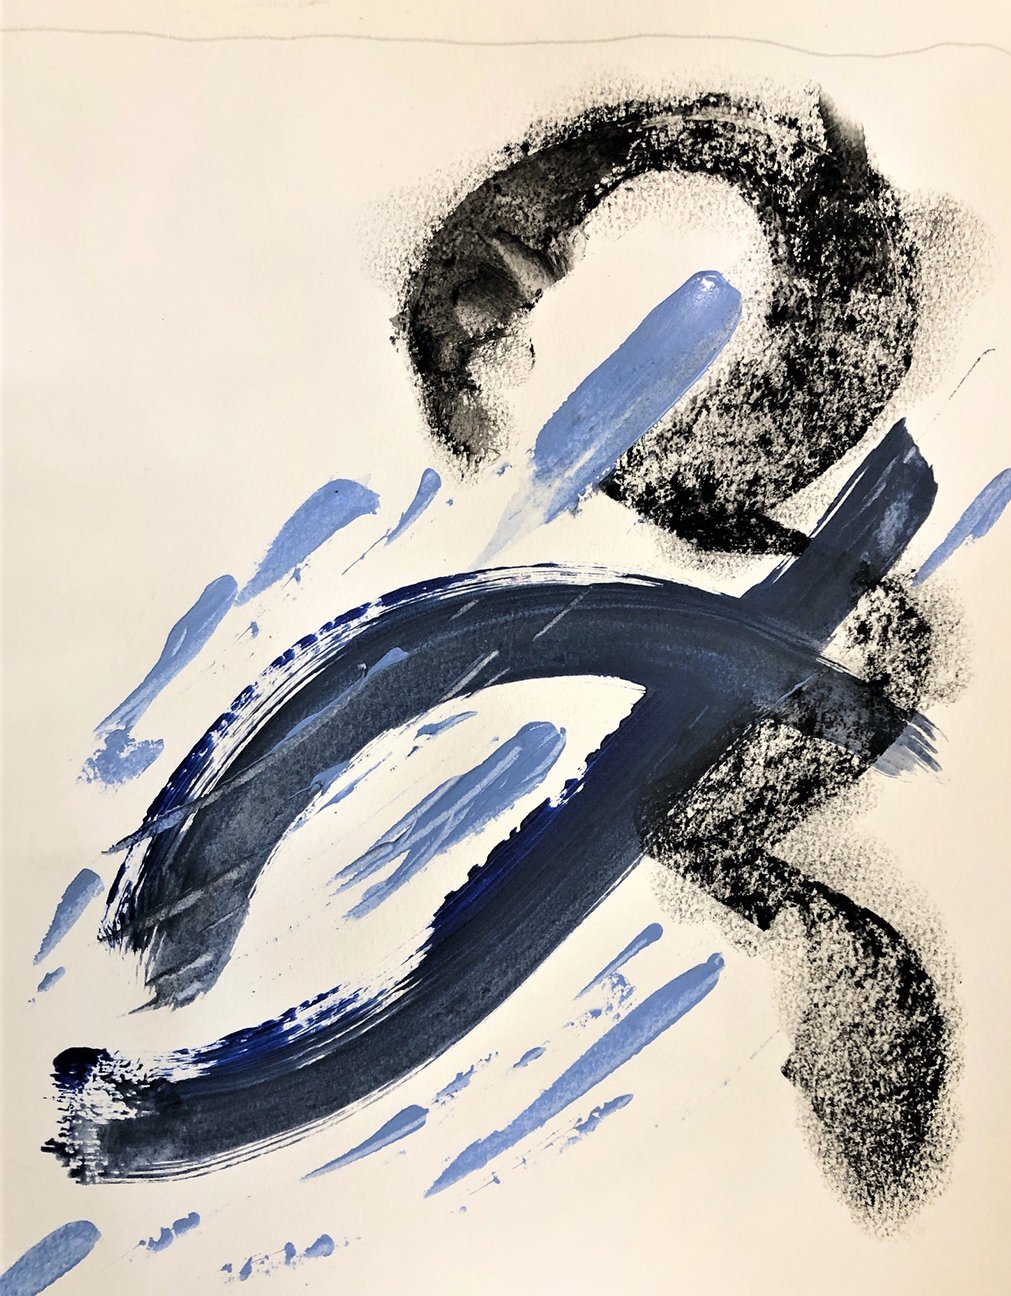
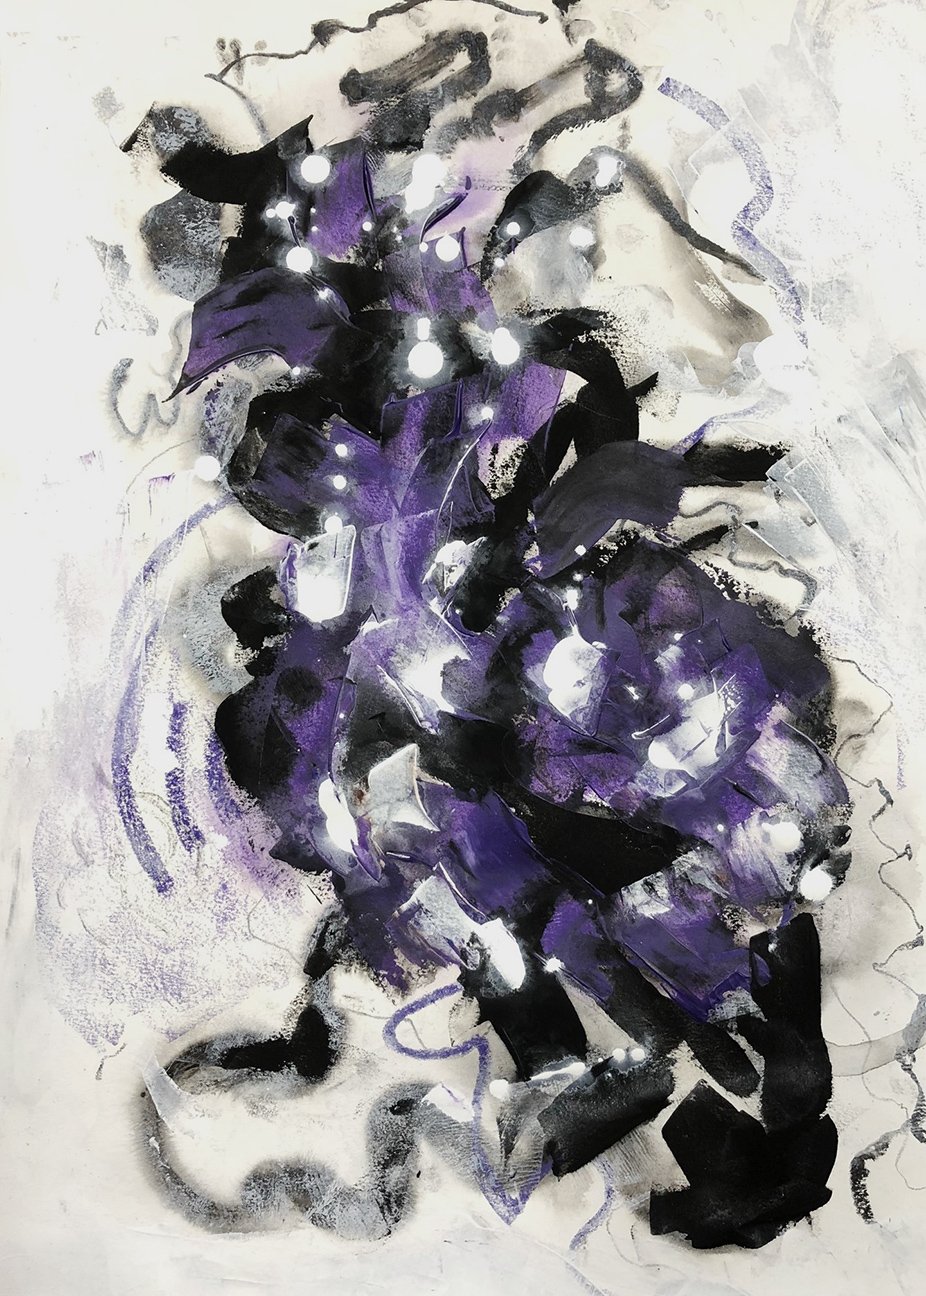
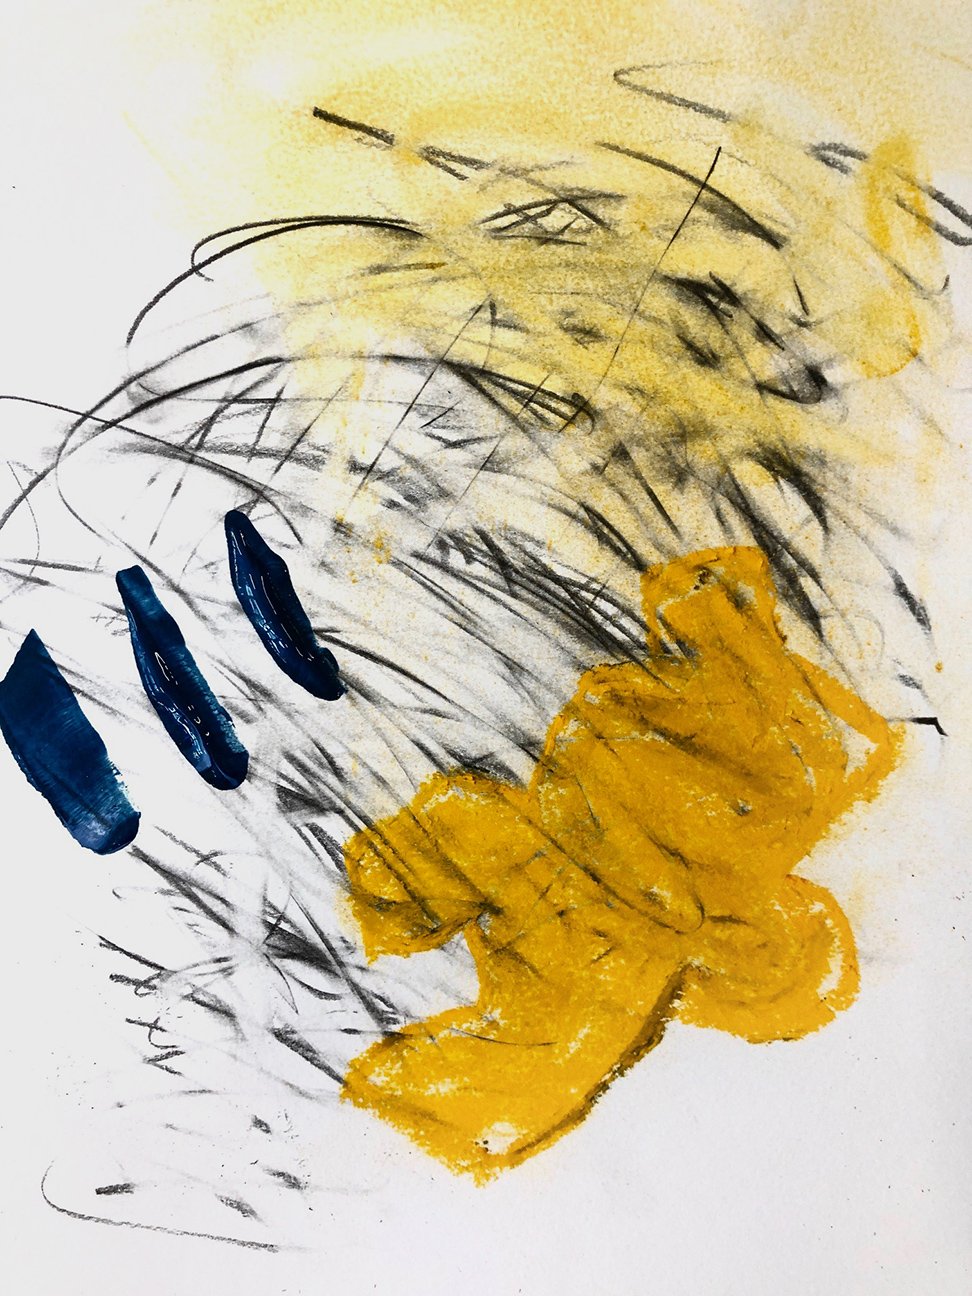
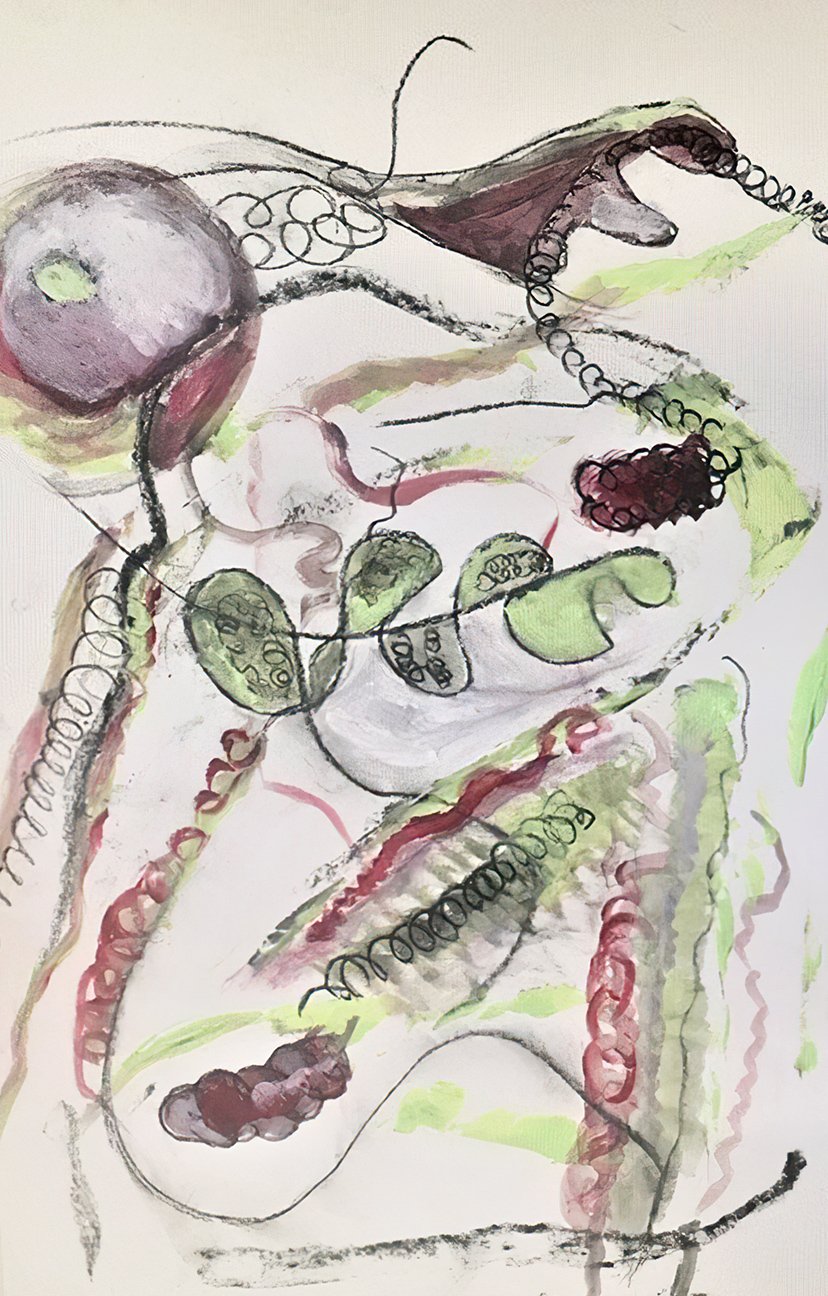
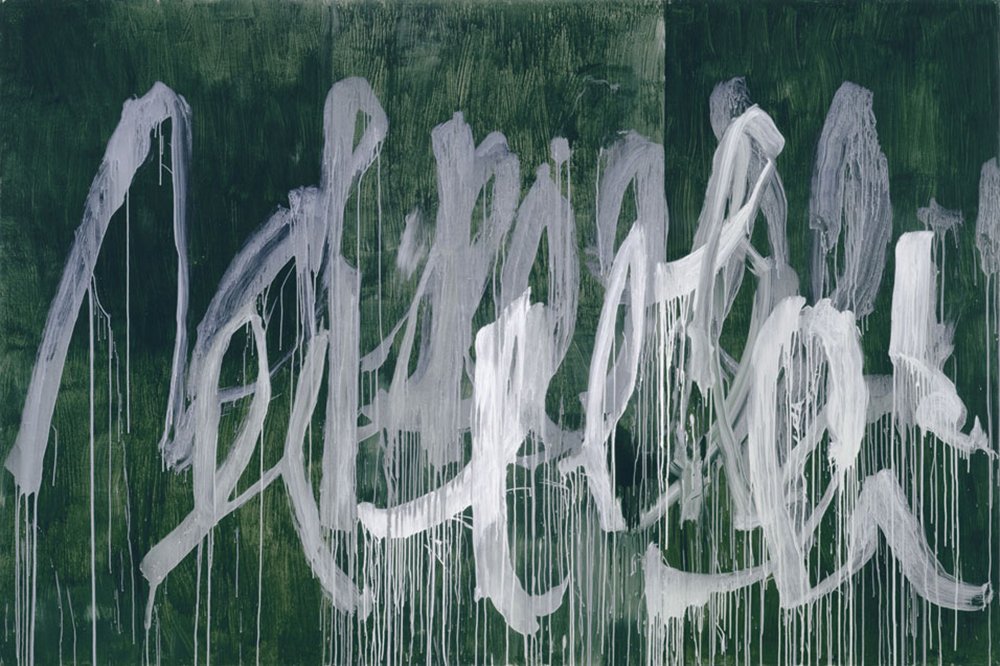
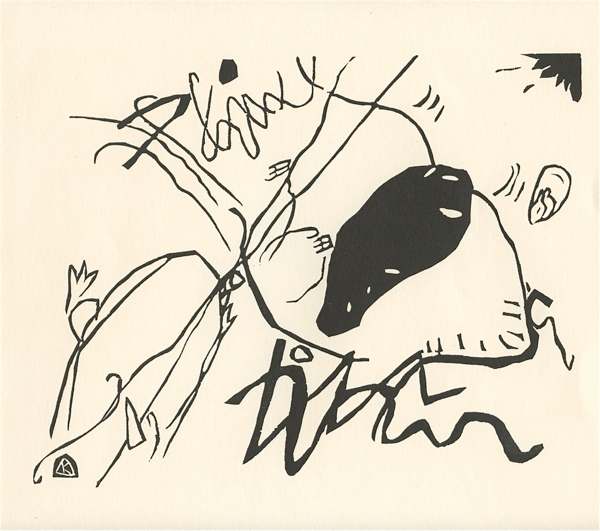
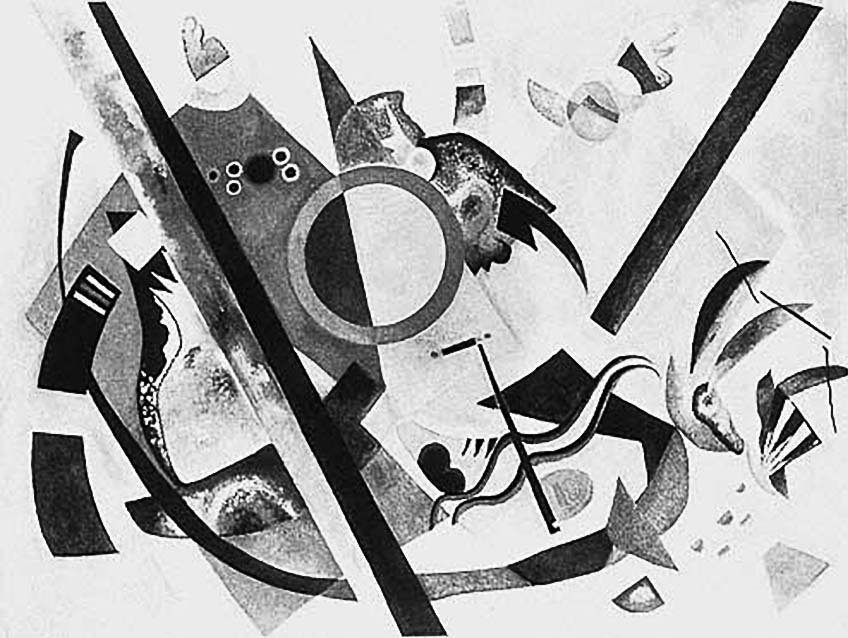
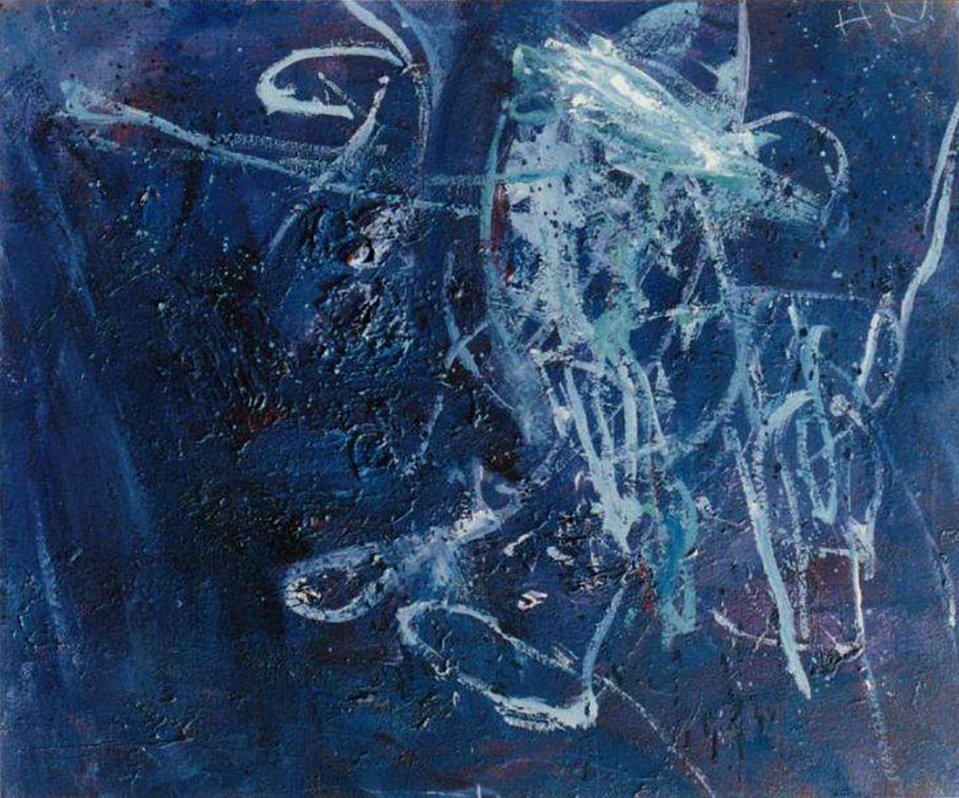
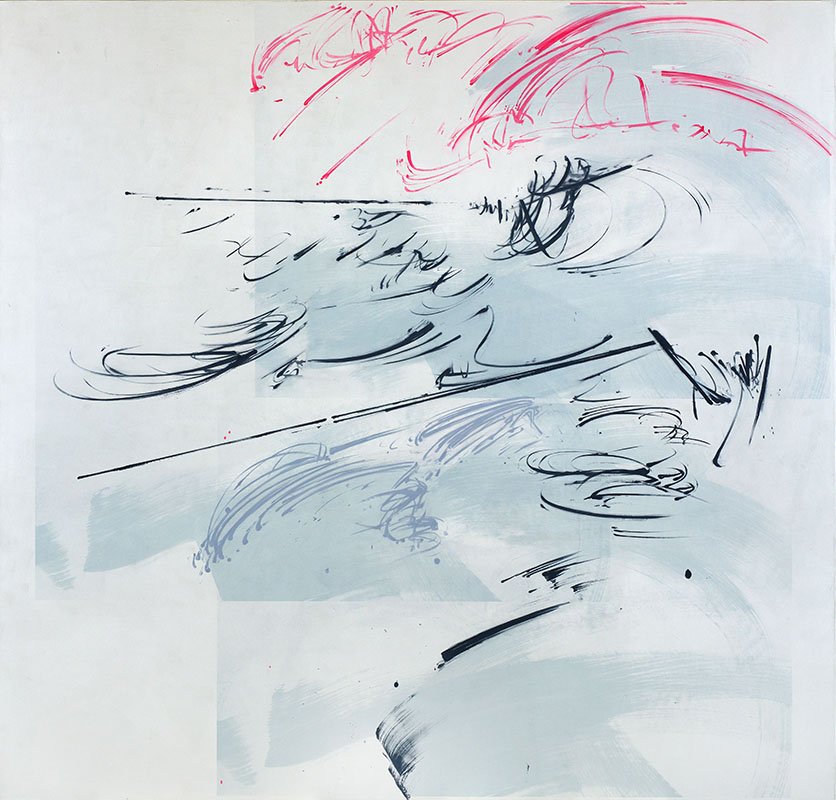
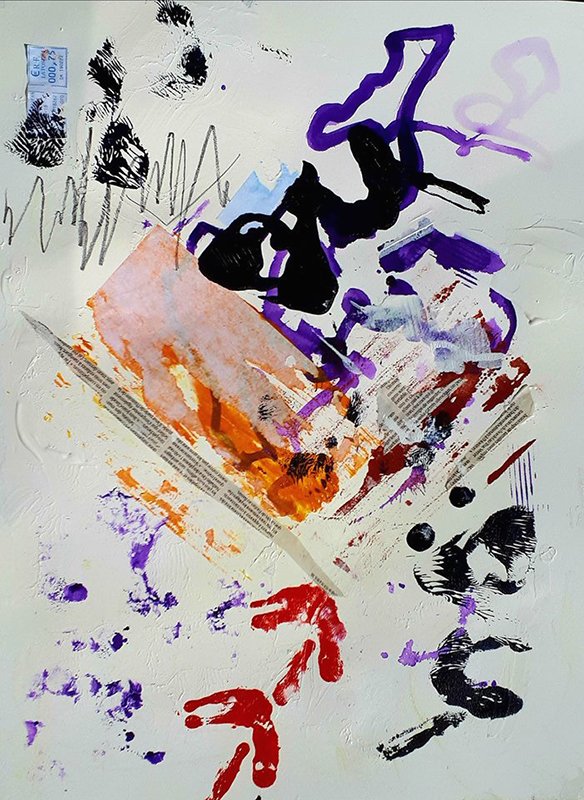
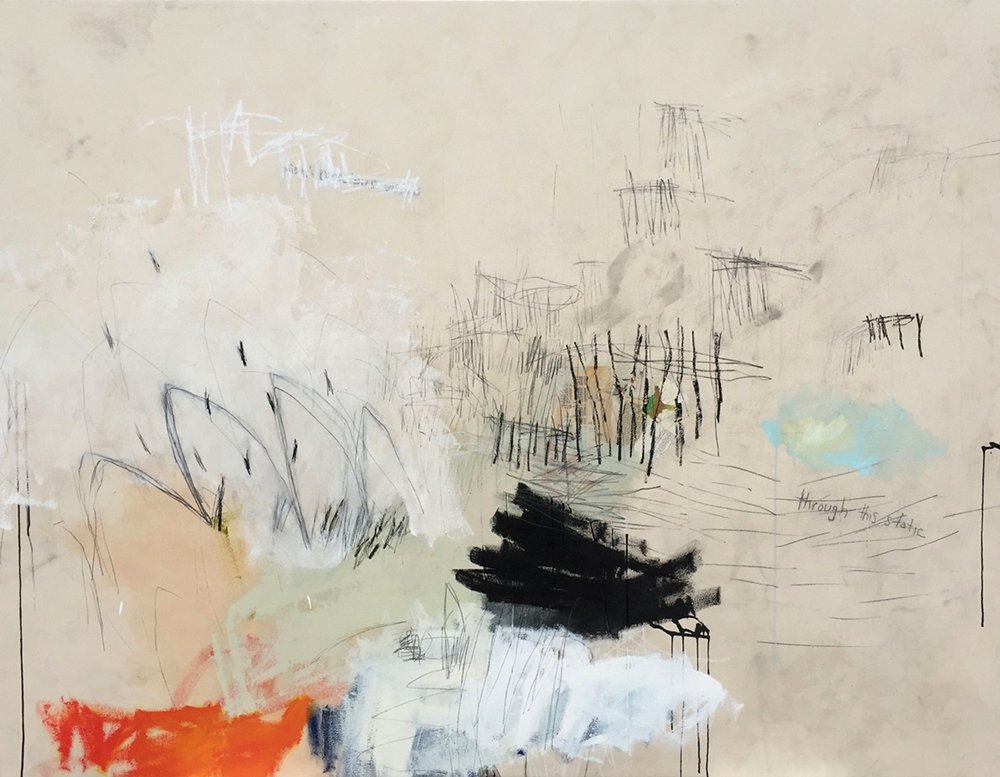
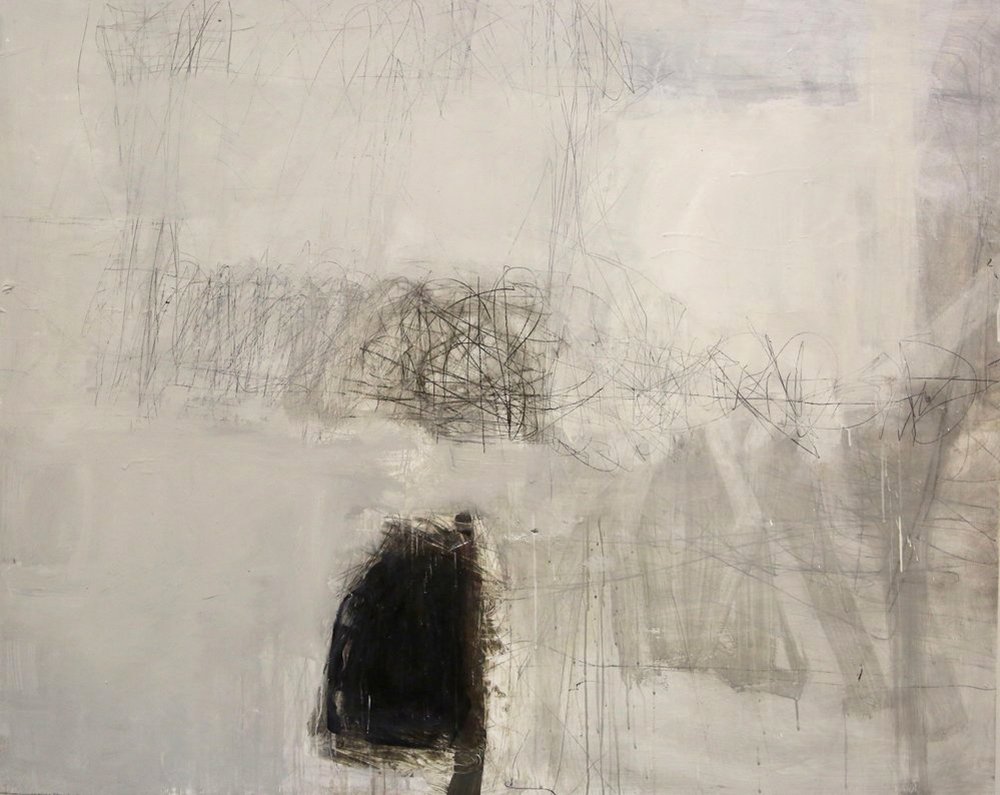
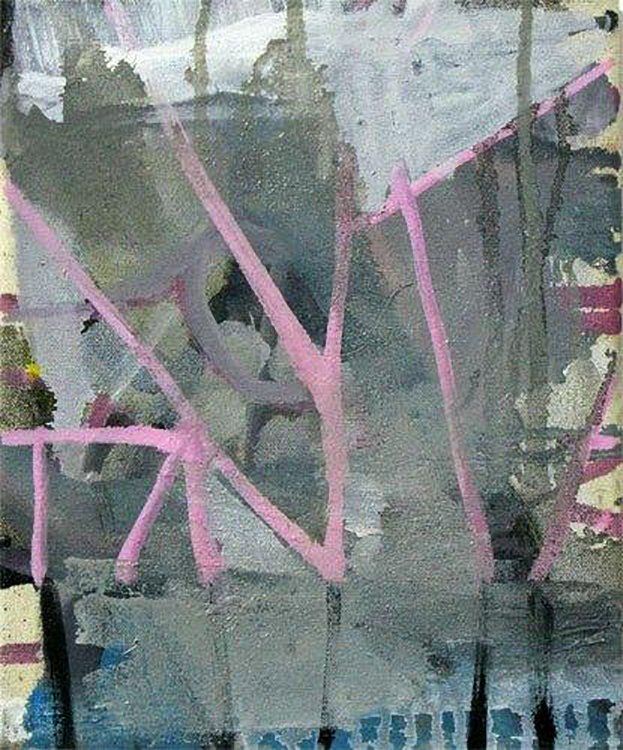
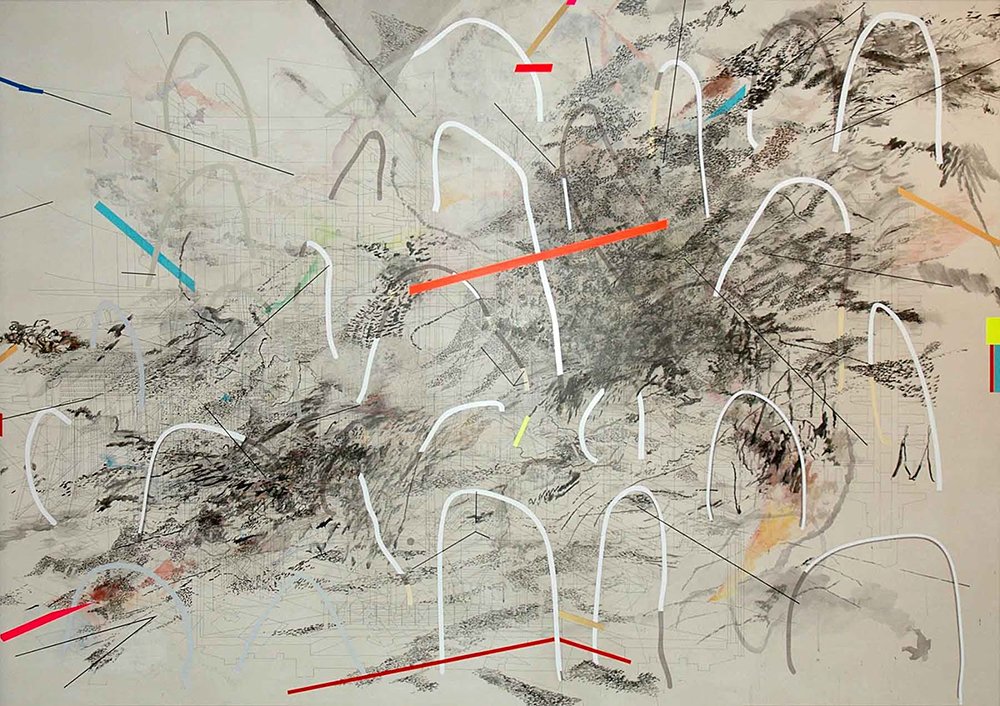
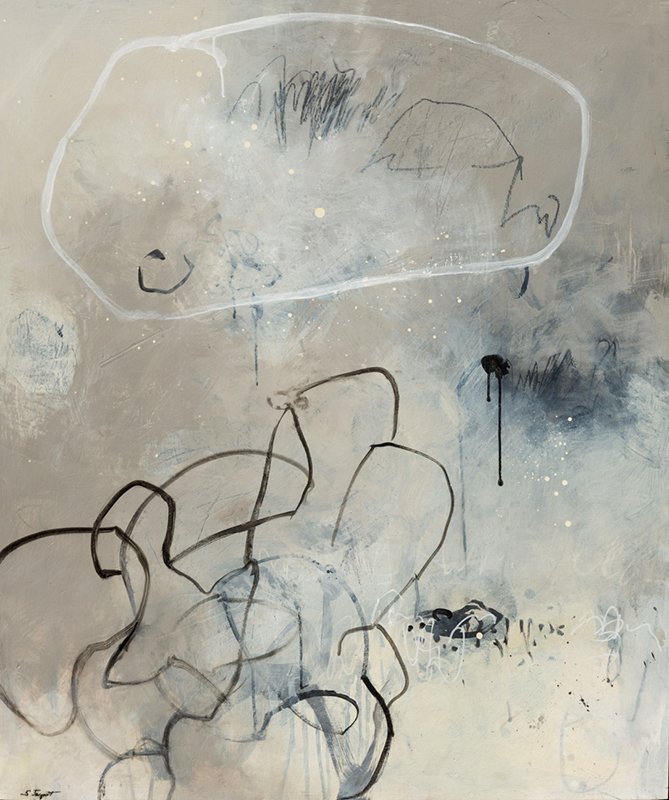
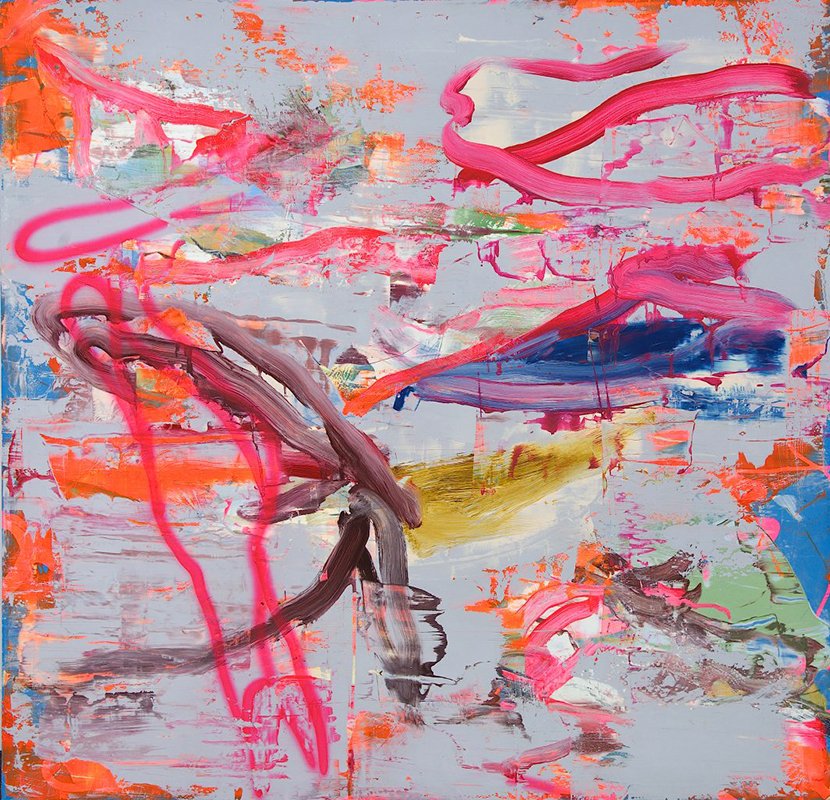
Here are a few samples, side-by-side images of the two techniques. In some cases, the distinction is greater than in others.
"It is only with the heart that one can see rightly; what is essential is invisible to the eye."
- Antoine de Saint-Exupery
BONUS EXERCISES
Materials:
Paper - 140 lb. mixed media, 22" x 15" or larger.
Drawing tools - Lyra 9B graphite, black pastel charcoal, eraser, ebony Prismacolor pencil
Paint brushes of your choice (taped to a long stick, optional)
Two acrylic colors
Titanium white paint or white gesso
Mars black paint
1. Creating images using automatic and expressive drawing techniques.
TO DO
Create two images. Make one of the images using the automatic drawing technique. This can be done either with the paper on the table or on an easel/wall. You don't have to have the drawing tools on a stick, but if you have a tendency to control, it helps to loosen you up. Chose which drawing tools you like. It helps if you thin the paint out so it goes on smoothly. It also helps if you use a brush that can hold a lot of paint. You also do not even have to draw with paint but use the paint colors for accents or a background wash. It is best to use no more than two colors.
Make the second image using the expressing drawing technique. Because this method requires larger arm movements, consider making this one on the wall. Use tools that you feel express the energy of what you are feeling. Add color to emphasize and more expressiveness.
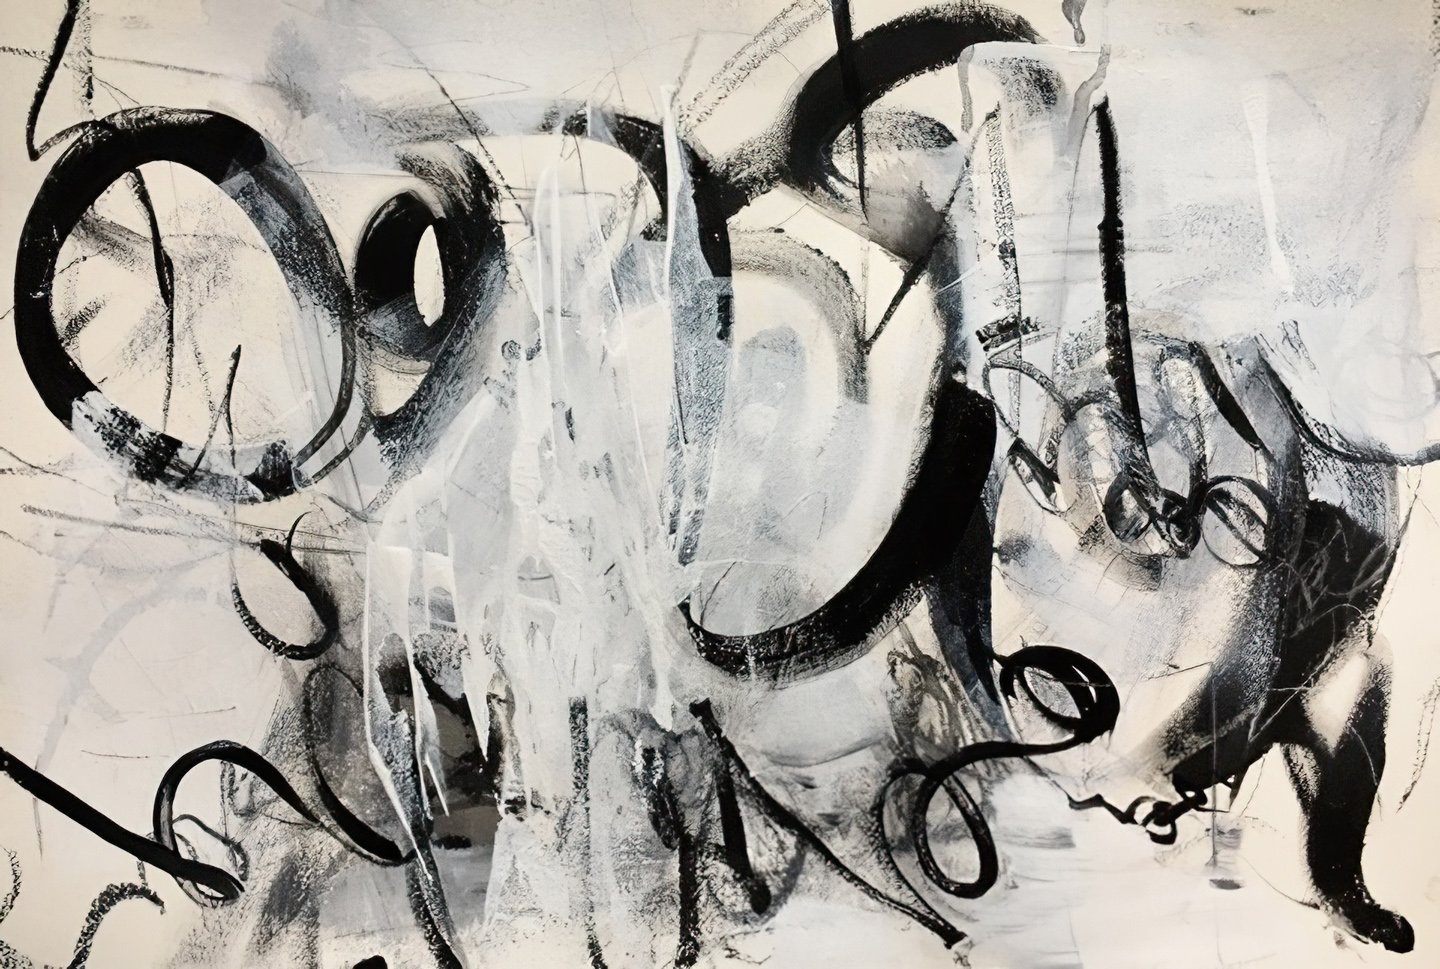
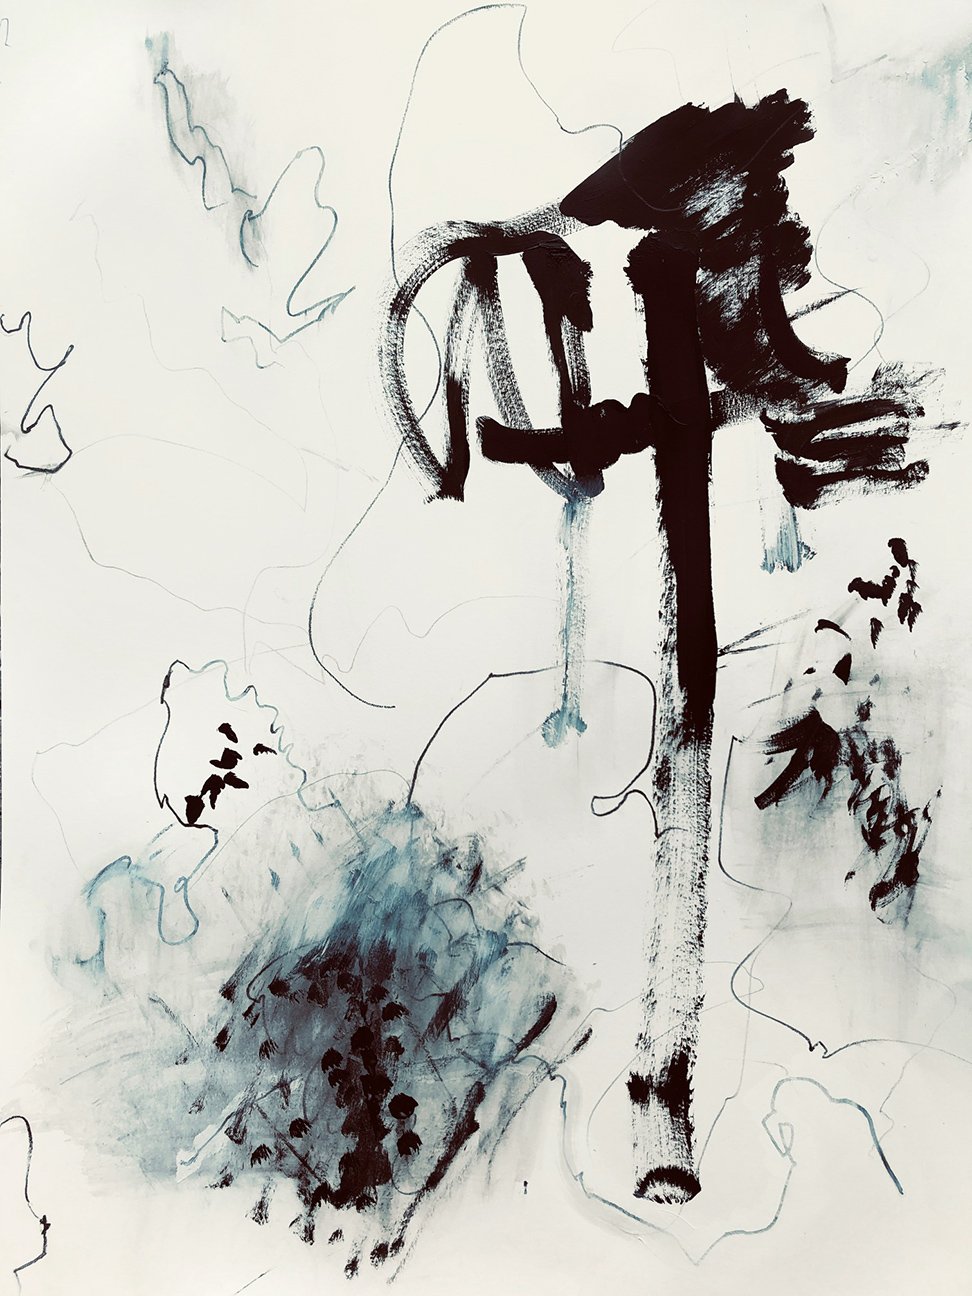
2. Building layers, Depth, Character, and History with Lines and Marks using automatic drawing
Start a painting by creating automatic and spontaneous lines and marks on the paper. To do this method, you will develop an intuitive sensing and urge in the body. Then, when you feel an urge, you automatically make lines and marks without thinking, just doing, intuitively. Then, step back and contemplate the results. When another urge is experienced you begin to erase some of the lines spontaneously and intuitively. There is no “right or wrong”, only sensing, feeling and responding. Once you have used the eraser, again, step back and when you feel an urge come back into the drawing with more lines and marks over and around the ones already on the paper.
To add another dimension, dampen a paper towel and rub on top of the lines to blur some of them. The idea is to work, fast and intuitively.
Another technique to building an image using lines and marks is using white paint to veil or obliterate some of the lines that are present. This is done to enhance, to make a dominant focus and a subordinate focus in the image……all done by responding fast and intuitively, all the while building depth and history.
This cycle of automatic drawing, erasing, blurring, veiling and obliterating can be repeated over and over until a final pleasing result is achieved.
TO DO
Make images using Automatic Drawing technique on 22" x 15" paper or larger.
Use only black and white on the first one. Use no more than 2 colors and black and one on the second image.
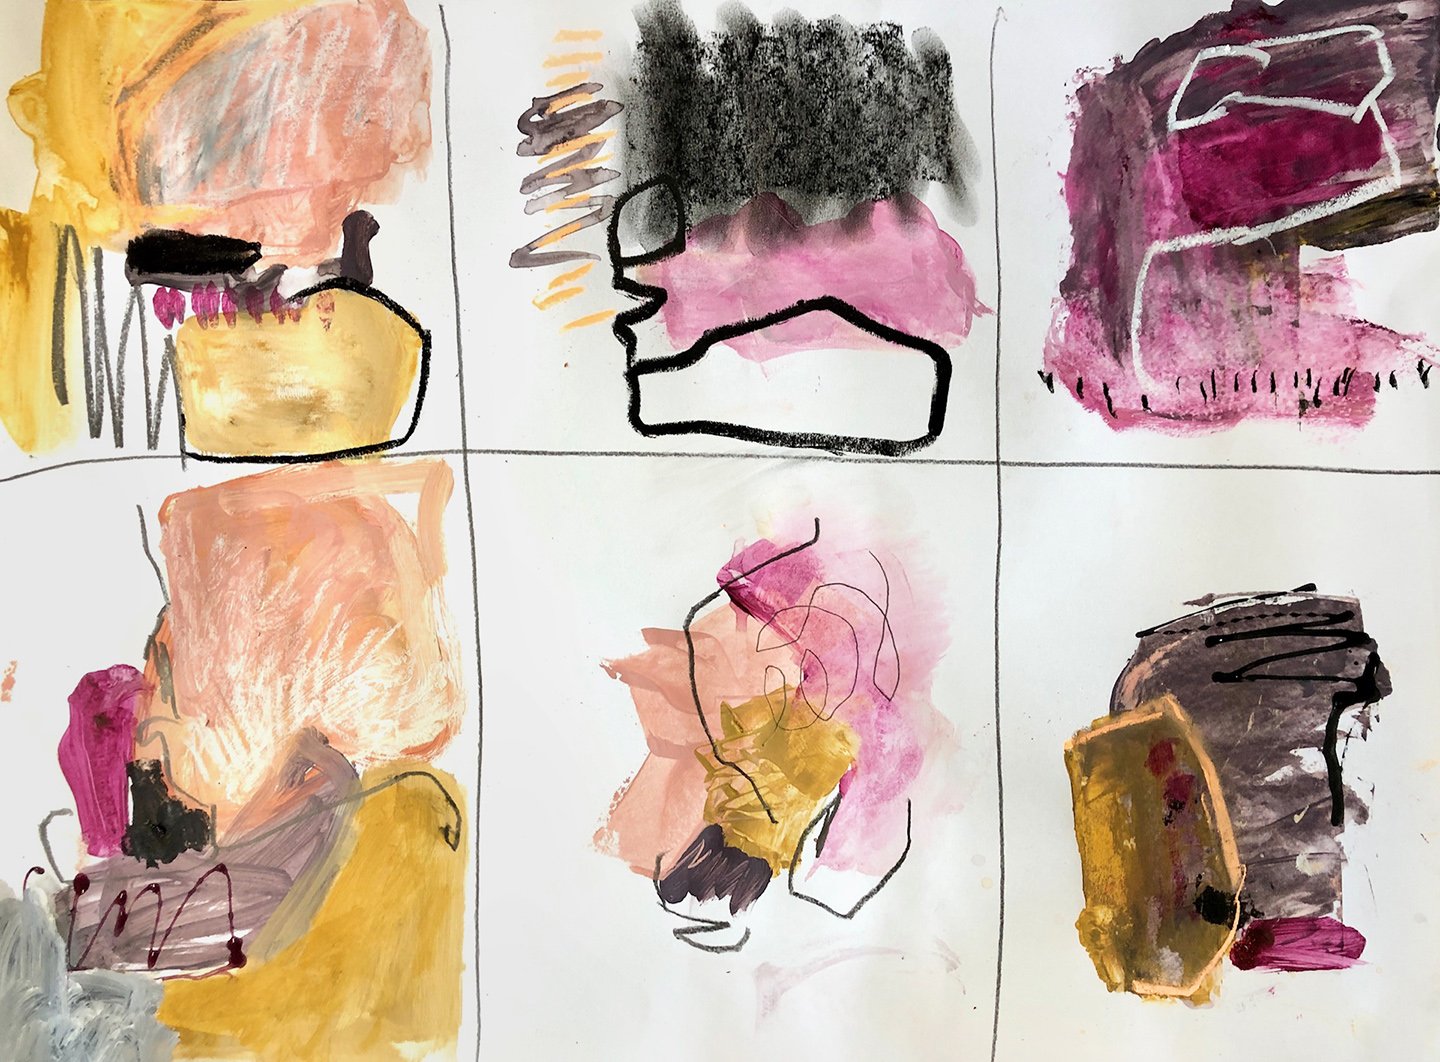
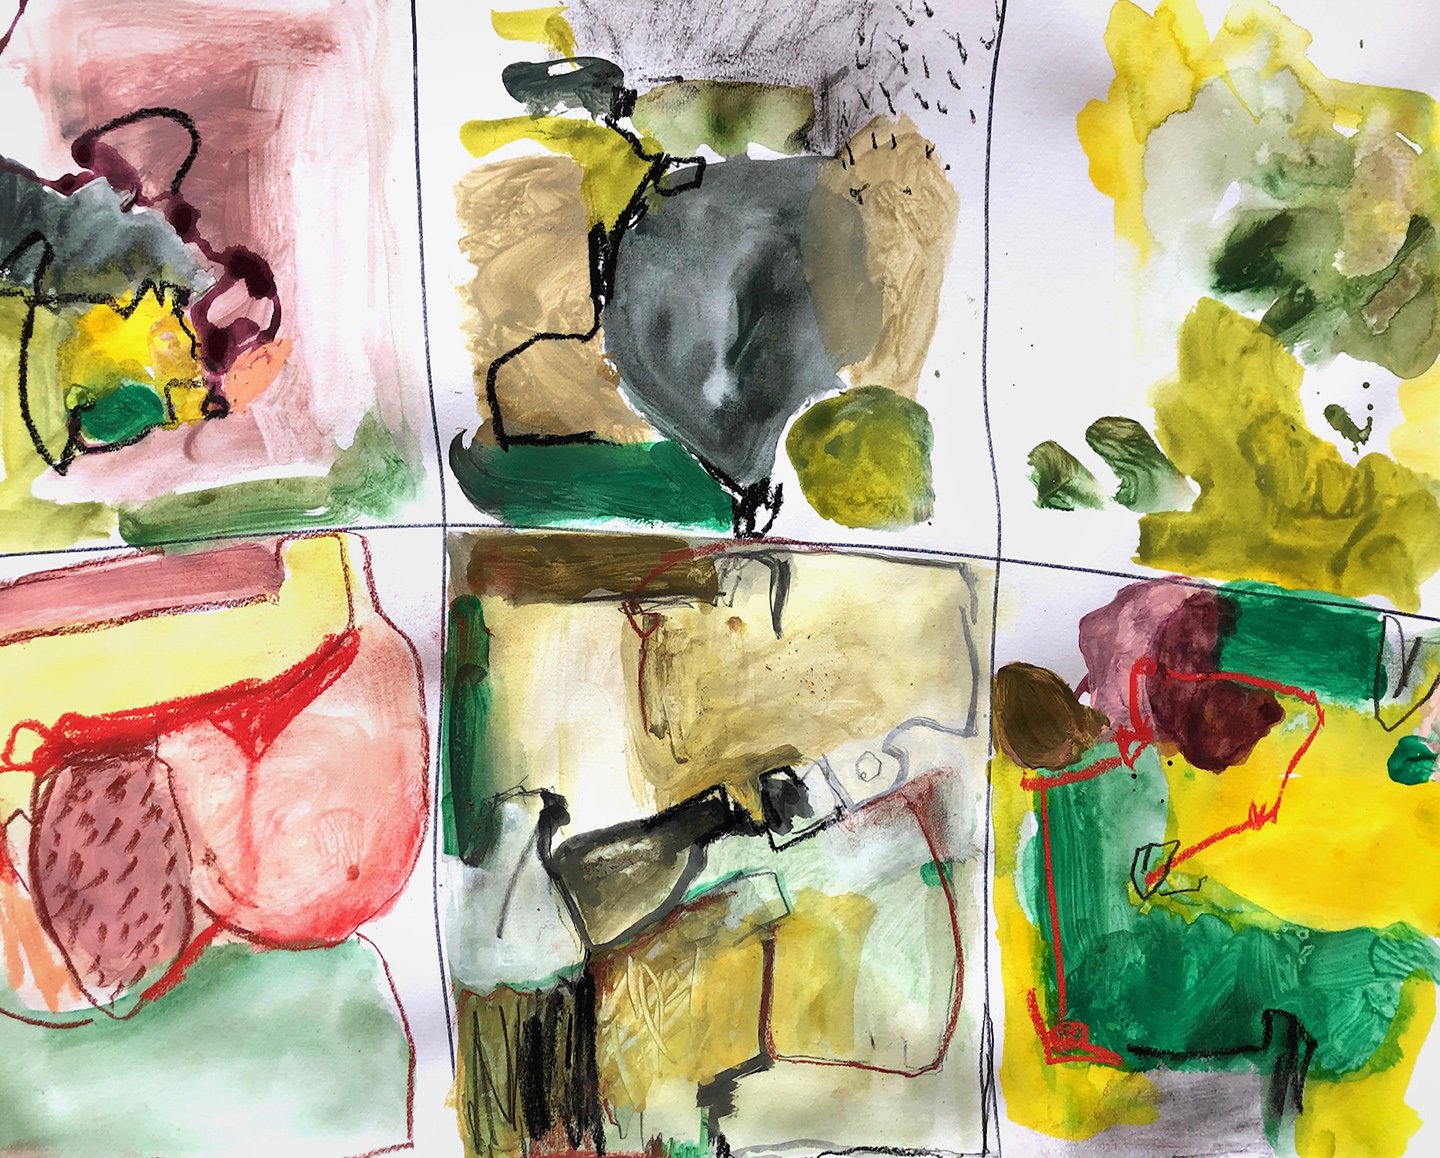
... And just for mark making FUN!... Participants from Living Your Wild Creativity workshops at Studio4404 really go at it!
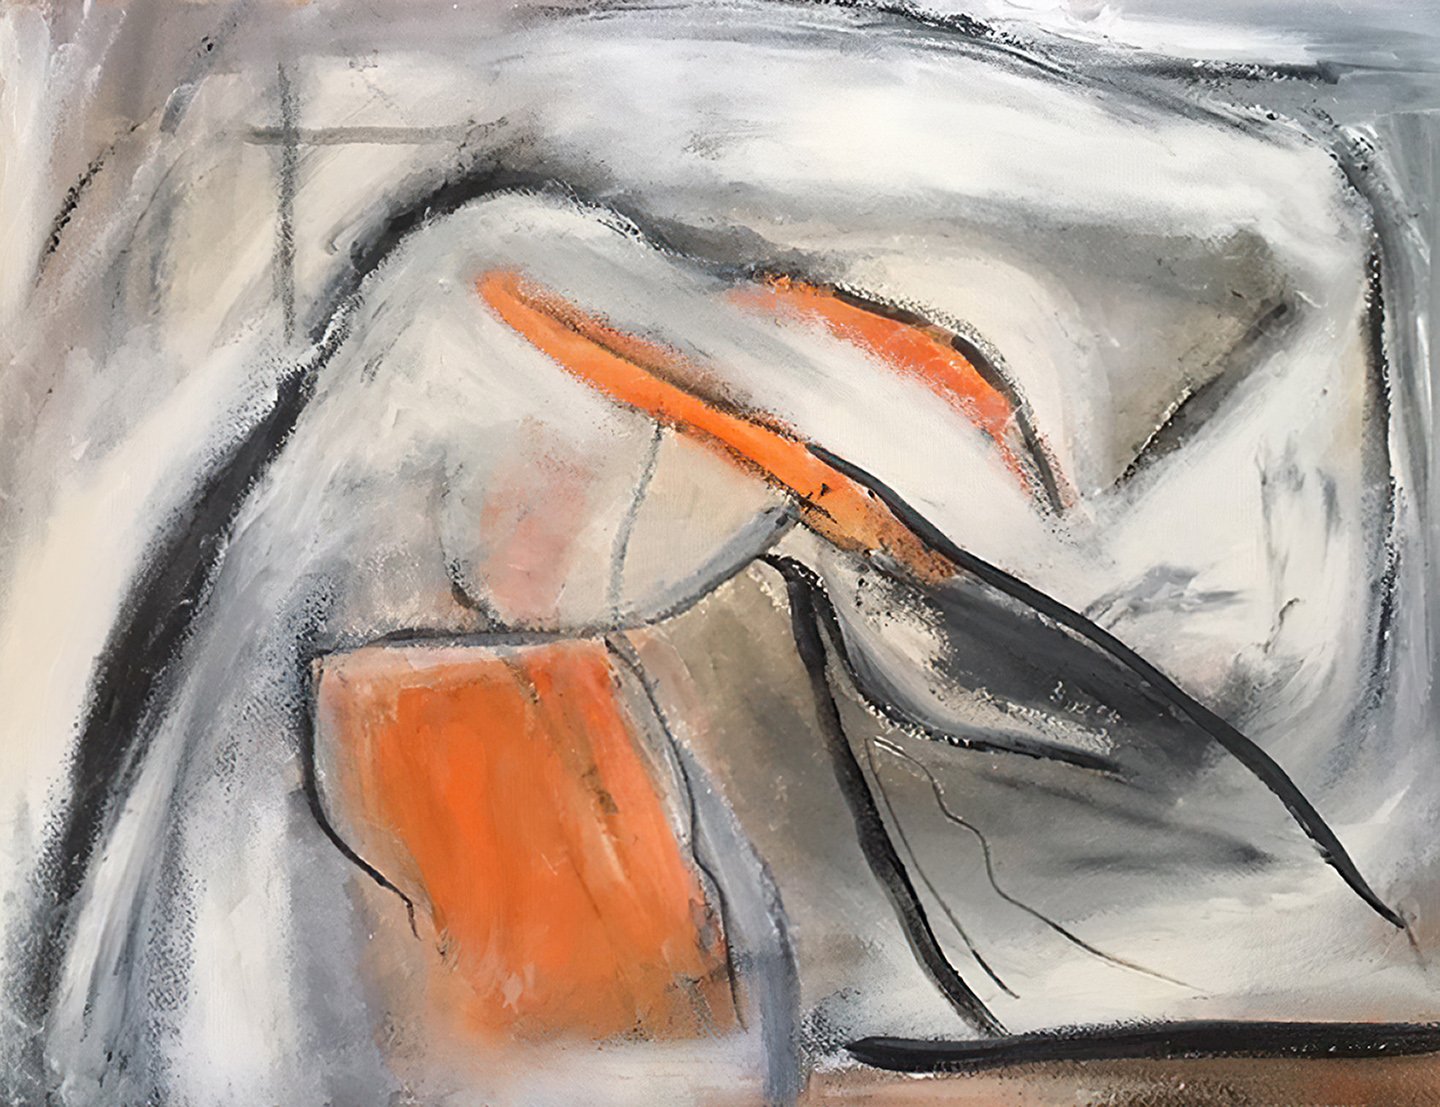
Gallery
We have put a lot of student art here to show you the wide variety of ways to create with line and marks. This is a great way to view the art and see how you react, with a "like" or "not like." On the ones you like, take a few moments to contemplate what about the piece you particularly like. By bringing your "likes" and why you like them to your awareness, you actually start to know yourself as an artist.