2 - Eye Flow & Composition
MODULE #2
EYE FLOW & COMPOSITION
“Good composition is merely the strongest way of seeing.”
~ Edward Weston
Introduction
Eye flow & Composition is the means by which the artist brings a clarity of expression to the viewer. It is one of the most essential principles of making art for without it there is visual confusion. It is one of the keys to making a dynamic painting and creating a visual impact. A good knowledge of composition is essential in producing good artwork. It allows the viewer to visually access the image as a whole. Good composition creates a center of focus, draws the viewer in and holds the viewer’s attention. Once the viewer is captured, the painting can further provide a rich visual delight in all the details, having the viewer come back over and over again, discovering all of your artistic intentions that you have created.
To learn Eye flow & Composition, we have created some exercises for you to experience so that you may find your own unique ways of making great compositions. The more you practice and explore how your own eye flows around the image, and what delights you, the more intuitive and strong your paintings will be. Composition is a synthesis of putting the elements of art together in a meaningful way.
We are starting with this most valuable of tools for making dynamic paintings to give you an understanding and overview so that you can practice making compositions with each element and exercise we introduce.
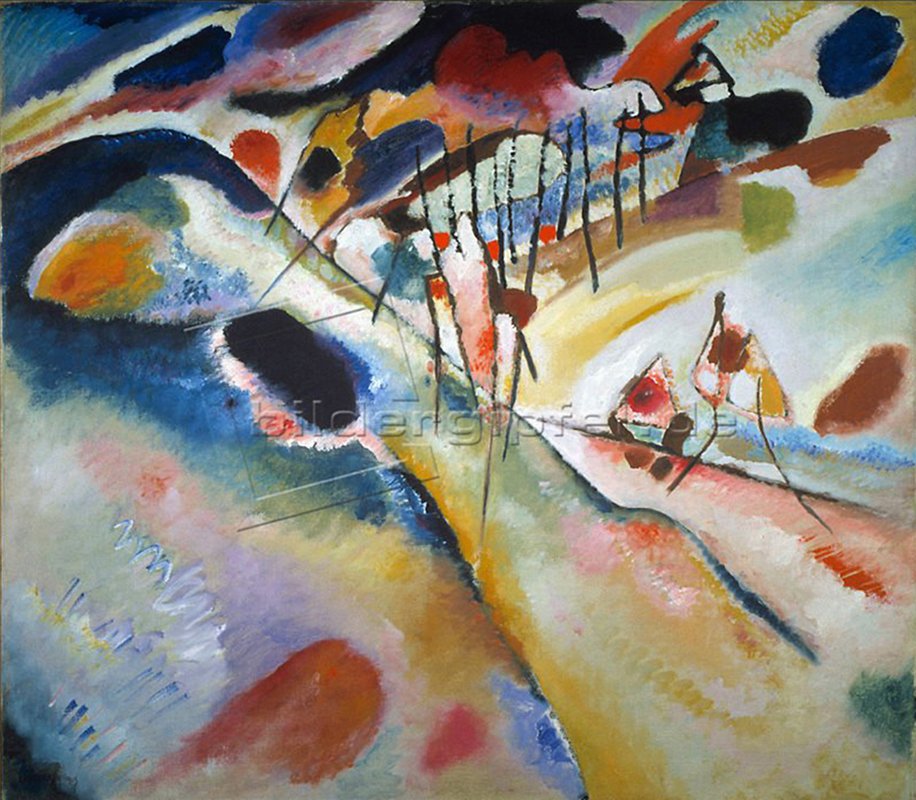
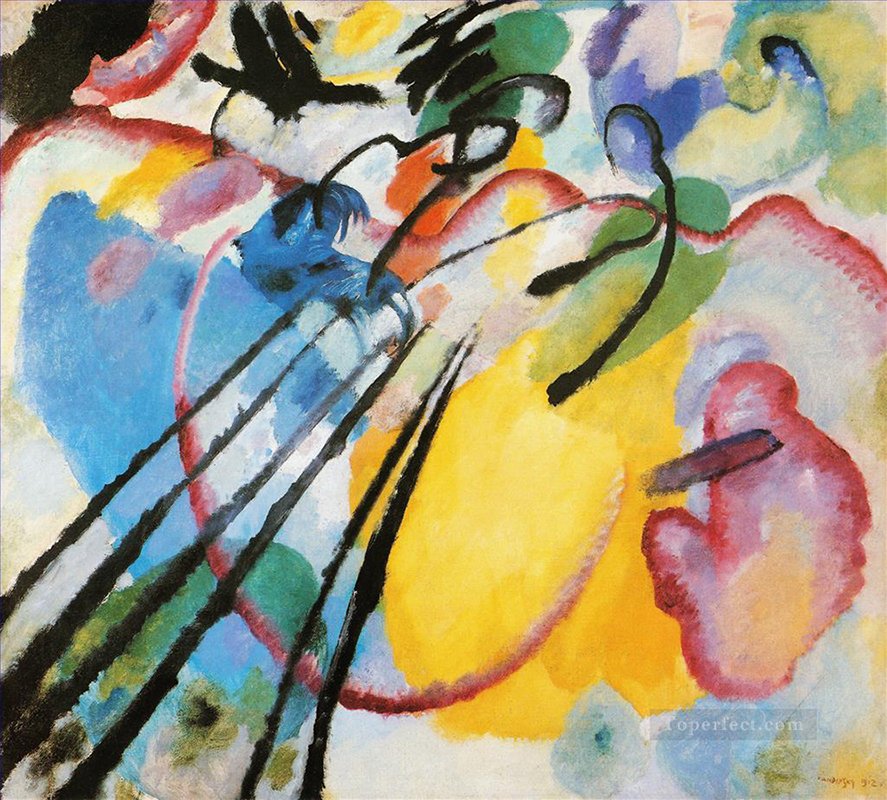
Please look at the slide show below on Eye flow and Composition. Notice what draws you into an image, how your eyes move around the image and where your focus lands. In fact, here are some very important questions for you to think about when viewing abstract art to help you hone your own Eye flow and Composition skills:
Creating dynamic paintings is about learning to “see” …
How are things organized in space?
What kind of energy is in the image? And do the marks and the colors support that energy?
Where does the eye land?
Is the eye locked into the area or is it free to roam over the whole image?
What is the main focus of the image?
How is that focus supported?
Is there excitement in the focus?
Is the image balanced? Is the overall weight distributed in a pleasing way?

MATERIALS FOR EYE FLOW AND COMPOSITION EXERCISES:
Multimedia white paper cut up in various sizes from 6” up to 16 x 20” rectangles and squares—-no right or wrong size
Various sizes of paint brushes and a small sponge brush
Graphite pencils—-Lyra 9B soluble and non-soluble and ebony graphite pencils
Black pastel or charcoal
Gum eraser
Titanium white acrylic paint
Black acrylic
Small card or scraper
Water and tape
Glue stick
Letters and Numbers in various fonts, sizes from 1/2” to 3 ½”
6 mixed media pieces of paper cut to 6” x 6”
Mixed media workbook 9” X 12” or 11” x 14”
Scissors
Paper cutter, or stamp cutter approx. 2 ½” diameter
20-25 circles approx. 2 ½” diameter
20-25 strips of paper of various widths and lengths
Round paint brushes #2, #3, or #4
Graphite pencil non-water soluble
Blue painter’s tape 3/4’”
Black acrylic paint, thinned
Other tools and colors you choose for painting
EXERCISE #1
Dividing Space (part 1)
Materials: 6 to 10 pieces of mixed media paper cut into various size rectangles and squares
blue tape
Graphite drawing tool
thinned black acrylic paint or black ink
paint brush, flat or round #4 to #8
Tape the papers to the surface with the blue tape. Using a paint brush and liquid black acrylic paint or ink, make 3 or 4 lines to divide the paper surface. Do this fast and intuitively. Do this on each piece of paper. As the paper gets larger, use a larger size brush.
Review the 6 to 10 pieces. Notice the ways in which you divided space. Notice how your eye flows or is restricted from viewing the whole space. Notice the ones you resonate with and the ones you do not like.
The next step is to use a second tool that is different from the brush, for example a graphite pencil. This will give contrast in width and intensity. With the graphite pencil, divide the space again on each of the 6 to 10 pieces of paper. You can either respond by supporting the first set of lines or simply divide space in a whole different manner from the first round, as if the painted lines were not there. Again, make one to three lines quickly and intuitively.
Notice how the paint and the pencil relate to one another. Notice how the space is divided by each tool. Is the image unified more or is the image more complex? Is the image pleasing or not pleasing to you?
Review and become familiar with ways you like to divide space. It is your signature.
The more you practice the more you learn about your own preferences and become more aware of what is pleasing and not pleasing to you.
EXERCISE #2
Dividing Space (part 2)
Materials: Same as in Exercise #1. Add different tools such as a 1" scraper, sponge brush, charcoal,etc.
Repeat the above exercises on fresh pieces of different-sized papers using other tools.
TO DO
Make dividing space a daily practice for one week. See what happens in your practice. Write notes on the following questions in your notebook.
Do you continue to divide space in the same way?
How do you most commonly divide space?
Does your eye can travel throughout the space easily without being blocked or stopped?
Did adding the second round of lines add interest and contrast?
Did adding the second round of lines for dividing the space work better when the two sets augmented one another or when they were autonomous from one another? It is important to notice when complexity becomes chaos and when it is actually enlivening the image.
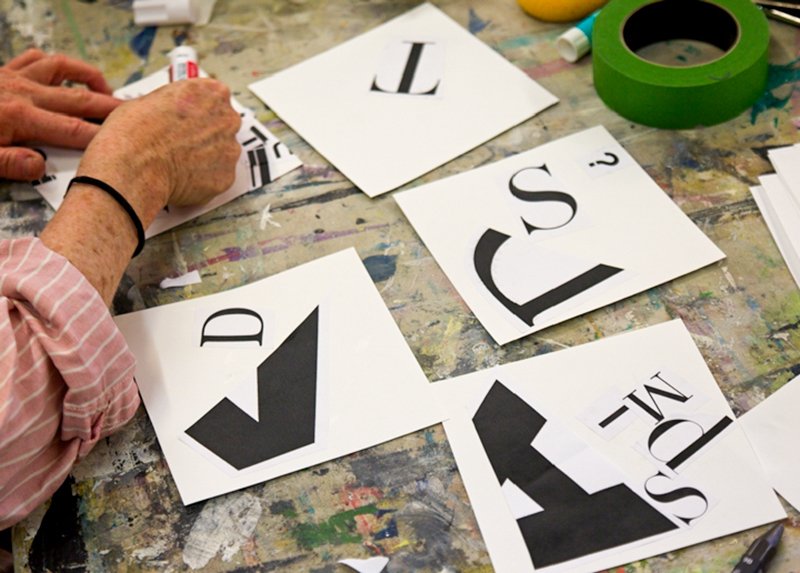
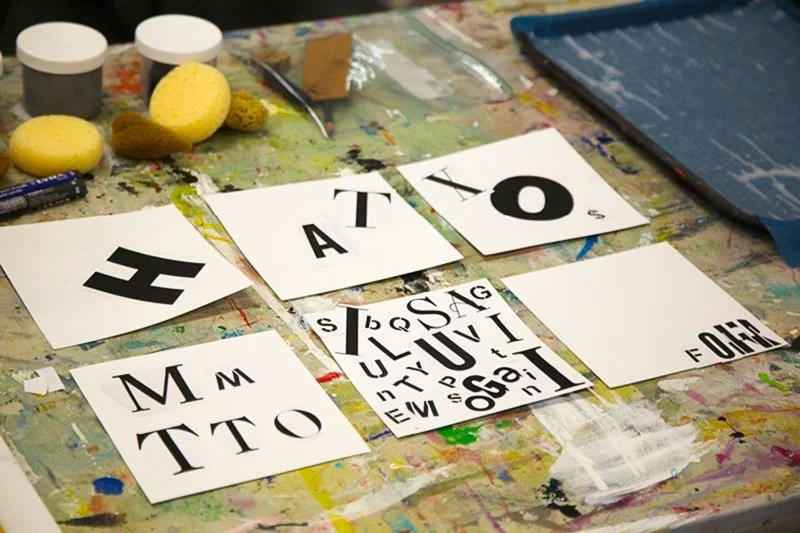
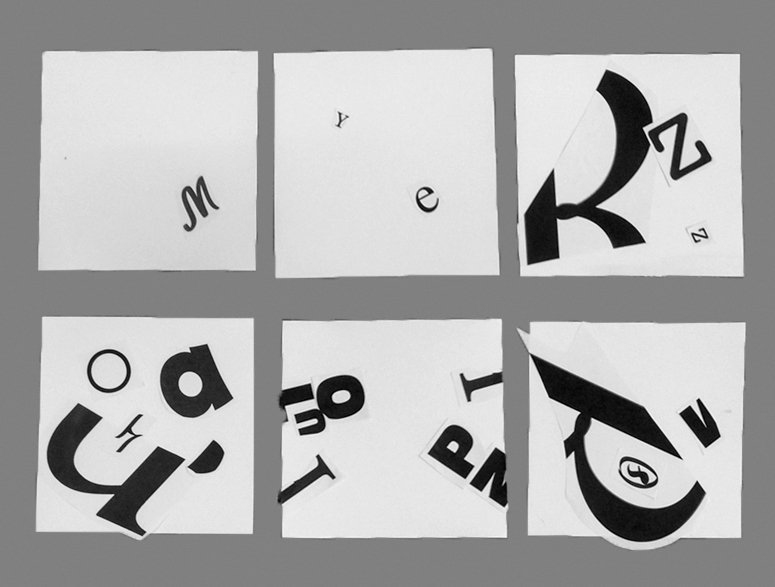
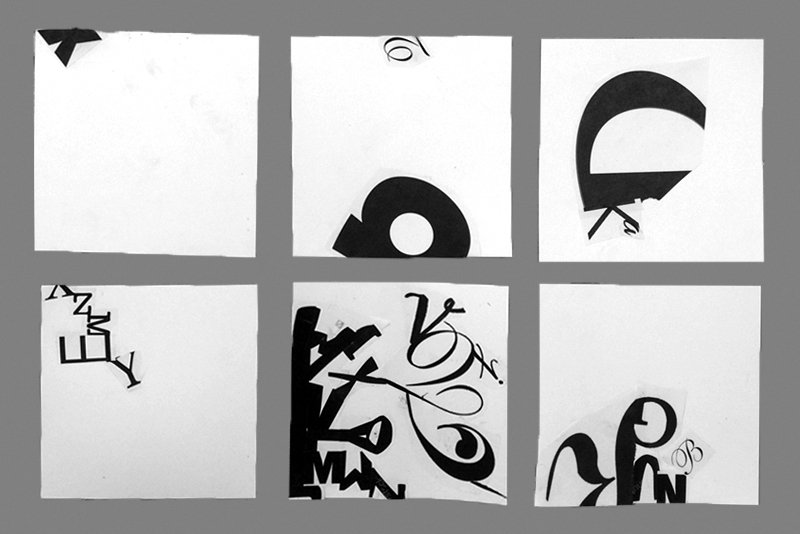
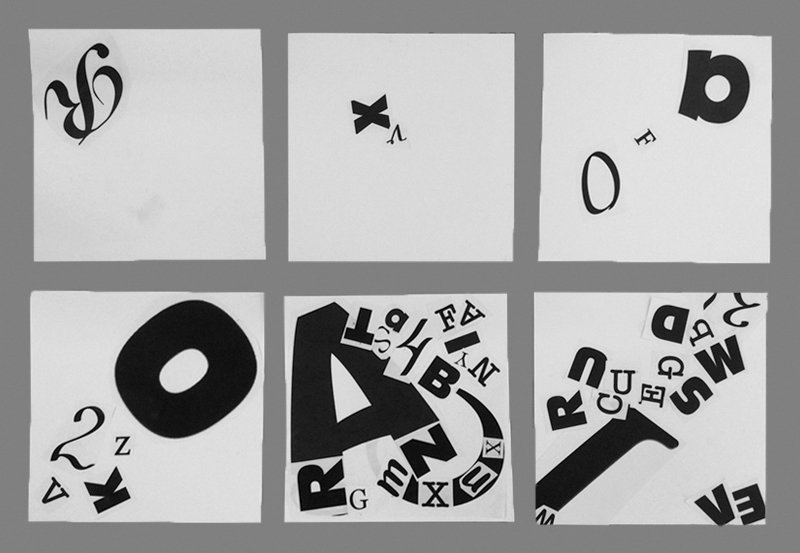
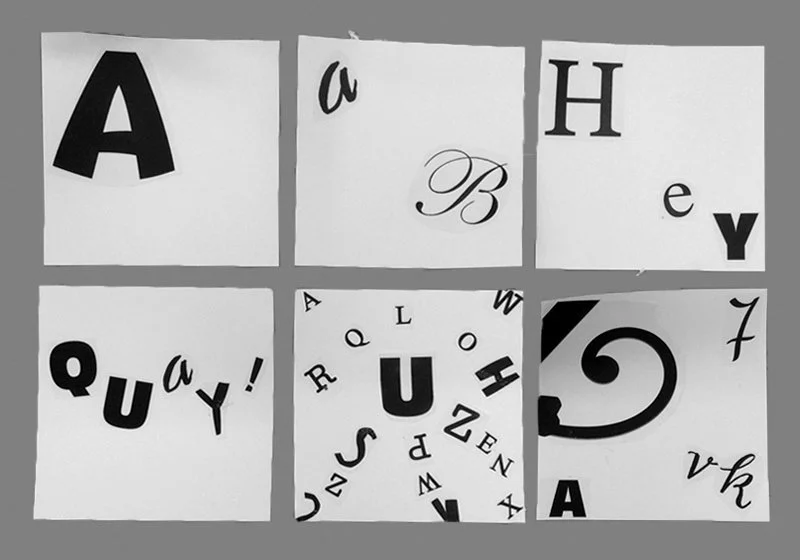
EXERCISE #3
Intuitive Placement and Compositions
In this set of 6 exercises, you will work intuitively in placing letters and fragments of letters on the paper as per the instructions. The important idea here is to begin to feel a body sense of what "feels" "good" and 'right" in your creativity.
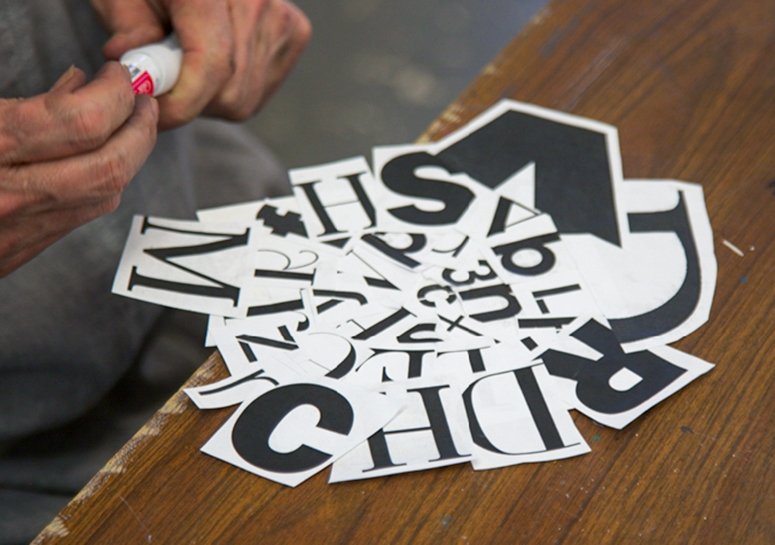
Materials: Scissors
Download and print the PDF with letters. Cut out all the letters that are provided with minimum what space around them. Be sure to have plenty on hand, large, medium, small.
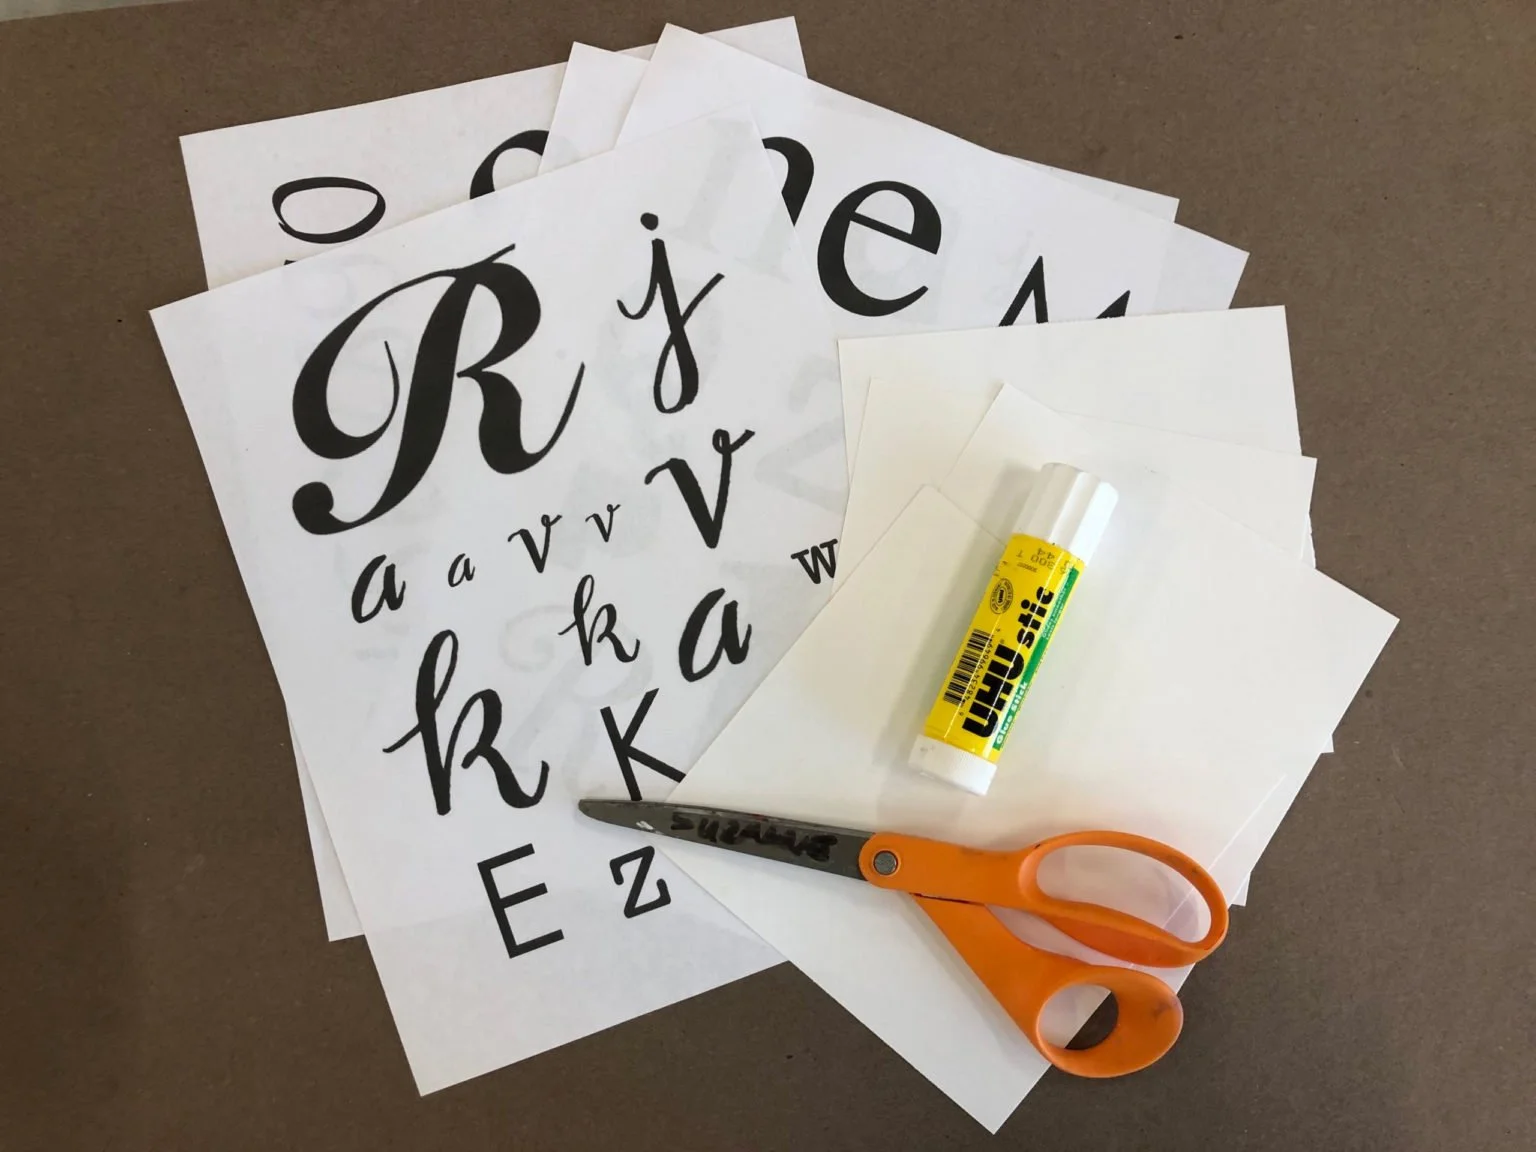
Cut 6 pieces of mixed media paper into 6” x 6” sizes
glue stick
On each piece of paper you will be exploring your own "felt sense". So the idea is to work quickly and intuitively. By moving the letters around quickly, settle on a position that feels "right" and paste the letter down.
These exercises will help you understand and experience eye flow, composition, design, and dividing space.
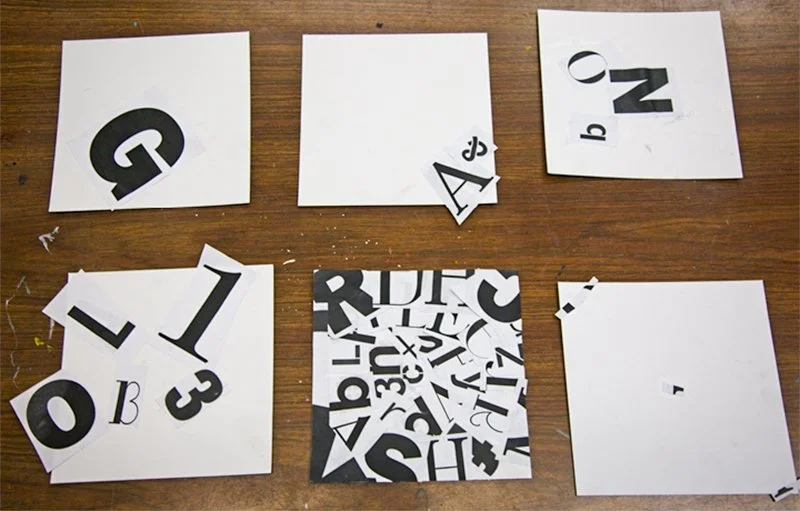
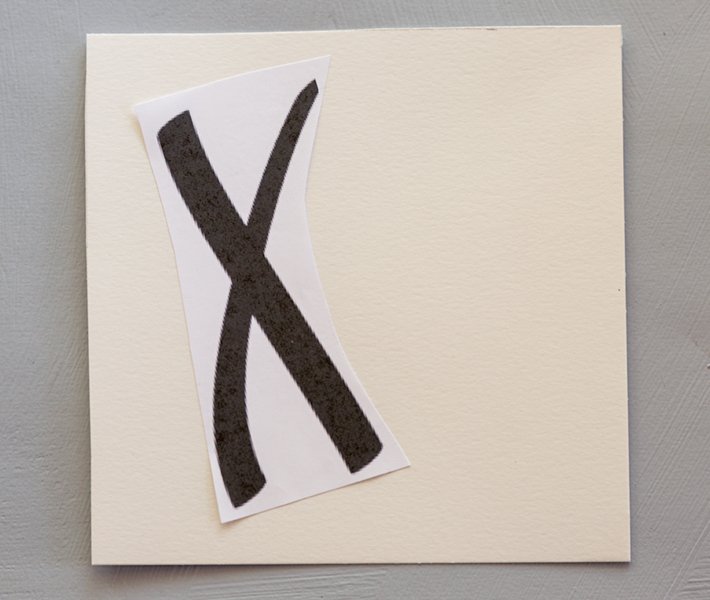
On the first piece of paper, place a single medium-sized letter of your choice anywhere on the paper that “feels” where it belongs. Hint: move the letter around to various places on the paper and notice if the position feels “right”. Feel free to turn the letter in any direction as well. When you have found the position that suits you, glue the letter down.
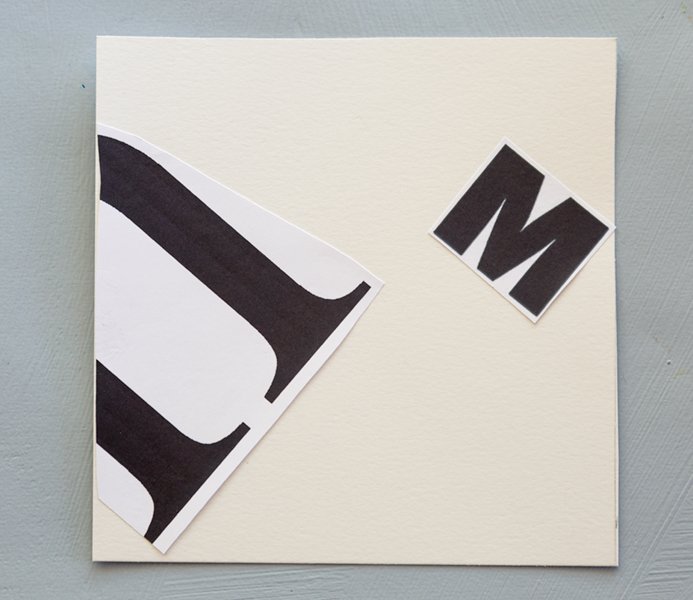
On the SECOND piece of paper, place a large letter or part of a very large letter on the paper in the same manner as above. Before you glue it down, add a second small letter and move it around to create a pleasing and exciting eye flow and relationship to the first. Once you are satisfied, glue the letters down.
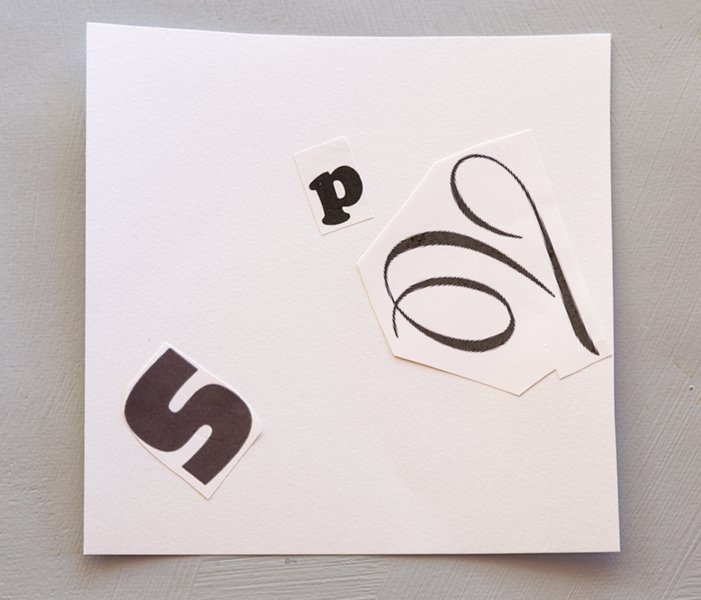
On the THIRD piece of paper, using a large, a medium, and a small letter, repeat the process of #2 above. Once you are satisfied with their respective placements, glue the letters down. Things to consider in choosing the letters-----maximum differences such as size, thickness, style, and shape. Remember: contrast helps enliven a composition.
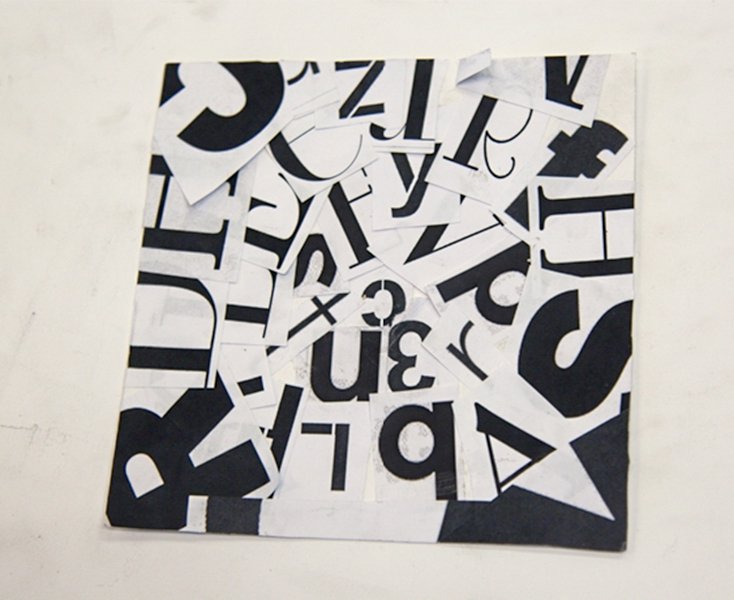
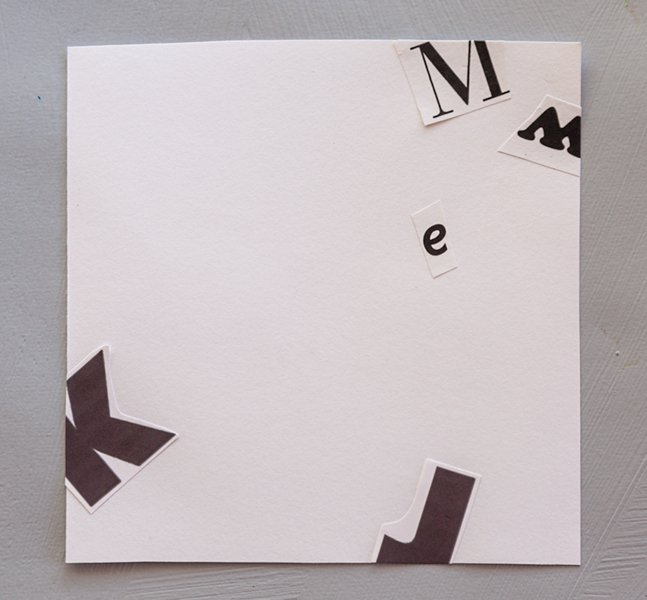
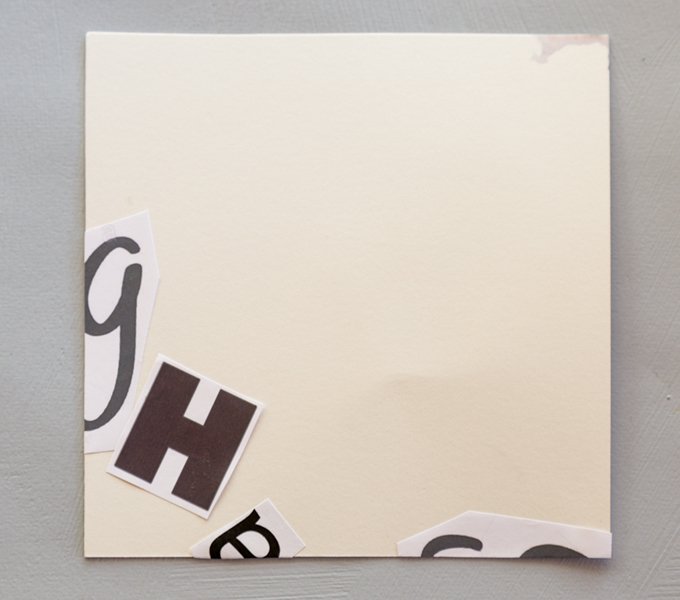
On the FOURTH piece of paper, fill the entire paper with letters of all sizes and styles, etc., to create a composition where the eye will flow overall and the image will be cohesive in itself. Glue the numbers and letters down as you go.
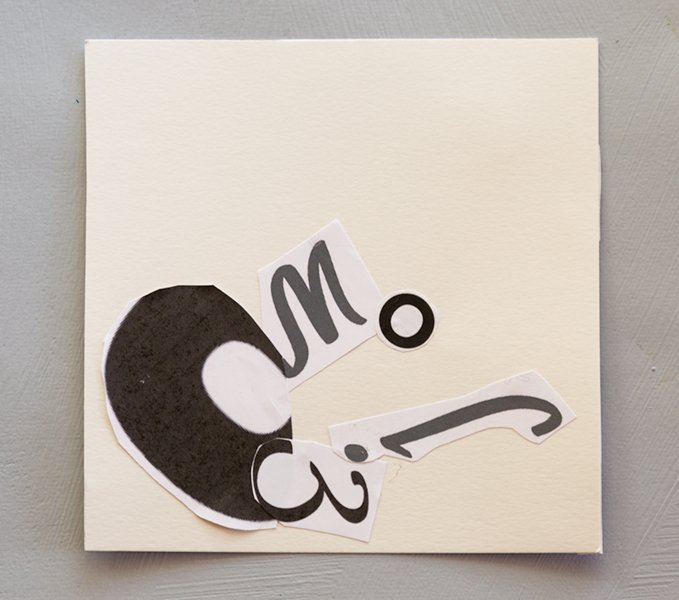
On the FIFTH piece of paper, take 5 letters that relate to one another in some fashion whether it be size, style, weight, etc. Place the 5 letters onto the paper in such a manner as to create a rhythmic pattern that brings the relationship of the letters into a unit, a whole. Glue down.
On the SIXTH and last piece of paper, take 3 to 5 letters/numbers of your choice making sure you have a variety. In this last exercise, think of how the letters can help make the whole look more expansive and that the image seems bigger than the 6” x 6” paper itself. Hint: Have your eye start in the middle of the paper and imagine the space feeling larger than the edges; the letters can go off the edges.
Review of your work: Did it feel natural to work more intuitively? Were you able to trust your decisions more? Which one of the 6 mini exercises resonated with you and which ones did not? What did you learn from these exercises about yourself; about composition?
BONUS
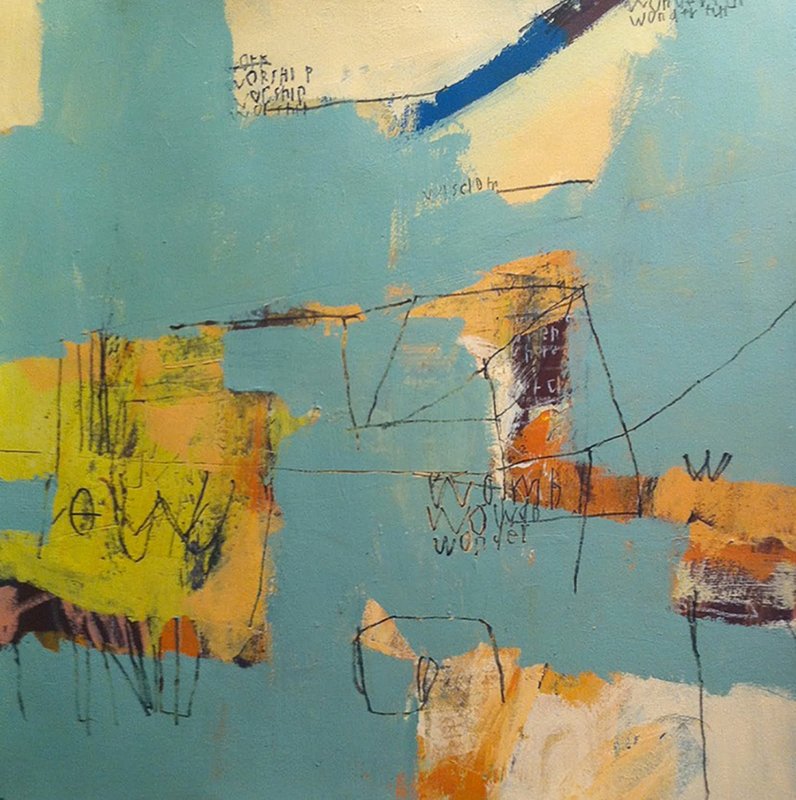
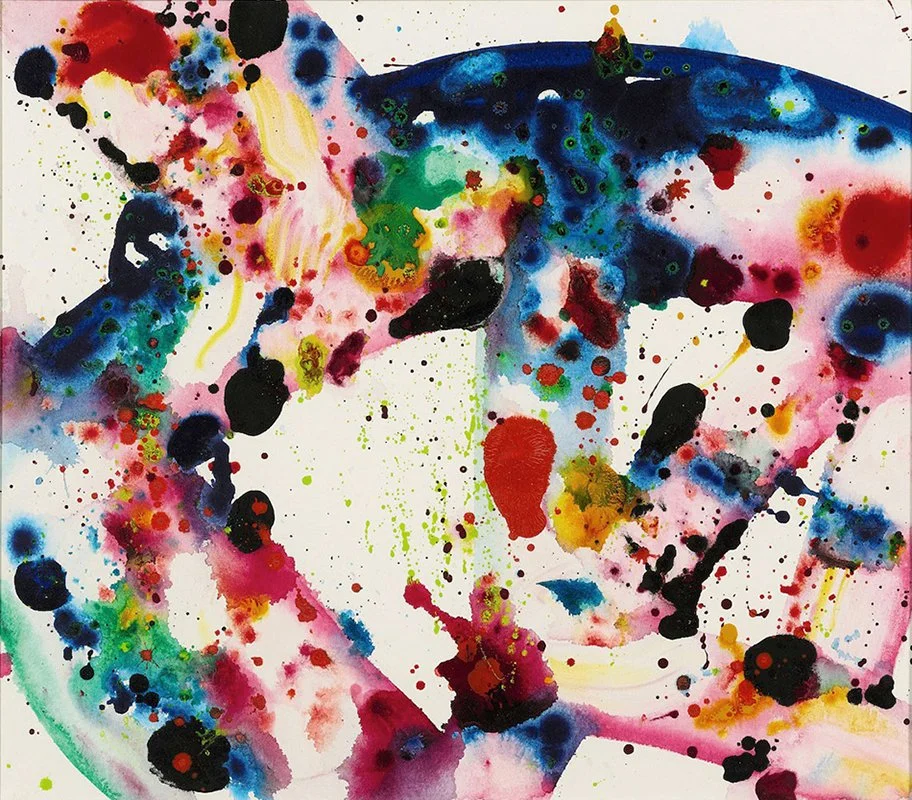
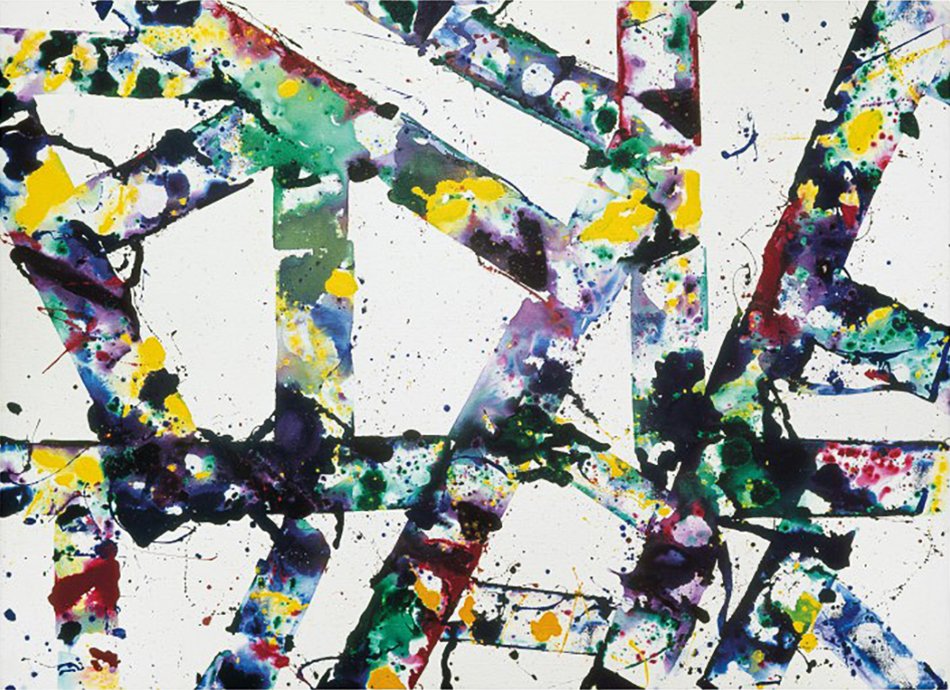
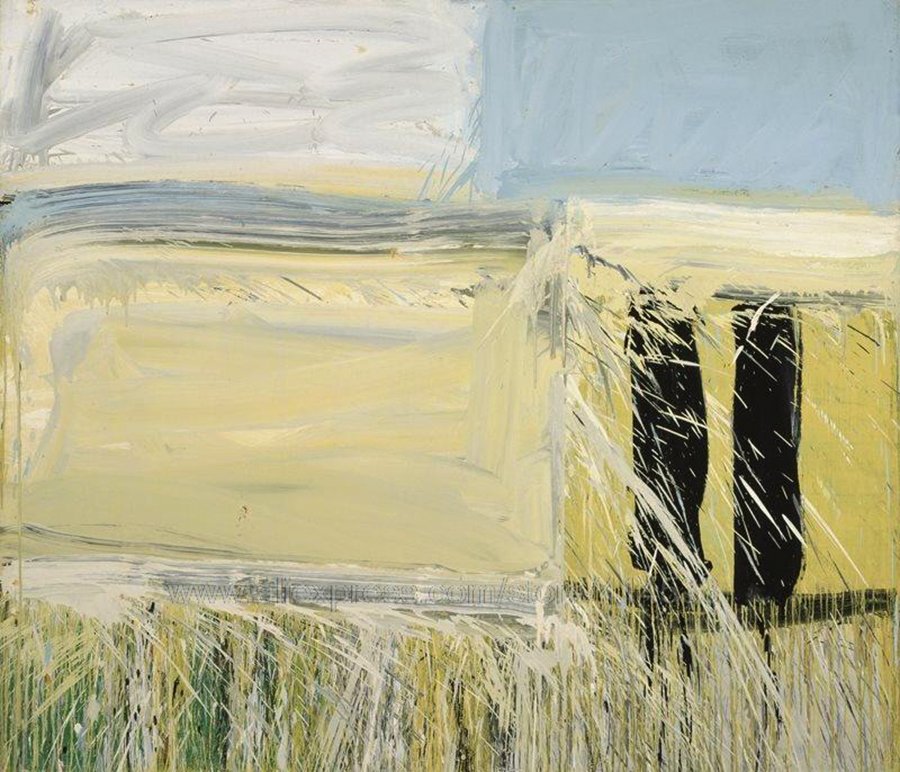
So that you may more easily understand what we mean about eye flow & composition, we have taken a single artist and annotated their work from this perspective.
JIMMIE JAMES is a poet, painter, actor and singer/songwriter. Brooklyn born, this renaissance artist has long been a fixture of New York City's art, theater and music scene, showing at a number of galleries including 571 Projects, Andrea Schwartz Gallery, Boltax Gallery, and Thomas Werner Gallery, to name a few.
Click on the link and watch the short video.
Jimmie James
THE BEST PRACTICE EVER
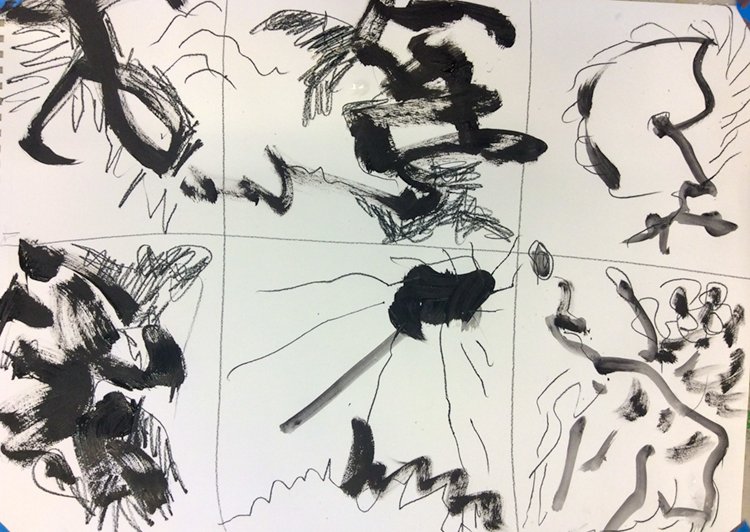
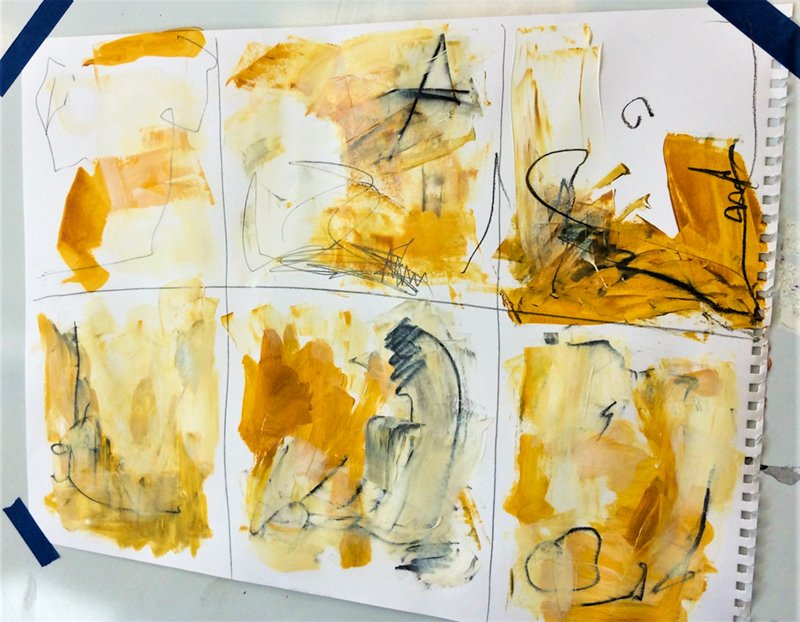
The art and fun of making thumbnail drawings
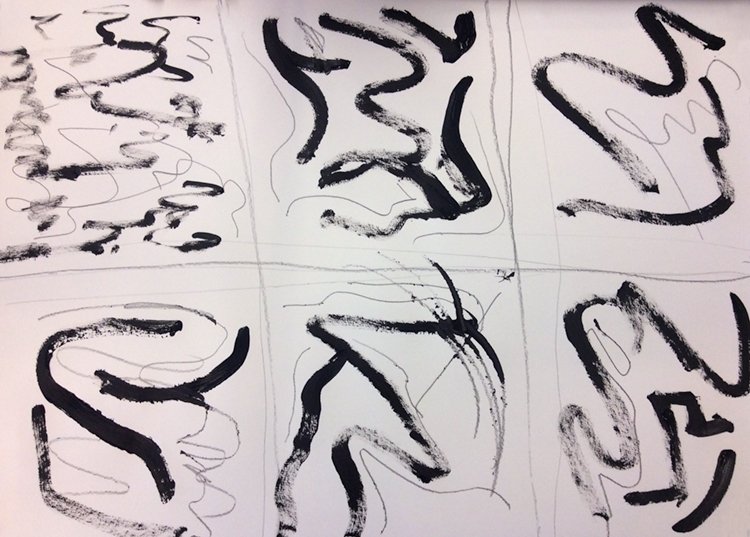
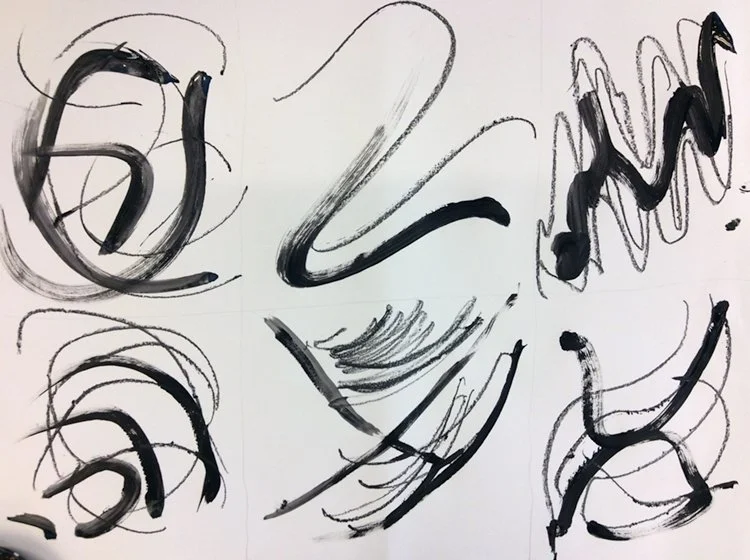
The greatest and fastest way to build your eye flow/composition/design skills is to make it a regular habit to "think" in images and to "sketch" in your workbook. The idea here is to have fun and to try new ways of dividing space with shapes and line using different tools. This is a quick way to find out what you like and don't like. It is a quick way to try many different ideas and different values. Once you have done a page you can look at them all and decide which ones resonate with you.
Best to start with black and two values of greys, a light grey and a dark grey, and do a whole sheet of thunbnails. Create small boxes, say 9 or 12 in rows of three, filling the page. Then in each box create a small composition. After filling the page and picking one or two of your favorites, make larger compositions, say 5" x 7", based on ones you like. Note that you are not trying to make the small thumbnail larger, but be inspired and influcenced by it to create a new and similar feeling image. After doing this with black and white, make a page of thumbnails using color.
TO DO
1. Create a page of thumbnail designs/compositions using black and grey with different tools.
2. Look at the finished page and choose a couple that particularly interests you. If you found none that sparks your interest, do another page of thumbnails. (If this happened, chances are you did not get fully into the process so your curiosity was not fully engaged.) Then make two different larger 5" x 7" compositions based on the small ones. Note: Remember the small thumbnails are just jumping-off points not to be copied!
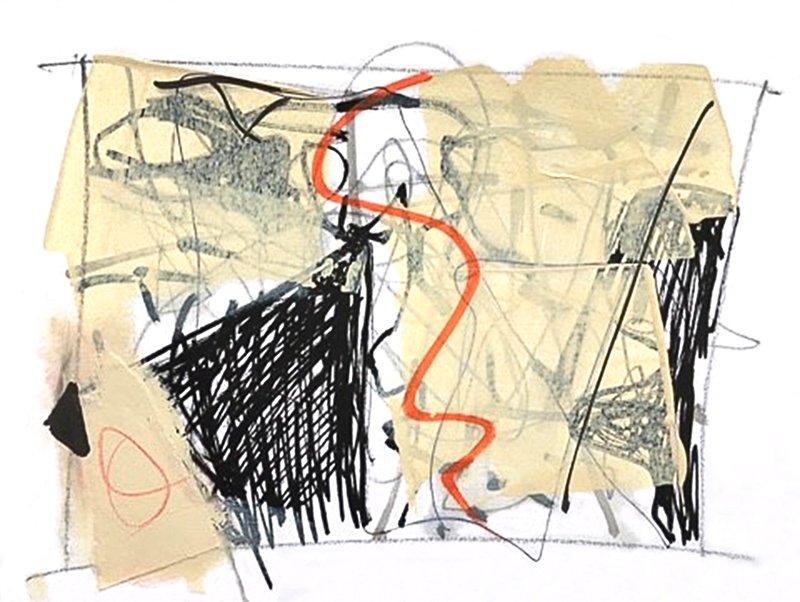
3. Repeat this process making thumbnails using color. In the video above, Grant mixed two colors beforehand and put them in little cups with lids. You can find these little cups at Amazon.com. He also used black and white to mix in the colors to get nice tints and shades, so he had a range of values and hues. We suggest no more than 3 to 5 cups of color for this exercise.
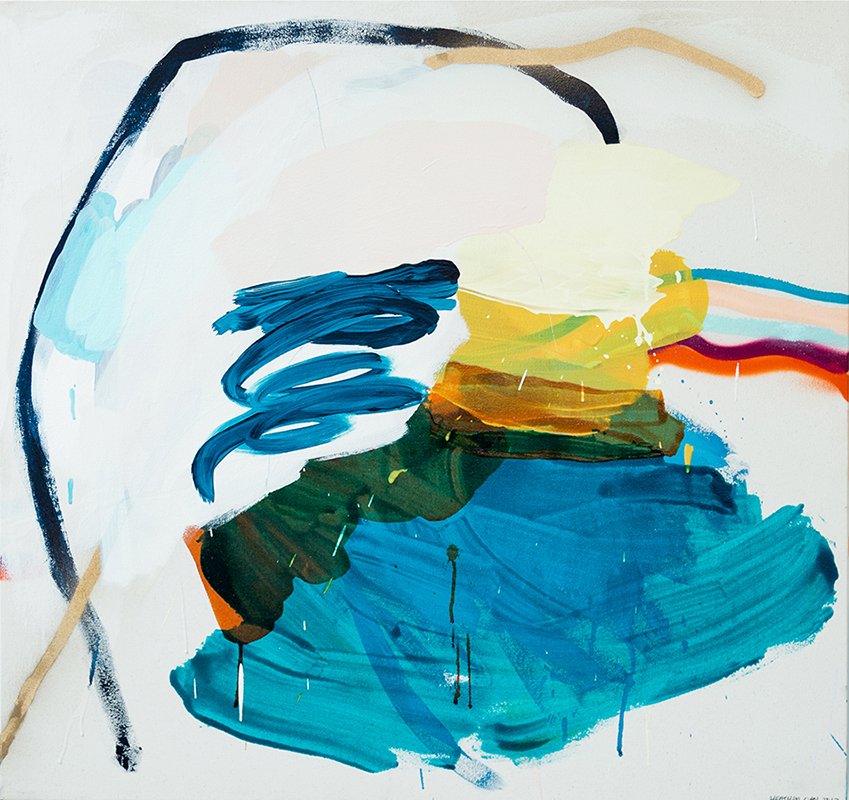
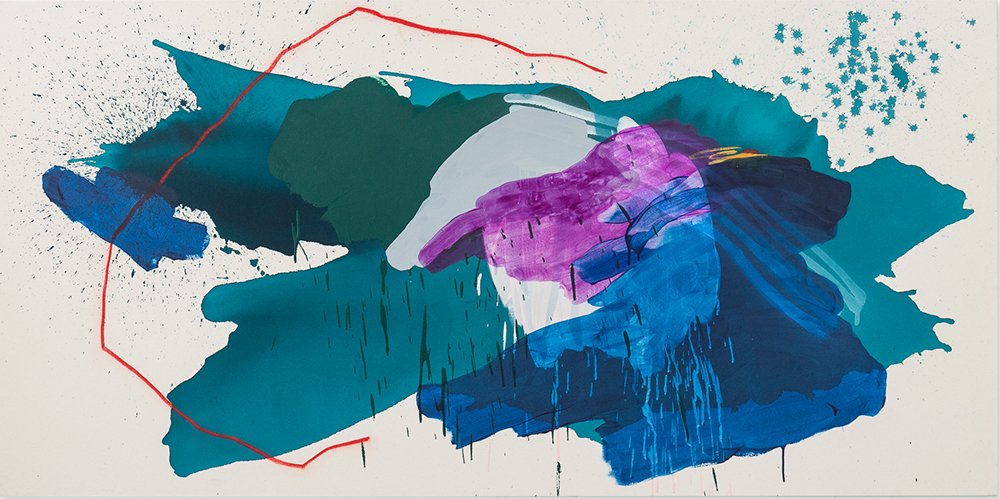
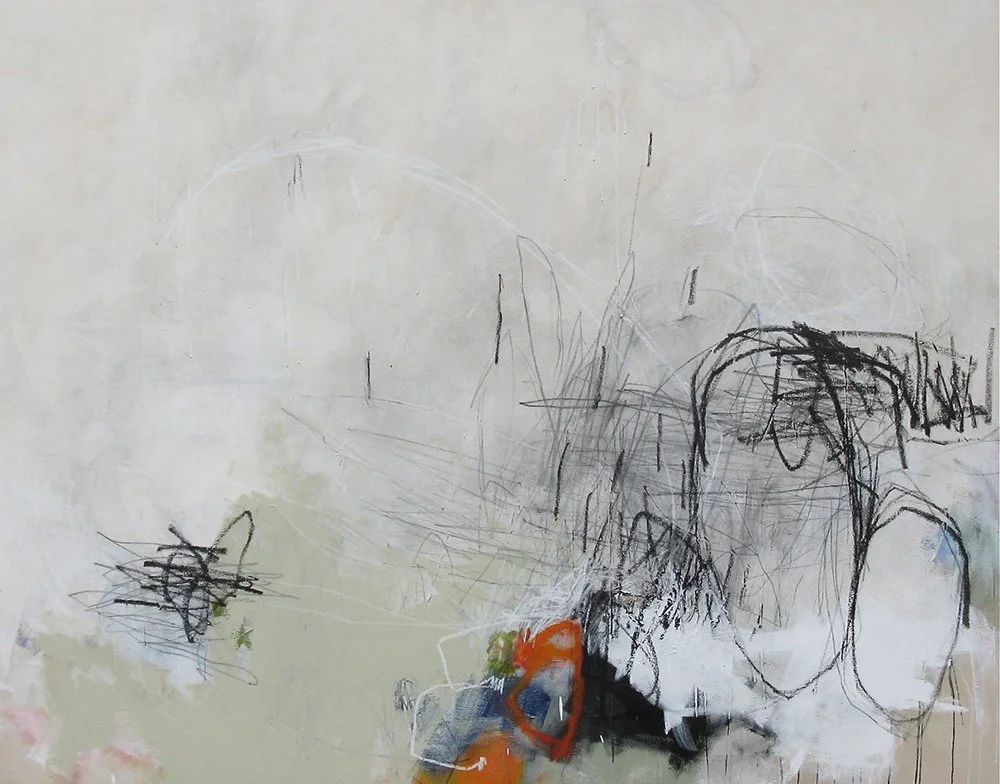
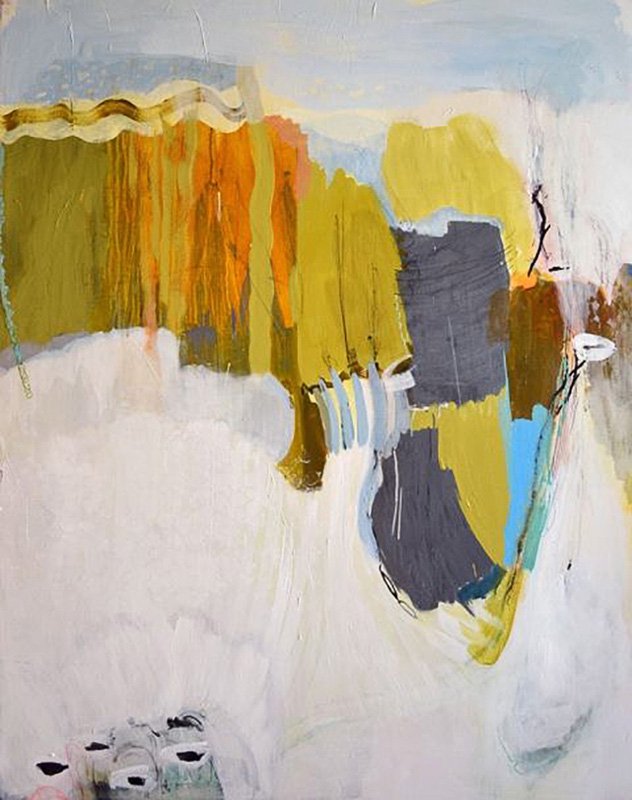
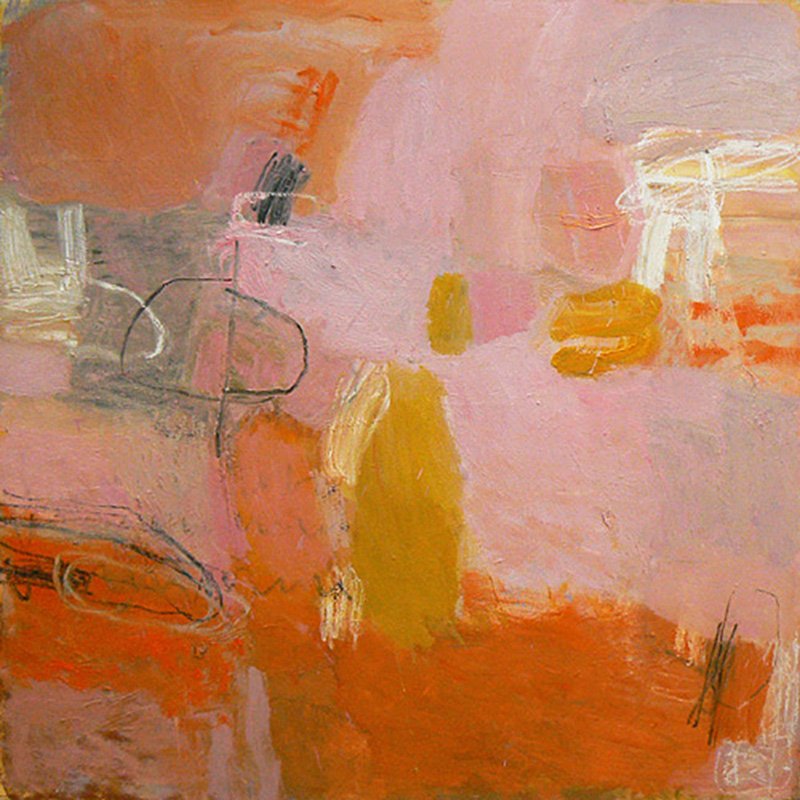
GALLERY
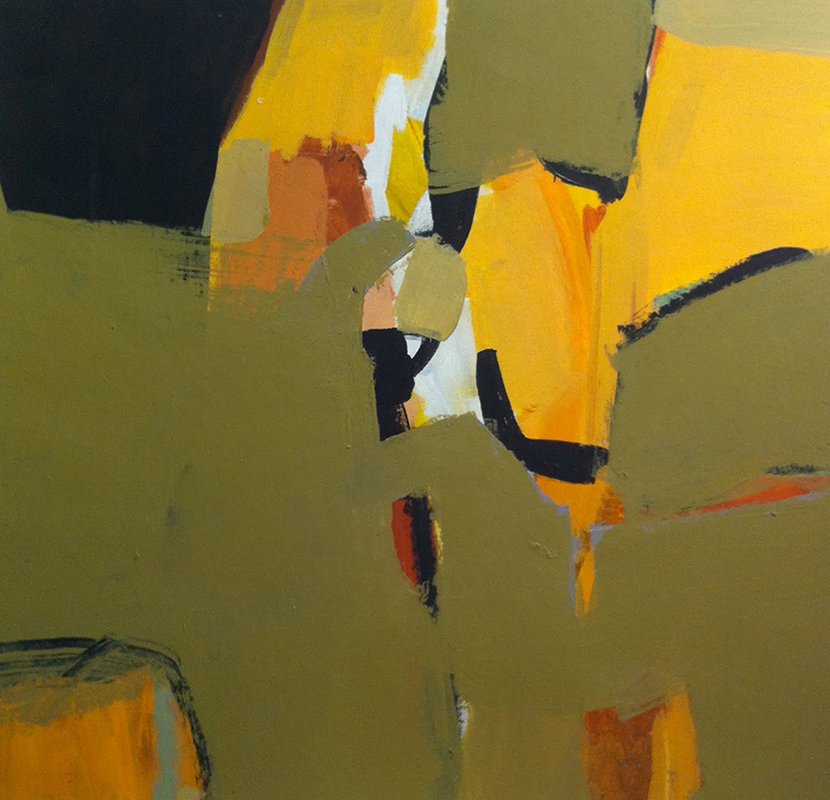
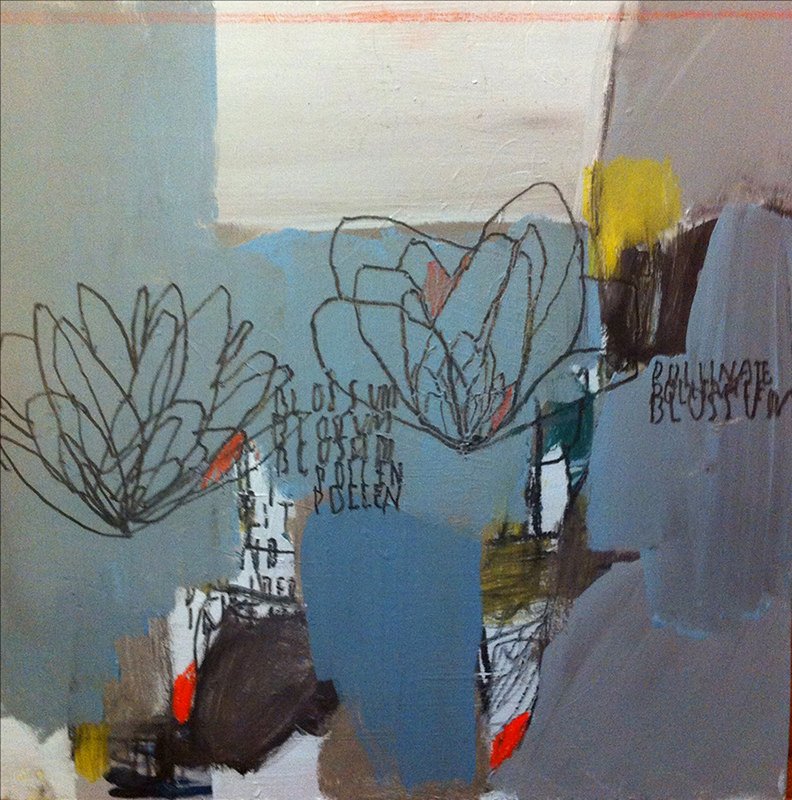
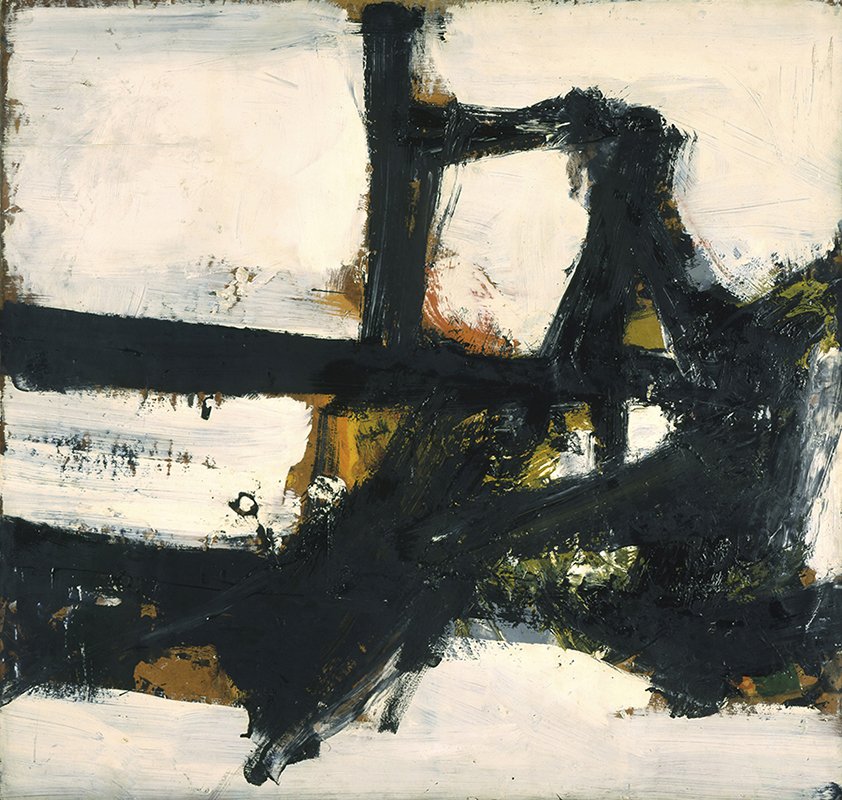
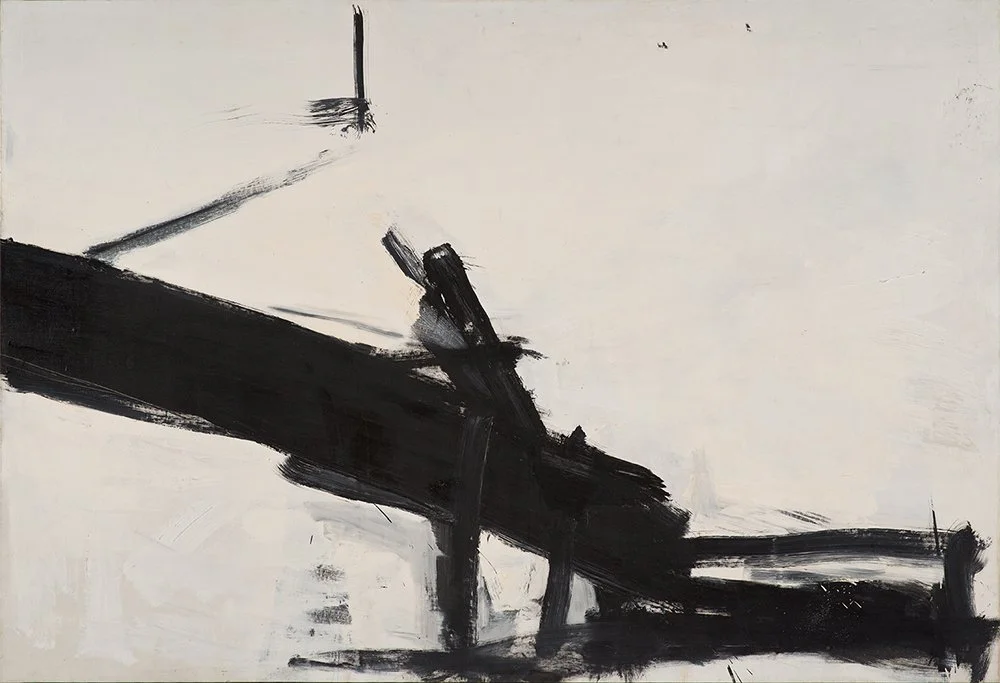
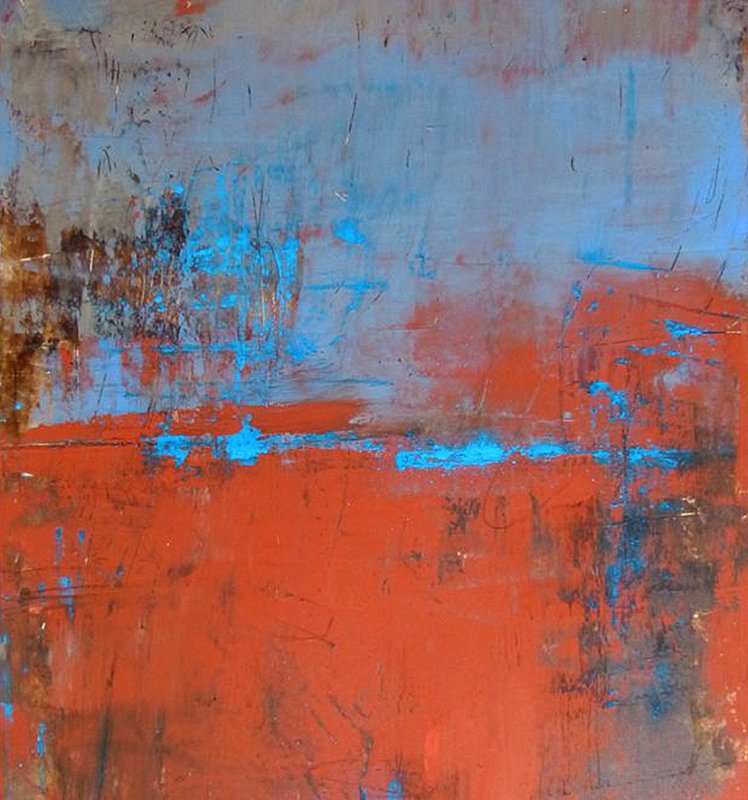
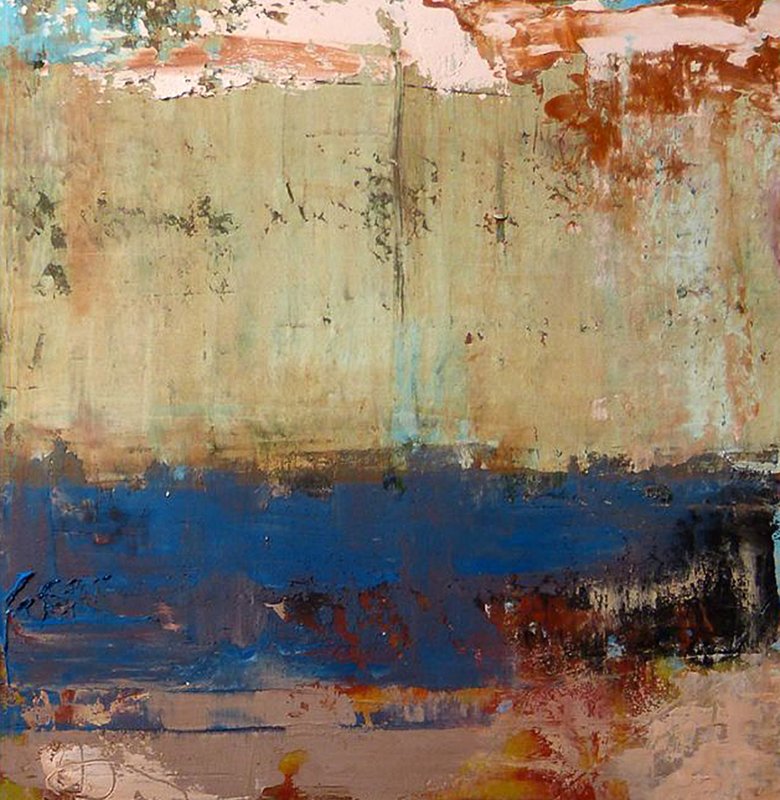
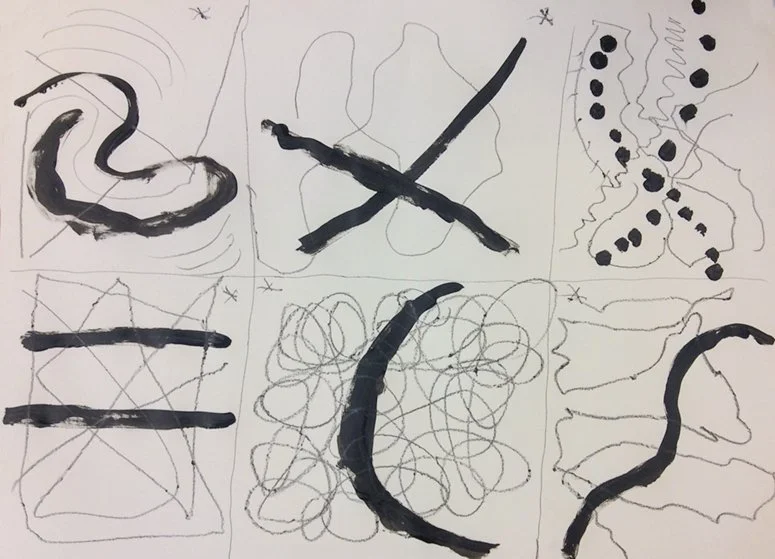
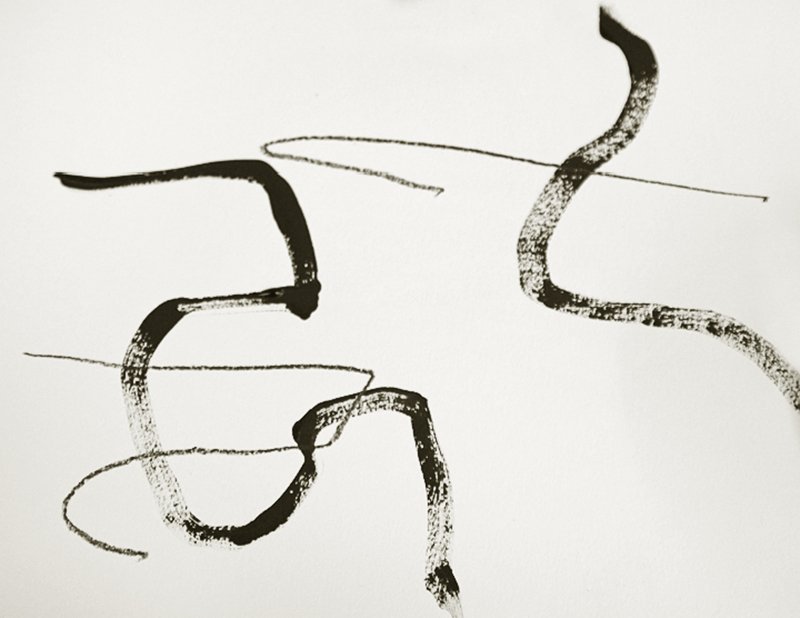
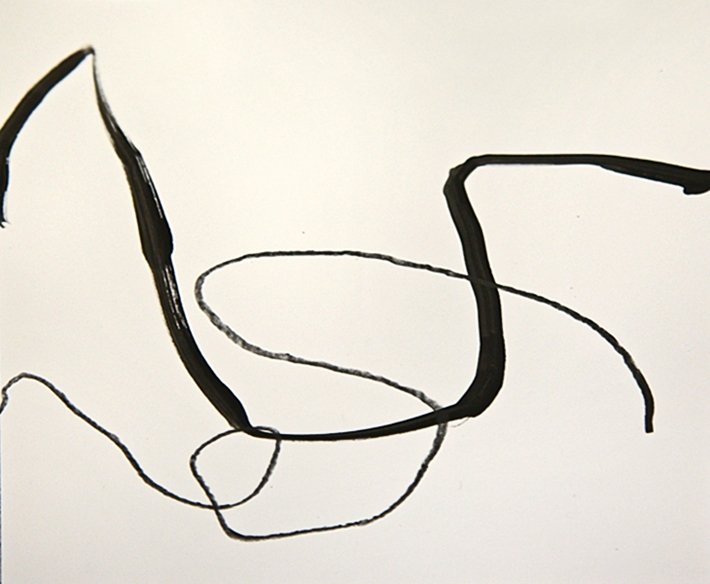
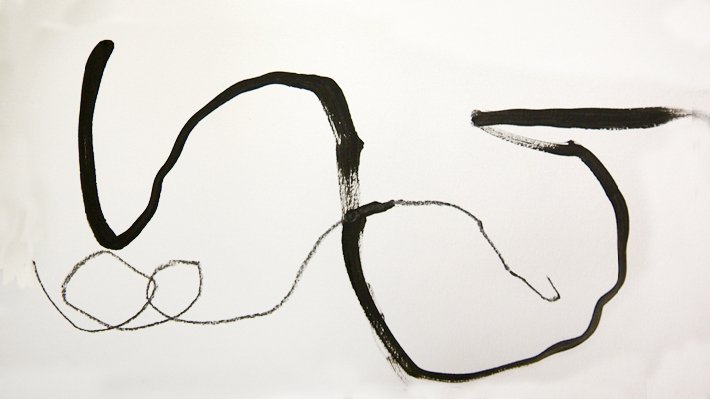
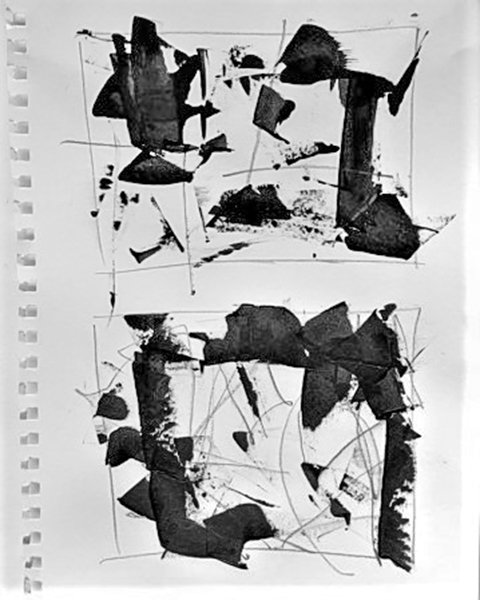
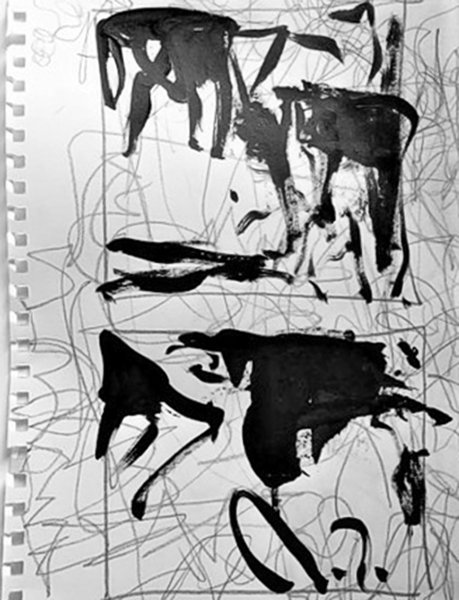
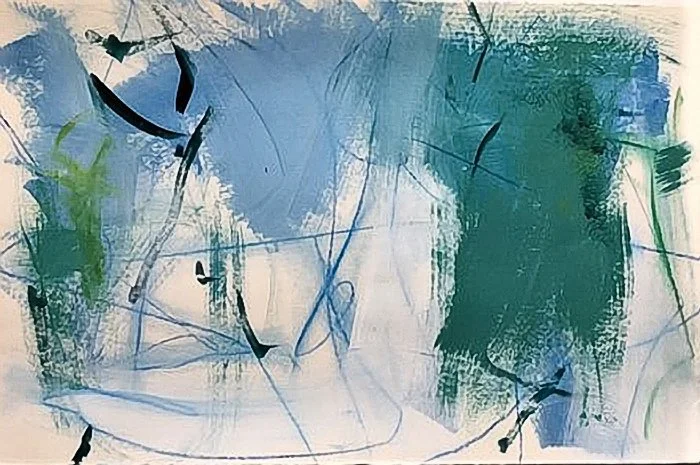
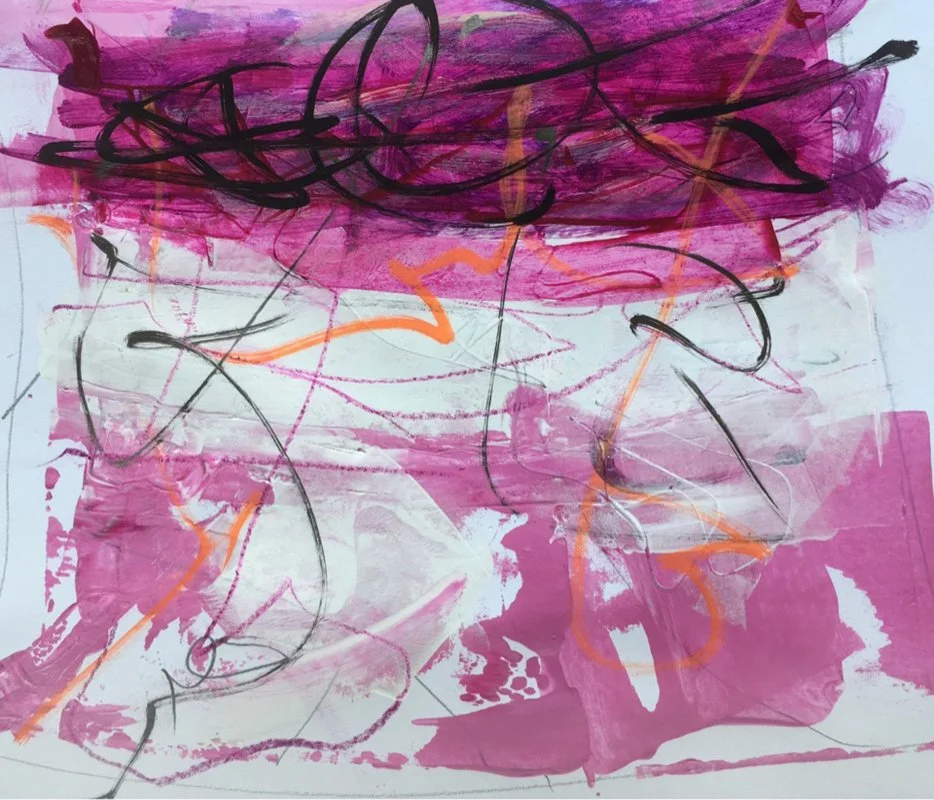
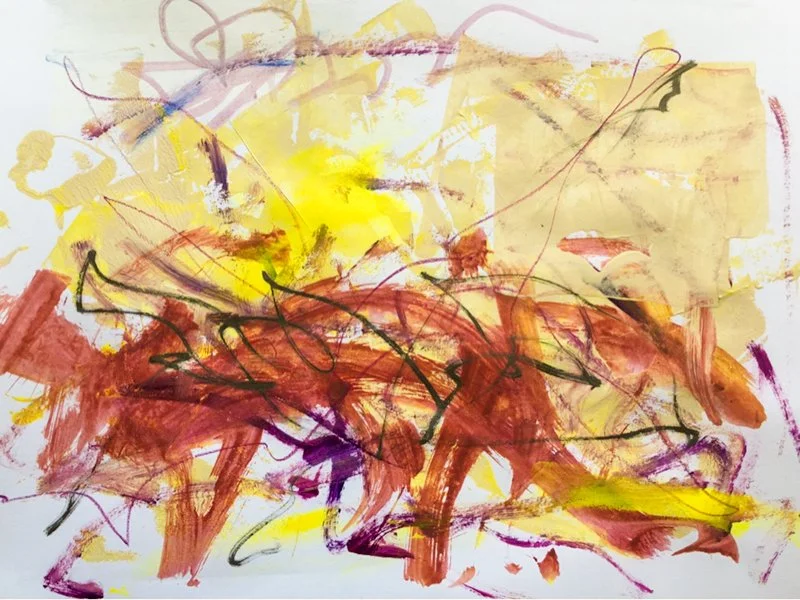
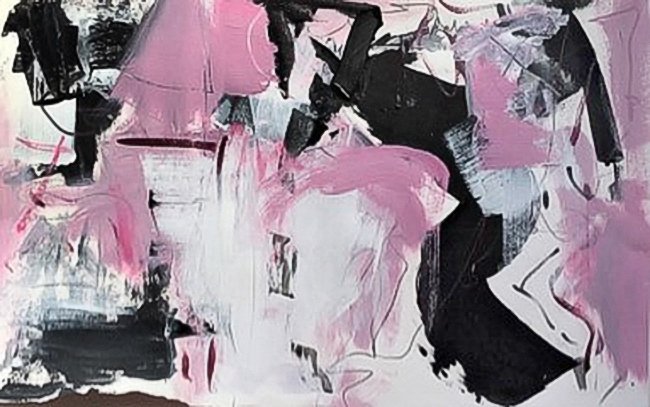
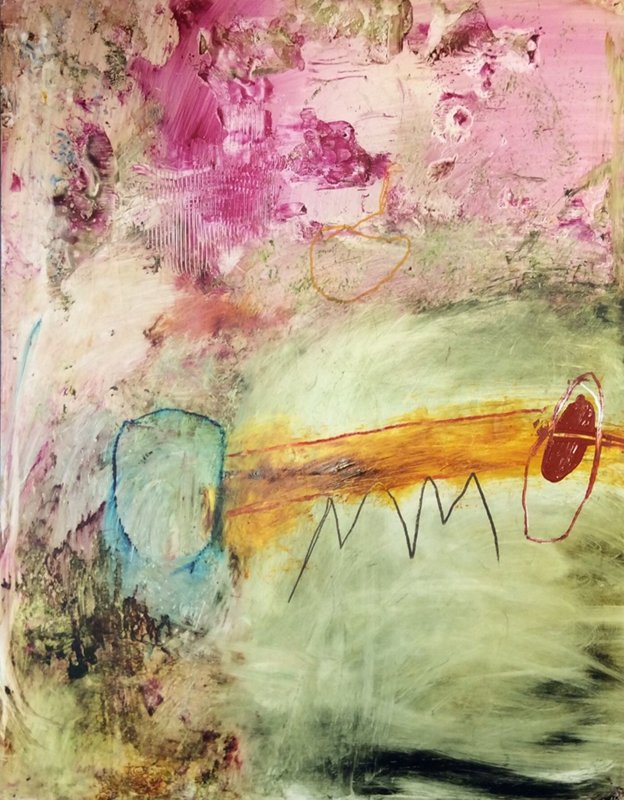
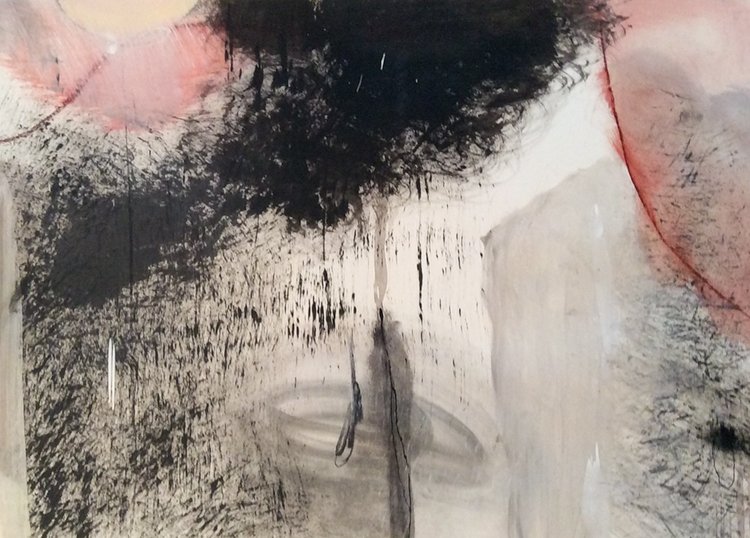
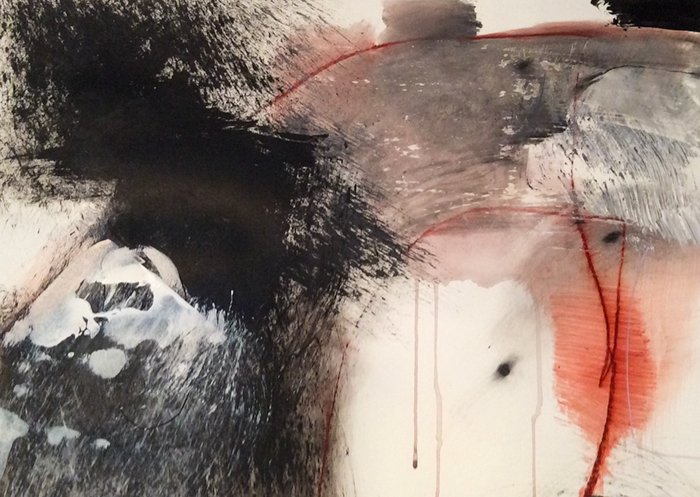
Dividing Space
Exercises #1 and #2 Slide Show gives participant examples so that you may see a wide range of ways people create eye flow and divide space. There is no right or wrong, but the objective is to have the viewer be able to take in the whole image and allow the eyes to move freely throughout the space.
Take some time to view the images and see how your eye flows throughout the image and whether it is a comfortable journey or not. Feel the pace of your eye moments and the energy that you experience from each image.

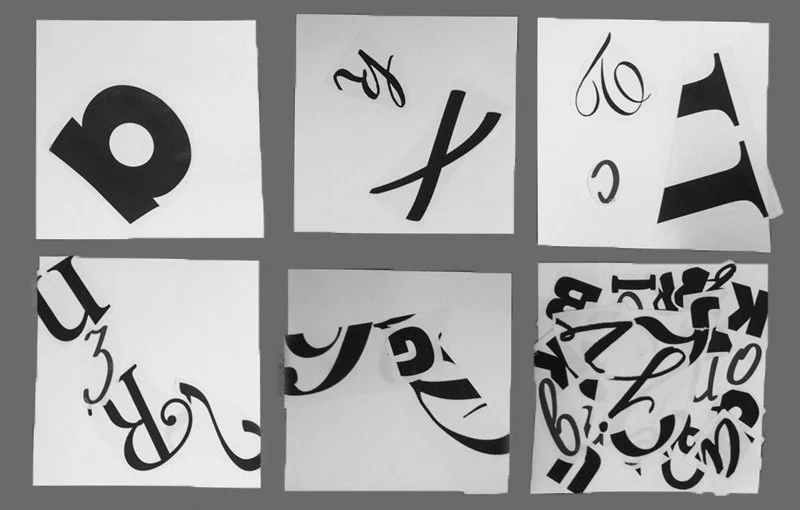
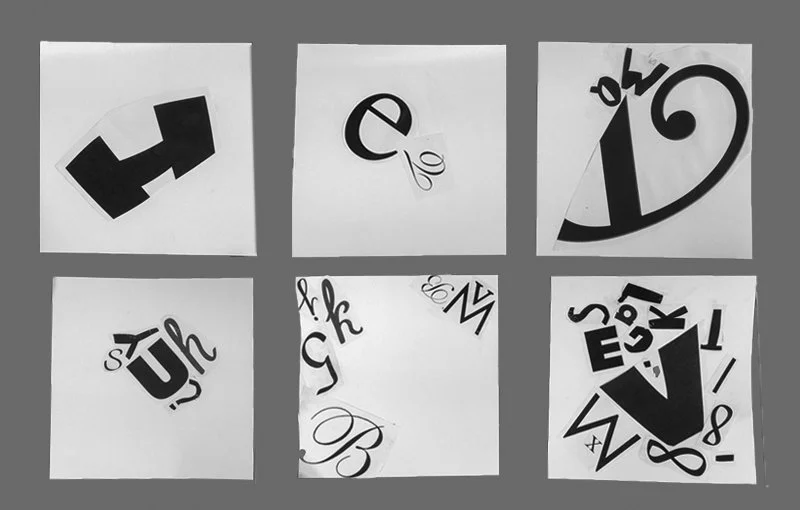
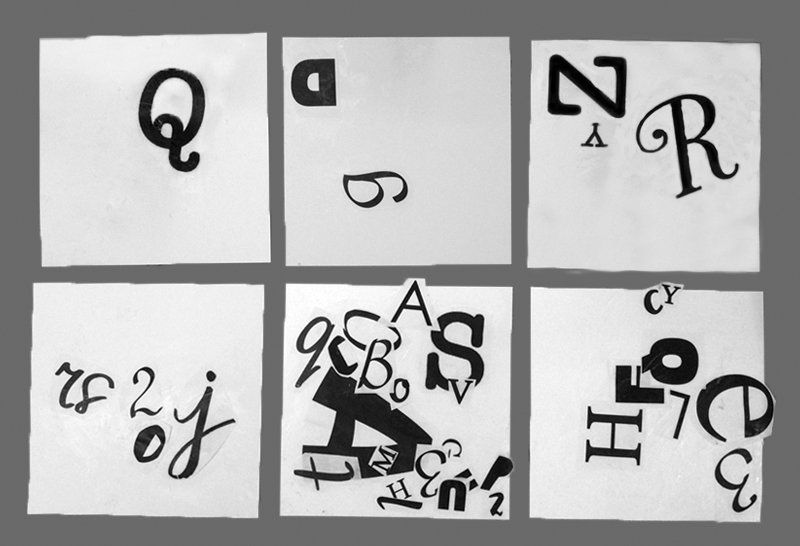
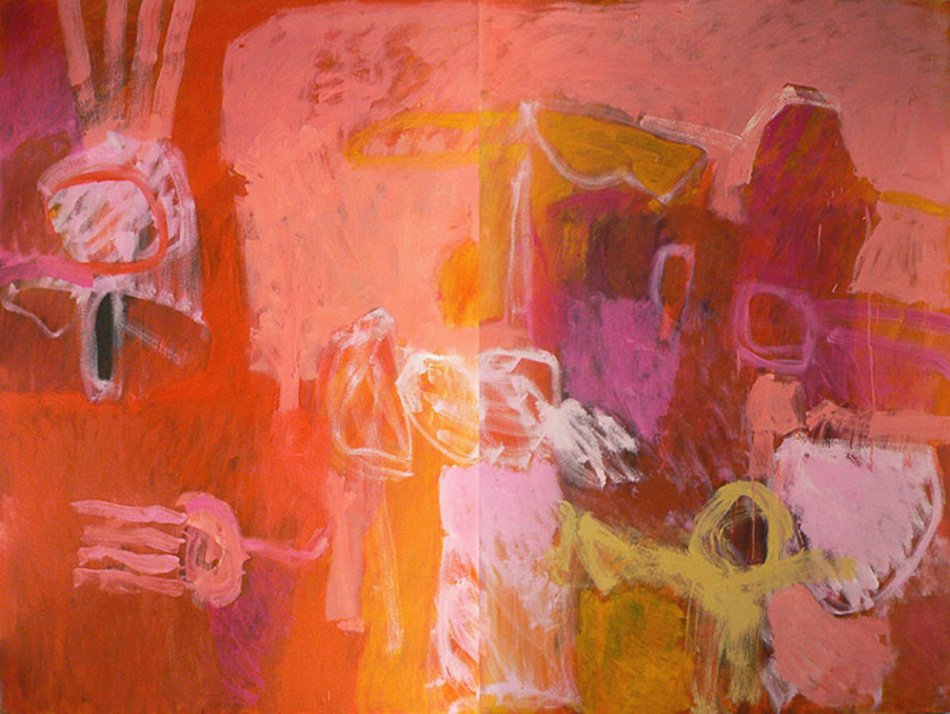
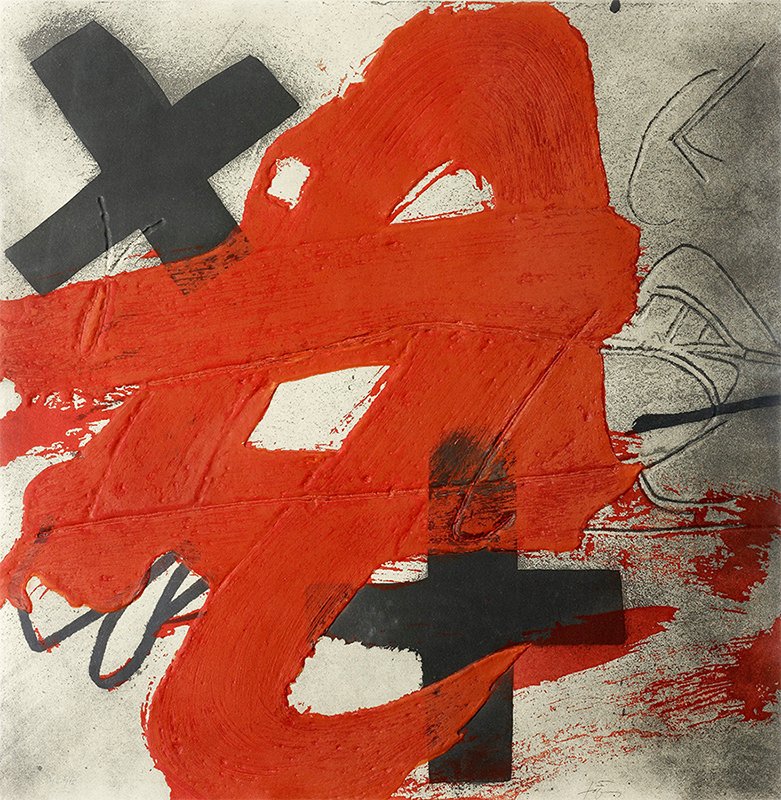
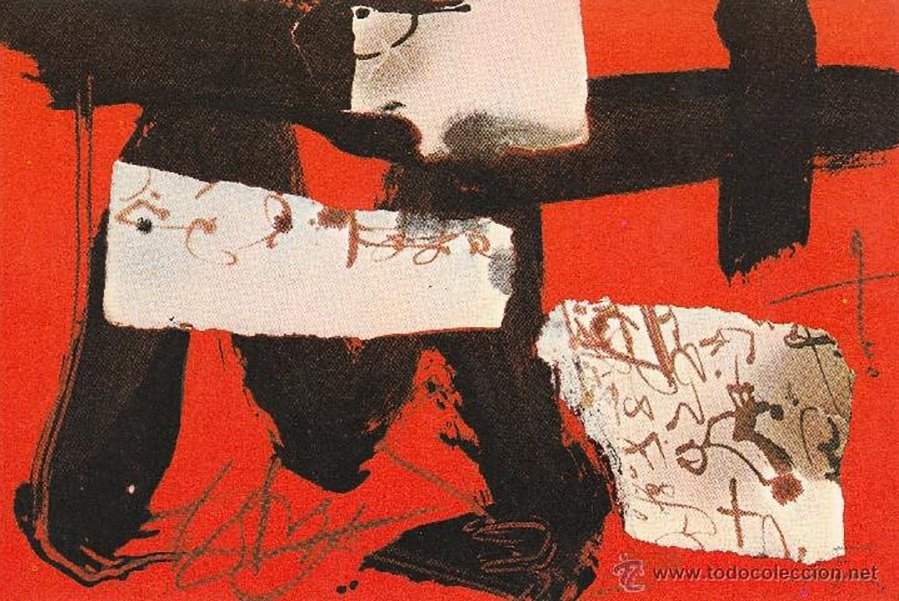
Intuition Practice and Composition
Exercise #3 with its 6 parts is shown in this Slide Show. Enjoy the different ways participants interpreted these exercises and see which ones you resonate with.